

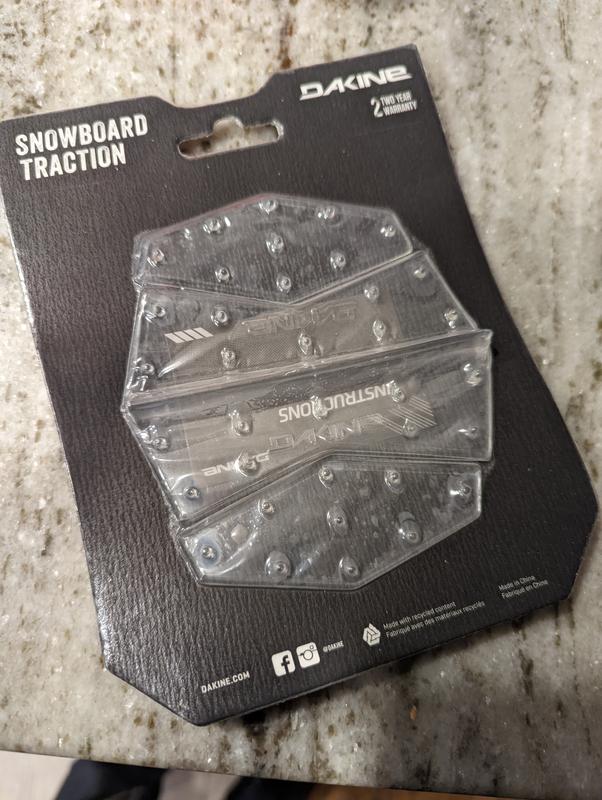
DAKINE Modular Mat Stomp Pad
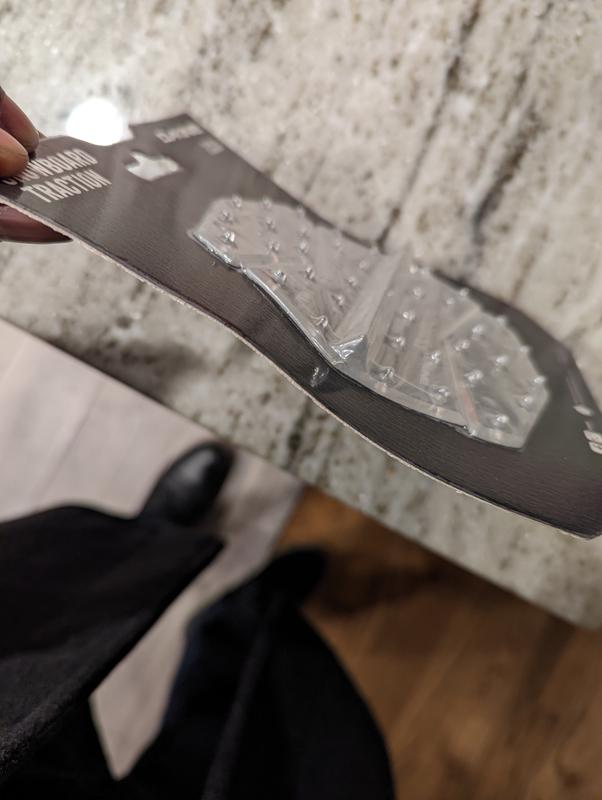
Made of durable injection-molded urethane, the DAKINE Modular Mat stomp pad has a raised scraper bar that lets you clear the snow off your boots before strapping in.
- Molded urethane in 3 configurable pieces
- Peel-and-stick adhesive attaches the pieces to your board
Imported.
View all DAKINE Stomp Pads| Best Use | Snowboarding |
|---|---|
| Material(s) | Injection-molded urethane |
| Dimensions | 4.8 x 4.3 inches |
| Weight | 0.9 ounces |
Write a Review
Adding a review will require a valid email for verification
Customer Images
Most Helpful Favorable Review
Most Helpful Critical Review
let's hope it changes
my item came all bent up in the packaging when I received it. will try the instructions to install on my board, and hopefully the heat and weight will flatten it. will update my review if it does. also, a LOT smaller than I anticipated..
I have had many stomp pads, this one is my fav
I always only used stomp pads to get off the chair without falling. I am a boarder who always seemed to have a hard time riding with a single boot in. Now I can get off the chair and hit the adjacent cat track or hill before having to clip in. The center ridge helps a crazy amount when going from toe to heel side. I felt fine even going upwards of 20 on short runs to other chairs. To install it I did the following: 1. Get isopropyl alcohol to clean the surface of the board 2. Remove the backing from the stomp pad 3. Get a hair dryer to heat both the bottom side of the stomp pad and the board (not too much as you can ruin the board) 4. Apply the stomp pad and stand on it for 30 seconds to 1 minute 5. Use a thin strong object (I used the back of a pen), to push down on the pad in between the spikes to remove air bubbles and get better contact 6. Wait 24 hours
Simple, you just have to be smarter than a sticker
So the biggest complaint I’ve seen is installation problems, but it’s literally like these guys are “oh, this sticker won’t stick!” Well did you pull the backer off? So assuming you can maneuver this brain stumper, this stomp will definitely help you maneuver around the lifts no problem. I have a clear one on all 4 of my boards, super doa, custom, orca, and GOLDEN ORCA, that’s right I’m already in 2022, so take my word on this stomp! It’s the sauce
Meh
This product is good in that it comes in three separate pieces so it allows for customization in placement which is very helpful when your boot is unstrapped on your board. It grips your boot nicely and doesn't collect unnecessary snow. The application was tricky because the installation instructions are terrible. The pad itself is clear and the film the covers the adhesive on the bad is incredibly difficult to see and remove. Definitely struggled with this. I read reviews elsewhere and others called out the same issue. Once you get the film off using a hair dryer on high heat does the job to heat the adhesive so it bonds to the board well. Take the time to get the adhesive nice and hot. Follow the instructions to let it settle over 24 hours. Even after an hour you can see that the adhesive hasn't finished bonding. Not worth the risk of losing the stomp pad on the mountain. All in all it's a fine product just a bit annoying to install.
Still on my board after many years!
These work great if you know how to apply them (actually these rules are for any stomp pad). Your board has to be at room temperature (leave it inside overnight), it has to be clean in the area where you apply it (use some rubbing alcohol on a cloth or paper towel to wipe unless it's brand new). I change the placment of the 3 pieces until I figure out where I want them, and use dabs of blue painter's tape to mark reference points. Then use a blow dryer to gently heat up the snowboard surface, don't cook it, you just want warm. Peel off the sticker backing from the stomp pad pieces, and apply using the tape as a guide. Press firmly to get out air bubbles. Once all three pieces are applied, I put some weight on it (empty milk jug with water, stack of books, etc.) and let it sit for 24 hours inside where it's warm to get the adhesive to set. You should be good to go after that. I've never had this model fall off and I've used it on a few boards. I do like how you can set the 3 pieces apart depending on the board graphics, size, etc.
My favorite stomp pad
Great, low profile stomp pad. Does the job but doesn’t draw a lot of attention.
Not a fan
I am not a fan of the new heat transfer Dakine Stomp pad. I followed the instructions, used a blow dryer to warm the board and stick the pad on. Put pressure on the stomp pad like ti said, left it for 24 hours. Did one run and all 3 fell off. What happened to the old sticker version? It was so easy. My old board for over 10 years still have the original stomp pad. If anything, this showed I can ride w/ out a stomp pad.
Kicking myself for not getting one years ago
Bought this with a new snowboard, and I can't believe I've been snowboarding without it for so many years. This stomp pad works extremely well even with a lot of snow piled on it. My boot never slips. I hardly ever have to strap in anymore if I just need to go a short distance (for example, from one lift to another).
Nothing fancy but works!
This is my second season using it and works great, I waited on purpose. Just follow the instructions when installing. I used a hairdryer. Just be careful removing the thin layer covering the glue before installing. Otherwise, you can remove the whole bottom including the glue, and then won't stick no matter what.
Instructions missing a key step!
The instructions never mention removing the backing that’s protecting the adhesive. I tried like an idiot to make it stick to the board with the backing still on for longer than I’d like to admit. I thought it was the worst system ever and didn’t understand the high rating. It was only thanks to the reviews here that I figured it out. With the backing removed it sticks on great & seems like a pretty solid hold on the board!