Skip to search results
loaded 8 results
Portland Design Works Bike Fenders
(8 products)Products (8)
Sort: Best Match
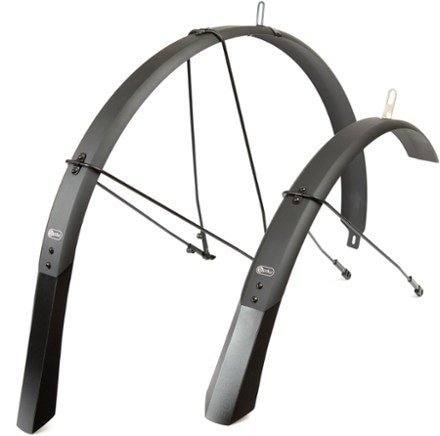
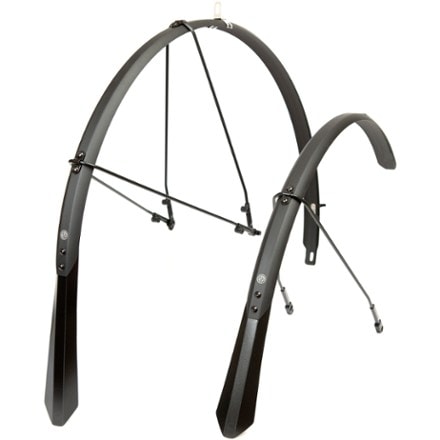
- Portland Design WorksFull Metal Fenders - 700c x 55 mmTop Rated$155.00Max Tire Width:47 mmWeight:694 grams
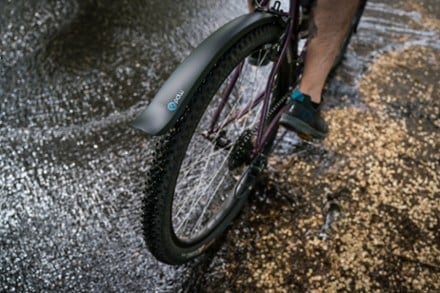
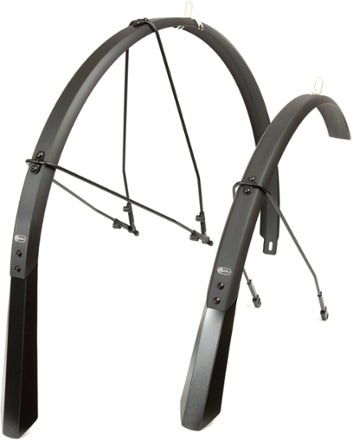
- Portland Design WorksSodapop Fender Set$22.00Weight:283 grams
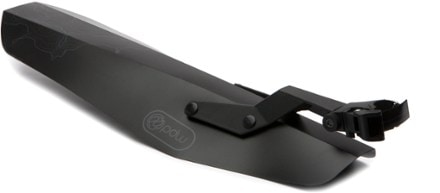
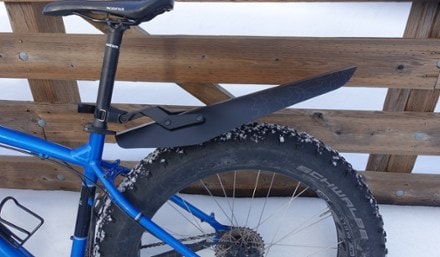
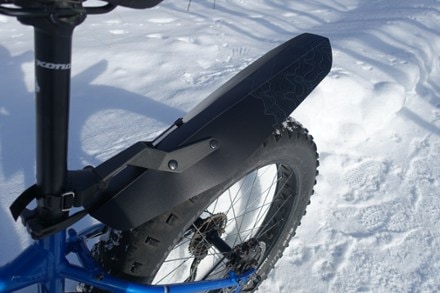
- Portland Design WorksMud Shovel 6.5 Rear Fender$28.00Weight:241 grams
- Portland Design WorksFull Metal Fenders - 700c x 45 mm$135.00Max Tire Width:35 mmWeight:568 grams
- Portland Design WorksFull Metal Fenders - 27.5 x 2.5"$175.00Max Tire Width:56 mmWeight:730 grams
- Portland Design WorksFull Metal Fenders - 700c x 37 mm$135.00Max Tire Width:30 mmWeight:454 grams
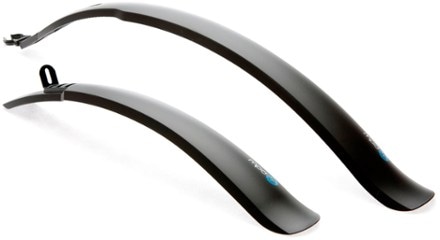
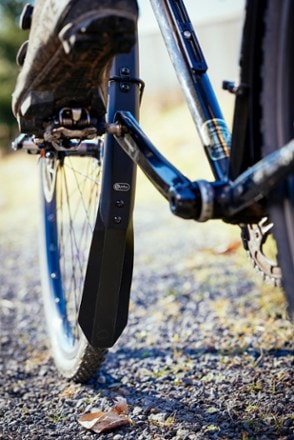
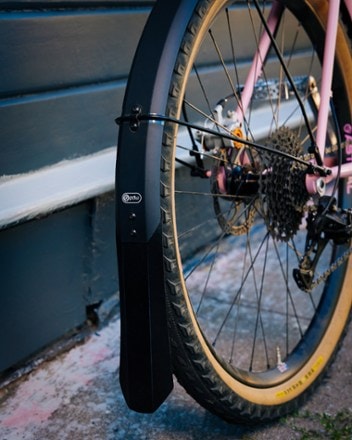
- Portland Design WorksPoncho Recycled Fender Set - 700c x 45 mm$85.00Max Tire Width:35 mmWeight:512 grams
- Portland Design WorksFull Metal Fenders - 650b x 55 mm$155.00Max Tire Width:47 mmWeight:675 grams

Earn 15% in total rewards
Get 5% on all REI Co-op purchases plus the 10% Co-op Member Reward you earn on eligible full-price purchases.
Apply now
Terms apply


Sort: Best Match