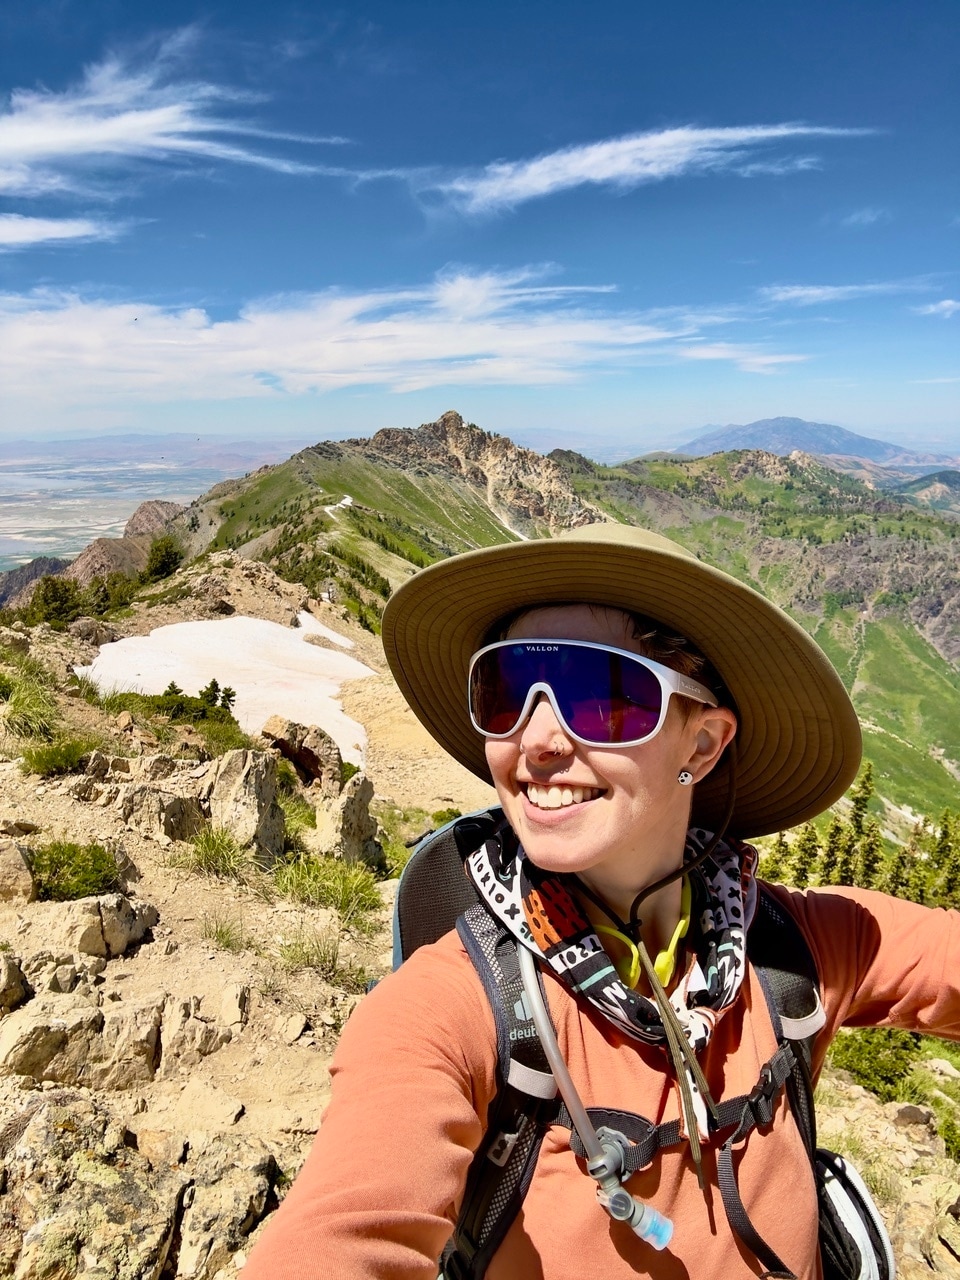
Hitting the trail with nothing more than life's necessities on your back is the quintessential outdoor adventure. It’s also a self-reliant pursuit: You’ll be carrying everything you need—from food and water to shelter and a sleep system—in a backpack. Forgetting an essential item, like toilet paper or cooking fuel, isn’t an option.
To help streamline your packing, we put together this gear checklist for your next backpacking adventure, complete with guidance on selecting the right items for your outing. The list is comprehensive, so we don’t expect you to pack every item (unless it's one of the "Ten Essentials"). Instead, think of it as a gear menu you can tailor to your specific trek.
For quick recommendations, click below, or keep scrolling for more information.
Backpacking Checklist — Printer-Friendly Version (PDF)
Backpacking Gear
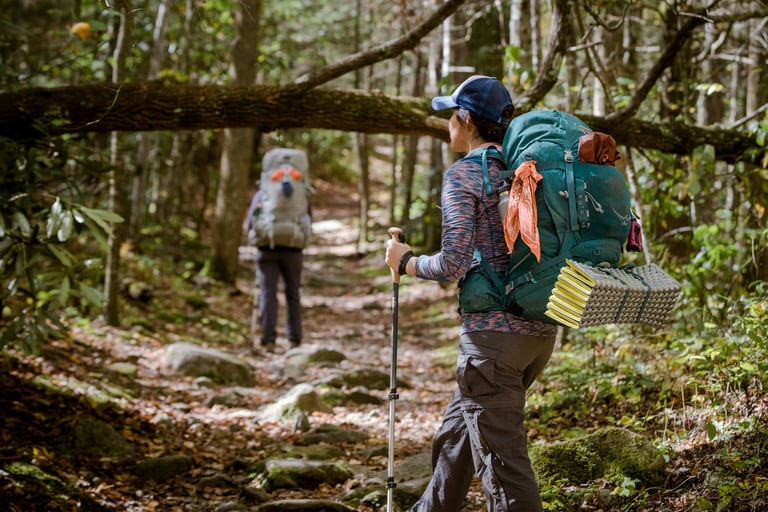
Your pack, sleep system and shelter are the most important items in your kit. They’re also the biggest investments and can make or break how comfortable and efficient your backpacking trip feels. Below, we offer tips for choosing the right option for your adventure. Scroll to the end of the section for in-depth articles with additional guidance.
Essential Items
- Backpack: Most backpacking packs are between 45 and 80 liters. The capacity you choose will depend on the amount and the type of gear you pack as well as trip duration.
Shelter: There are five main options, and choosing the right one for you depends on budget, weather conditions, comfort level and personal preferences, like how much weight you want to carry.
- Tent: This is the most common choice among backpackers. Tents offer the most coverage and privacy of all shelter options. If you choose a tent, don’t forget to bring tent stakes.
- Tarp: These minimalist shelters have no floor but provide some coverage from rain.
- Bivouac (bivy) sack: These lightweight bags offer a breathable barrier for your sleeping bag.
- Bug shelter: Most consist of netting and poles but no floor.
- Ultralight hammock: Pair with a bug net or rainfly for extra protection.
Sleeping bag: Down-filled bags are lighter and more compressible than synthetic options.
- Sleeping quilt: This is a lighter alternative to a sleeping bag that provides only a top layer.
- Sleeping pad: Closed-cell foam pads are typically the lightest option, followed by air pads.
- Headlamp (and batteries, if needed): Choose one with a red light to preserve night vision for stargazing.
Optional Items
- Trekking poles: Fixed poles (those without adjustment points) are lighter, but adjustable options provide versatility on long trails with uphill and downhill sections.
- Tent footprint: A footprint adds weight and takes up space in your pack, but it can extend the life of your tent by protecting it from twigs, rocks and other debris.
- Pillow: Comfortable sleep may be worth the extra couple ounces.
- Hammock: Pair with a bug net or rainfly for extra protection.
- Sleeping bag liners: These can boost a bag’s temperature rating and protect it from dirt and skin oils.
- Clothesline with clips: Perfect for drying damp clothes or swimwear.
- Backpacking chair: This adds extra weight and heft, but it provides comfort after long miles. A stool version is the lightest and simplest option.
- Bear spray: Some national parks require bear spray. Check local regulations. (See also: Bear canister)
Cookware and Drinking Water
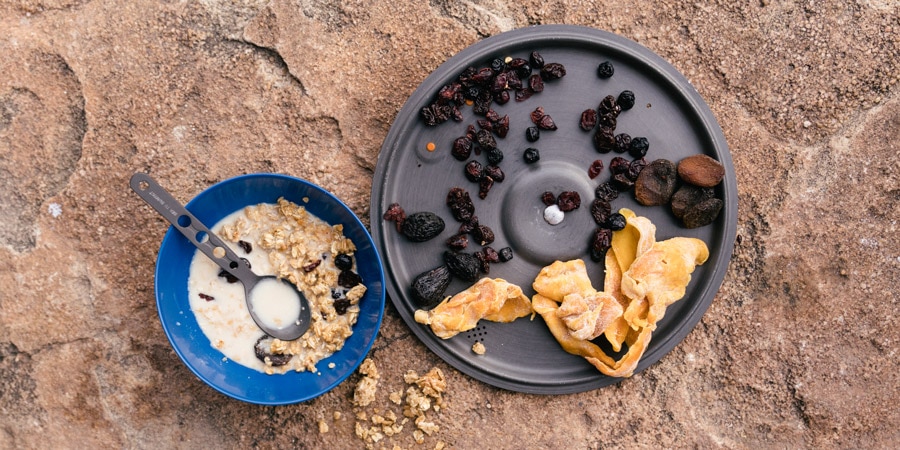
You’ll need these items on the trail to make a hot meal and filter/purify your water, but you may decide to bring more or fewer items depending on your approach to cooking and cleaning up in the backcountry. For instance, some backpackers bring dehydrated meals and instant coffee to simplify mealtimes and minimize pack weight. Others may choose to prep their own meals and brew morning coffee in a portable French press.
Depending on where you're backpacking, you may also need to bring a mesh strainer to dispose of water used for washing up. Read up on Leave No Trace principles and any site-specific rules before heading out.
Cooking System
- Backpacking stove and fuel: Tablet and alcohol stoves are often the lightest options. If you’re not counting grams, lightweight canister stoves are easier to use and require less maintenance. Learn more: How to Choose a Backpacking Stove
- Matches/lighter/firestarter: Bring at least two methods for starting a fire in case one fails.
- Mug and/or pot: Save weight and space in your pack by choosing a pot that can double as a mug.
- Eating utensils: A simple, lightweight spork is typically all you need.
- Dish scrubber: You can buy a full-size sponge at the store and cut it in half to save space (and give the other half to a backcountry friend).
- Biodegradable soap: You can use this to clean your dishes and wash your hands.
- Portable coffee maker: Coffee presses and pour-over setups are typically the lightest and most compact options for backpacking.
- Coffee or tea: Don’t forget your coffee grounds or tea bags.
- Food for meals and snacks: Dehydrated dinners, packaged meats (like tuna or chicken), dry-cured protein (like jerky or hard salami) and snacks that are fine being smooshed in a pack (like tortillas with soft cheese) are all great options. Learn more: Backpacking Food Ideas and Meal Planning
Food Storage and Disposal
- Food bag: Odor-proof options can help protect your food from bears and other animals. You can tie them to a tree limb to keep them out of reach.
- Bear bag/bear canister (if required): Food bags don't always cut it. Modular bear canisters are compact and can double as storage in your pack. Some parks require them, so check local regulations.
- Trash bag: Bring a trash bag from home to pack out waste.
- Mesh strainer: Use this to strain food particles from your gray water.
Water System
- Water filtration system: Choose among pump, gravity, squeeze or straw-style filters. Squeeze and straw-style options will be the lightest. Pump and gravity versions are convenient but are heavier and more expensive.
- Purification drops or tablets: Alternatively, you can bring drops or tablets to purify water. Keep the tablets in a bag instead of their container to save weight and space (unless their directions say otherwise).
- Water reservoir or bottles: A water reservoir allows hands-free hydration while on the trail, but lightweight or collapsible bottles are also solid options.
- Electrolytes: Consider bringing electrolyte packets or gels for long, sweaty miles.
Clothing and Footwear
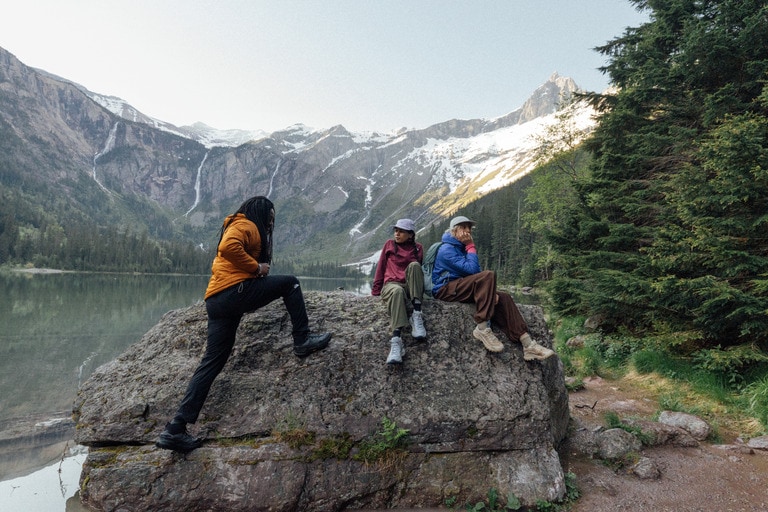
The clothing you bring will depend on the weather, trip duration, location and personal preferences. Read What to Wear Backpacking for tips on what to consider.
For the Trail
- Boots or hiking/trail-running shoes: Hiking and trail-running shoes are typically the lightest options. Boots offer ankle support but are heavier.
- T-shirt or base layer: Wool is resistant to odor-causing bacteria, making it a solid option for multiday trips.
- Hiking or running shorts: Look for options made with breathable, durable, quick-drying fabrics. Options with a flat waistband will feel most comfortable under your hip belt.
- Hiking pants: Convertible versions provide versatility for stream crossings, chilly mornings, warm afternoons and more.
- Underwear: Avoid cotton. Instead, choose moisture-wicking materials, like wool or polyester.
- Sports bra: Select a breathable option with a soft band that will feel comfortable beneath a pack.
- Socks: Socks with padding can make long miles feel a little easier on your feet.
- Sun-protective hat: Consider a cap made with UPF-rated fabric and a wide brim.
- Sun sleeves (opt.): These provide extra sun protection and are easy to take on and off throughout your hike.
- Bandana: Wear it around your neck for sun protection, tie it on your pack to add trail flair or dip it in a stream for a quick cool-down.
- Water sandals: Wear these through river crossings to keep your hiking boots or runners dry. Wet shoes can cause chafing.
For the Backcountry Campsite
- Long-underwear top for sleep: These come in multiple weights (lightweight, midweight and heavyweight) as well as different materials (silk, synthetic and wool).
- Long-underwear bottoms for sleep: For multiday treks, consider a wool layer. Wool naturally resists odor-causing bacteria.
- Warm hat: Temps often drop once the sun sets. Consider a beanie to stay warm, especially if you sleep cold or your bag doesn’t have a hood.
- Wool or synthetic socks for sleep: Consider dedicating one pair of socks for sleep only, so that you’re never sleeping in sweaty stockings (damp feet=cold feet).
- Puffy or insulated jacket or vest: Down versions tend to be lighter and more compressible than synthetic options.
- Camp booties: Some include down or synthetic insulation to keep your feet toasty.
- Swimsuit: If your destination has a water source that you can swim or wade in, consider bringing a bathing suit.
For Rain and Cold Weather
- Rain jacket: Look for options with features like pit zips that allow ventilation while you move.
- Rain pants: Versions with ankle zips make them easy to take on and off in unexpected weather without removing your shoes.
- Warm gloves: Consider waterproof versions to keep your fingers warm and dry.
Navigation System
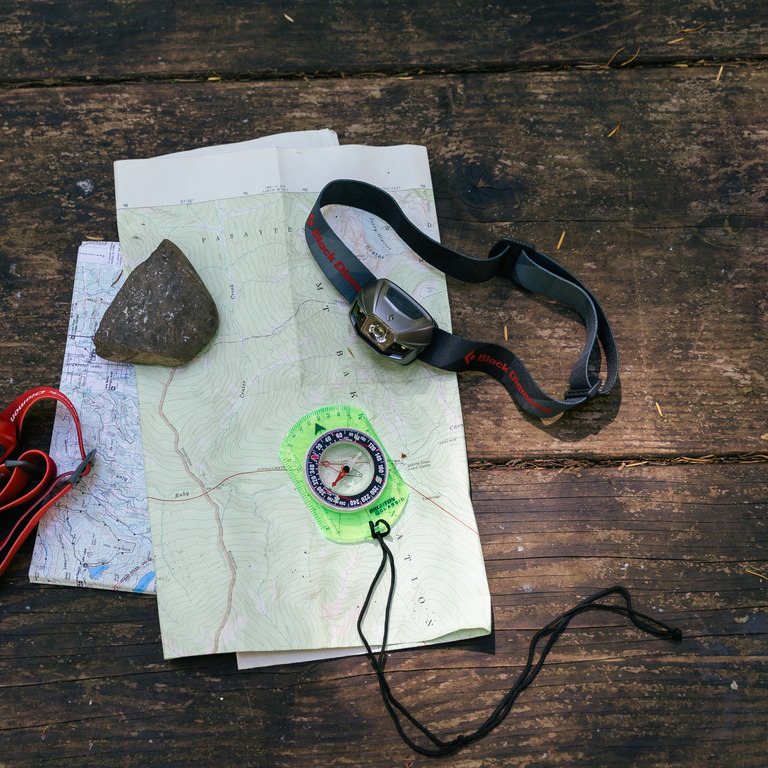
Before you set off on your backpacking trip, it's important to learn a few basics about navigation—like how to read a map and use your compass. To brush up on these essential skills, check out our Intro to Navigation series.
- Map: Carry a map of the trail(s) you intend to hike. If you’re printing one, consider using waterproof paper.
- Compass: Carry a compass and know how to use it. Learn more in How to Use a Compass.
- Solar/portable charger: You can use this to charge your GPS, phone and more.
- GPS: Features like preloaded maps, an electronic compass and altimeter can make GPS devices handy on long trails.
- Satellite communicator or personal locator beacon: A satellite communicator allows for two-way communication (text messaging, tracking) in remote areas, while a personal locator beacon sends one-way SOS signals to the nearest rescue services via satellite.
- Route description: You can photocopy relevant pages in your guidebook to cut down on bulk.
- Permits: Many trails require permitting to park, hike and/or camp there. Make sure to research the proper permits ahead of time.
Hygiene and Toiletries
Don't forget to pack toilet paper for bathroom trips, toiletries for washing up at night, and daily medications. Rule of thumb: If you need an item at home, you will likely need it on the trail. Fortunately, you can find compact, backcountry-specific versions of toothbrushes, toilet paper, and more to help save space and weight in your pack.
Essential Items
- Toilet paper: Add squares to a small bag or purchase a lightweight mini roll.
- Lip balm: Choose one that contains SPF.
- Hand sanitizer: Clip a keychain-size version to your pack for meal prep and more. Note: Hand sanitizer doesn’t kill the bacteria or viruses that cause food poisoning. For that, you’ll need to use biodegradable soap and water.
- Toothbrush and toothpaste: Travel-size options and toothpaste tablets take up less space than full-size options.
- Skincare: Pack these items in travel containers to keep your setup compact and light.
- Prescription medications: Bring enough for your planned trip plus a few extra days.
- Sanitation trowel: Also known as a cat hole shovel, a trowel is essential for burying waste when you have to dig a cat hole.
- Urinary products: Items like an antimicrobial pee cloth and pee funnel can make bathroom breaks easier and more hygienic.
Sun and Bug Protection
- Sun protection: This includes sunscreen (stick versions are light and long-lasting) as well as sunglasses, UPF-rated clothing and a hat.
- Insect repellent: Consider what pests you’re likely to encounter on the trail, including ticks, and look for small bottles or single-use packets to keep your load light.
- Mosquito net: These small, lightweight nets shield you from thirsty insects.
Optional Items
- Pre-moistened wipes: You can use these instead of biodegradable soap, but you’ll have to pack them out.
- Spare glasses/contact lens supplies: In case you break or lose your originals.
- Eyeshade: Late sleeper? You can opt out of the sunrise with an eye mask.
- Menstrual products: Menstrual cups are the lightest option but require soap and water for proper cleaning. Tampons and pads must be packed out.
- Quick-dry towel: If you plan on taking a dip in a glacial lake or other body of water, bring a small towel for drying off.
First Aid and Emergency
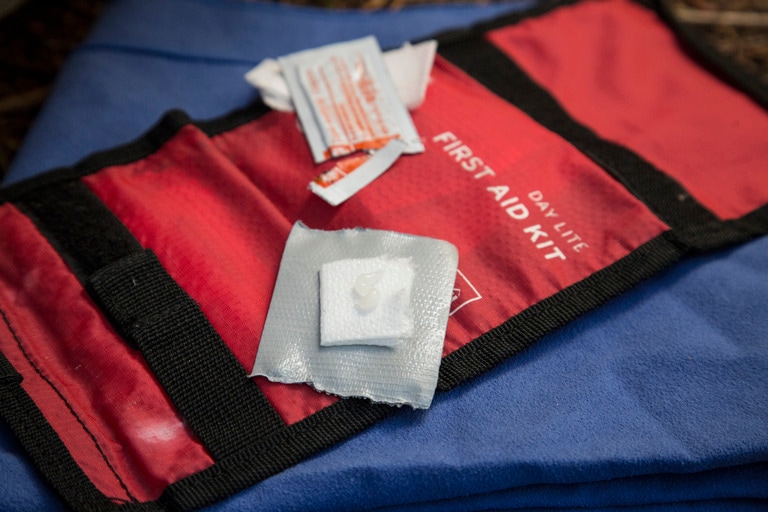
Your exact kit may vary depending on your personal needs, the duration of your trip and where you plan to backpack. You can purchase a kit or customize your own.
- First-aid supplies: Control the weight and size by customizing your own kit.
- Safety whistle (with neck cord): This tiny tool creates a sound louder than a human voice. Use it to deter wildlife or call for help.
- Emergency shelter: An emergency blanket weighs less than 3 ounces and packs small.
- Stormproof matches: Carry these for rainy or windy conditions.
- Firestarter: Strikable fire points and heat nuggets are light, compact options.
- Itinerary copies (for friend + under car seat): Always share your itinerary with a friend or family member so they know where you are and when you plan to return.
- Small knife: Use it for gear repair, food prep, first aid and more.
Miscellaneous
Some of these items, like extra batteries and basic repair items, are essential no matter the time of year or destination. Others, like traction devices and gaiters, depend on trail conditions, terrain and weather.
- Extra batteries: Pack spares for all battery-powered gadgets.
- Gaiters: If you plan to hike through snow or sand, consider a pair of protective gaiters.
- Ice traction devices: These provide extra grip on icy trails.
- Repair kit: Come prepared with the right tools to mend your gear. A jammed zipper, punctured sleeping pad or torn tent can create an uncomfortable and potentially dangerous situation in the backcountry.
- Credit card, cash and ID: Stash these in a pack pocket you use infrequently to avoid losing them.
- Cellphone: Put it in airplane mode or power it off to conserve battery on the trail.
- Campsite reservation confirmation (if required): Take inventory of any reservation confirmations or permits you need for the trail or your campsite. Some need to be displayed in your car. Others, you should bring in or tie to your pack.