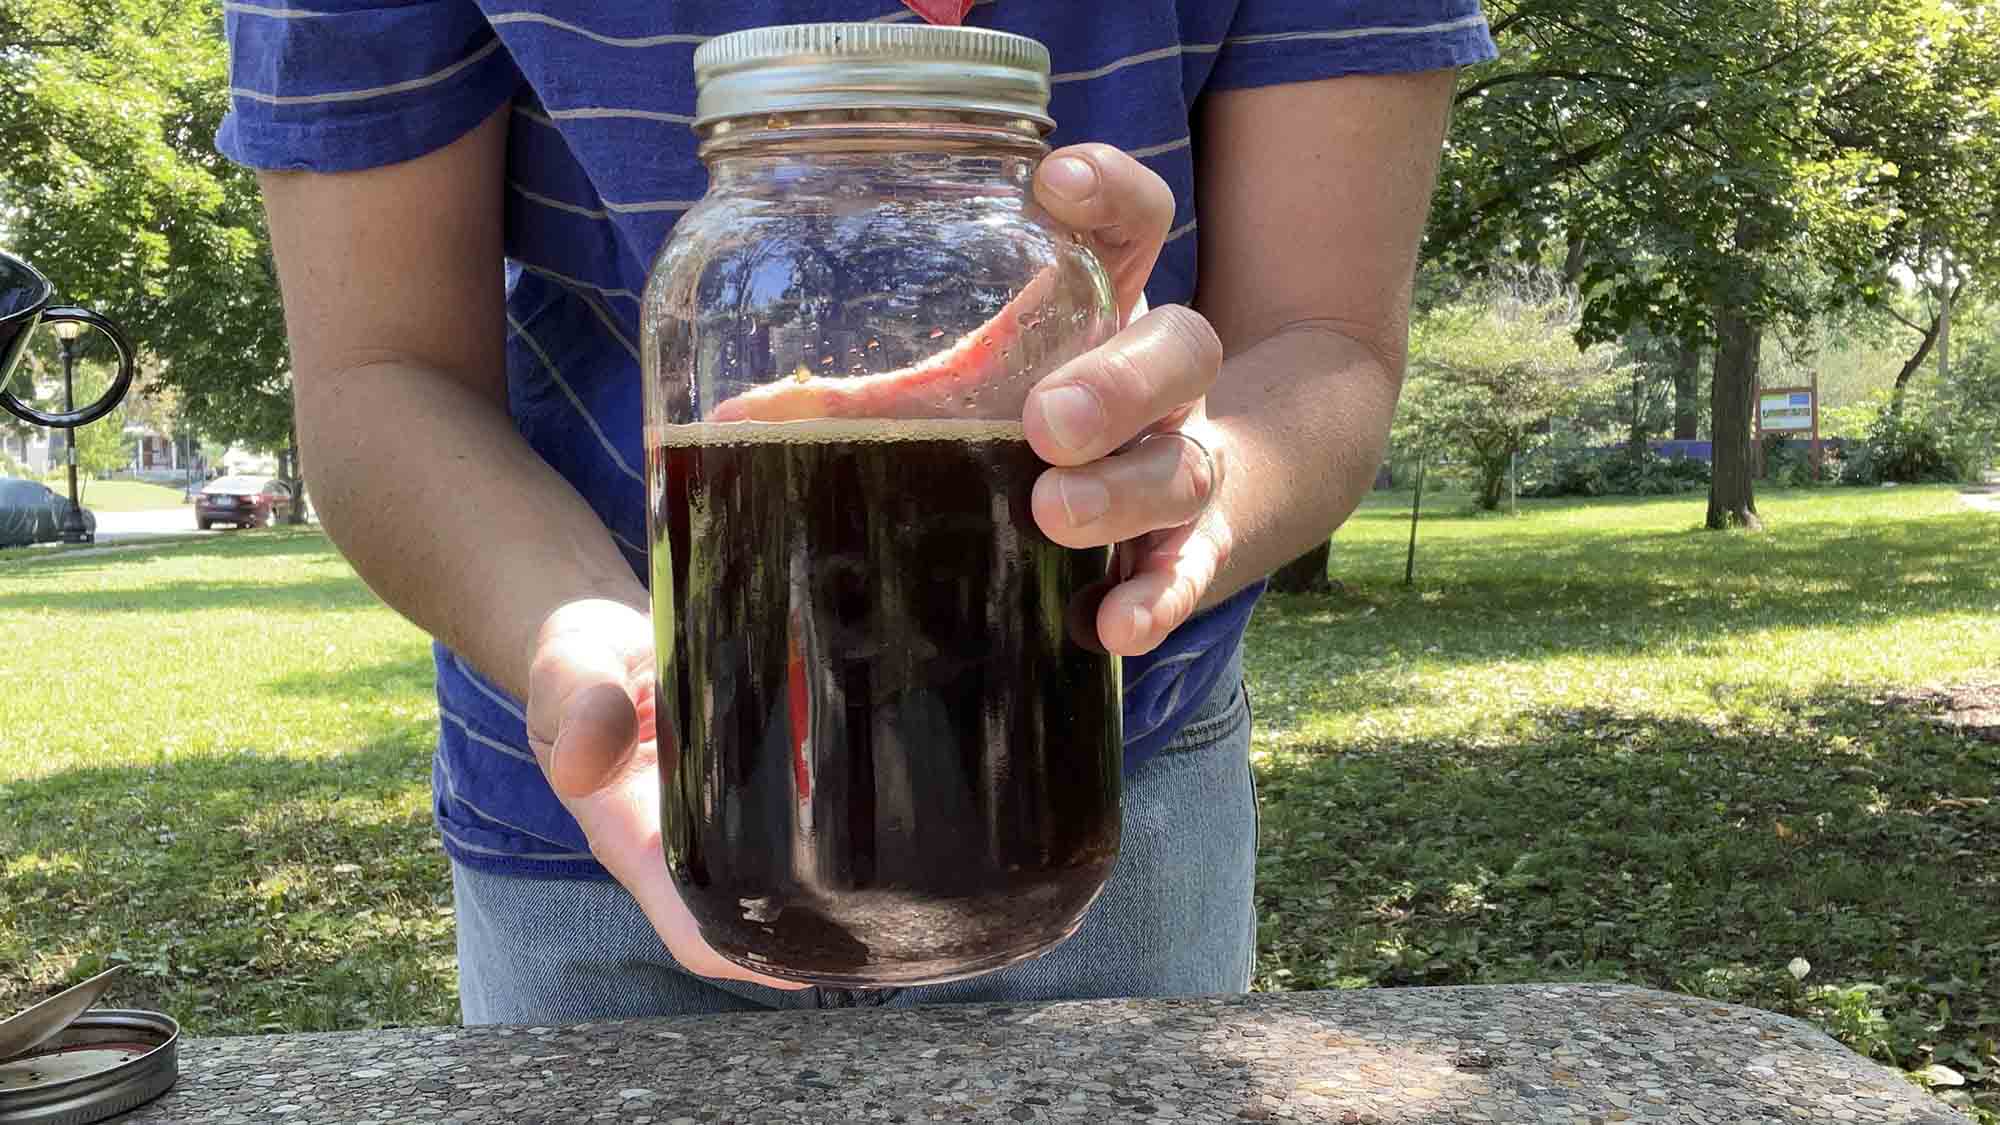
Sometimes I spend more time prepping the camp coffee than the meals.
That’s probably inevitable when you write about coffee for a living, like I do, and spend a good chunk of your free time camping. Over the years, I’ve tinkered with my camp coffee setup countless times. I’ve packed French presses, pour-over brewers and the Editors’ Choice Award–winning AeroPress Go to make coffee outdoors. I’ve gone from bringing preground beans to toting hand grinders that nearly rival my countertop electric burr grinder.
Even so, it took me a long time to realize I was overlooking one of the simplest camp coffee options: cold brew.
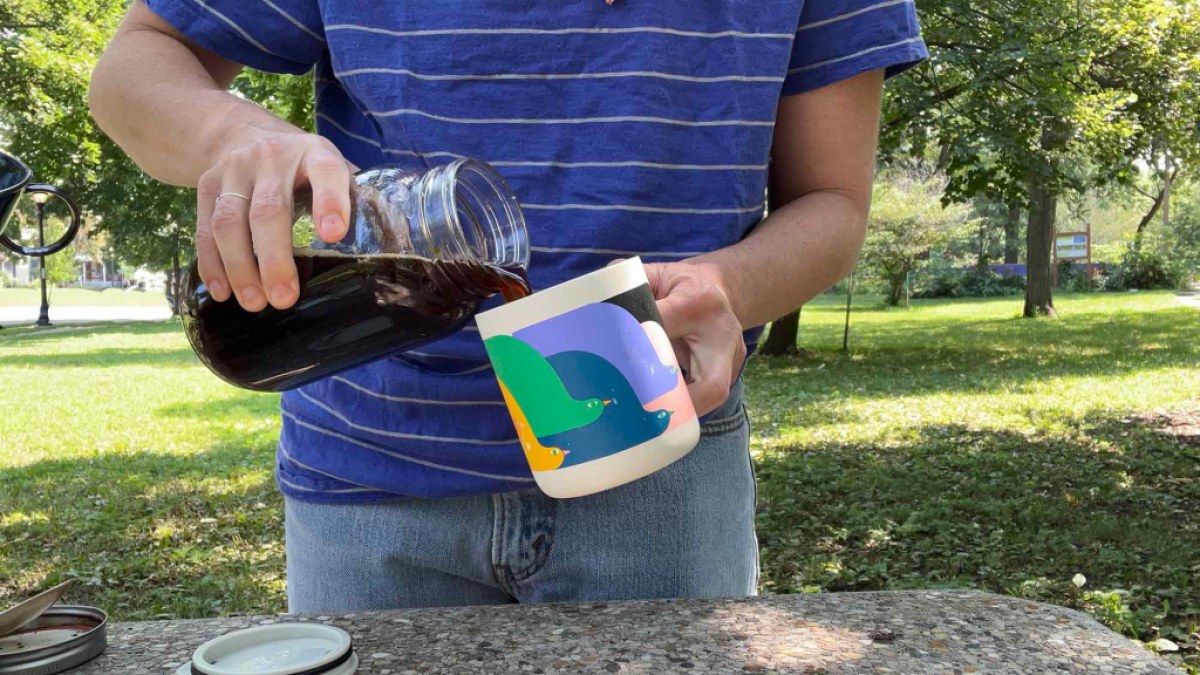
What is cold brew coffee?
Unlike traditional coffee, which is brewed with hot water in just a few minutes, cold brew is made by steeping coarse-ground coffee in cool or room-temperature water for 12 to 24 hours. The result is a concentrated cup that can be diluted with cold water or milk for an iced beverage or hot water or milk for a warming one.
While brewing coffee with hot water can express flavors ranging from fruity and floral to savory and herbaceous, brewing coffee grounds with cooler water tends to mute those high and lower notes. It’s a smooth, balanced, easy-drinking beverage that is a real crowd pleaser—and has become exceptionally popular in the last decade or so thanks in part to the broader rise of iced coffee. According to the National Coffee Association, cold and frozen blended coffee drinks account for nearly one-third (31%) of all coffee consumed in its June 2025 survey, up from 23% in its January survey—a reminder that cold coffee isn’t just a seasonal novelty anymore.
Part of its appeal is convenience: brew one batch ahead of time and you have coffee ready for several days. But many people also prefer its smooth, sweet flavor. One reason cold brew has such a devoted following is that it’s often said to have lower acidity than hot-brewed coffee—which is partially true. While research shows cold- and hot-brewed coffee have relatively similar pH values, brewing with hot water extracts sharper, zingier flavor notes like tart citrus or tropical fruit.
But let’s not get too in the weeds about coffee science when we’re busy trying to get into the woods: Whatever the reason, cold brew might be the right choice for your next outing.
Why cold brew makes sense at camp
For a long time, I assumed brewing fresh at camp was the only way to get a great cup of coffee. Then, while loading up our camping gear for an upcoming trip, it hit me: We already had a batch of cold brew in the fridge. We’d made it so often at home that it had become almost invisible—just another staple we always had on hand.
I poured it in a smaller bottle, tucked it in the cooler and by the end of the weekend I’d realized it solved many of the problems I’d been trying to engineer my way around. Maybe it will do the same for you.
Here are the five biggest reasons I reach for cold brew when I don’t feel like hauling my entire coffee kit into the campground.
Cold brew requires less gear
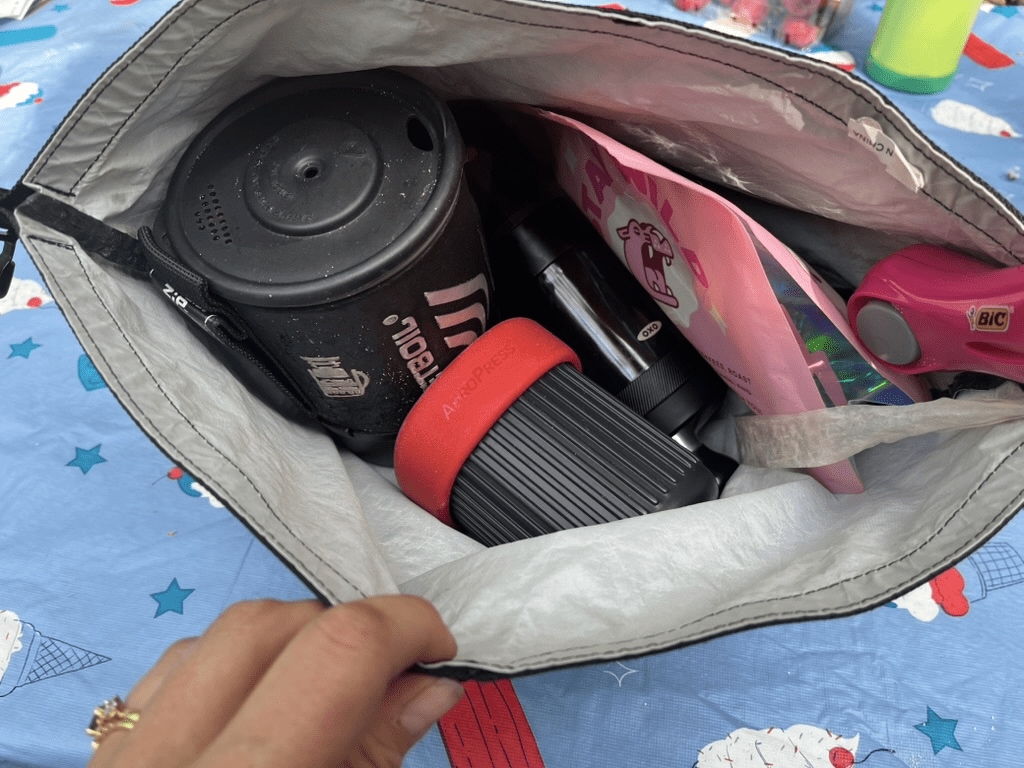
If you’re not careful, your coffee setup can take up more space than your sleeping bag.
To brew coffee fresh at camp, you’ll need, at minimum, a brewer—like a French press, pour over dripper, an AeroPress, plus any required filters—along with a way to heat water, such as a camp stove and kettle. Depending on your setup, you may also need a manual coffee grinder, a scoop or scale, and a way to pack out any spent grounds.
Packing premade cold brew concentrate simplifies your packing list in a big way because you can leave most coffee brewing equipment behind. All you’ll need is your container of premade cold brew (see recipe below), water or milk to dilute it to taste if necessary, and a vessel to drink it in. That saves serious weight and capacity for adventures where packing space is limited.
Cold brew is portable
Cold brew concentrate can fit easily into whichever size container best suits your camping adventure.
If you’re going ultralight, put your concentrate in a flask. For a car-camping weekend, a 32- or 64-ounce leakproof bottle is usually plenty. If you’re wheeling around the U.S. in your full-size camper van or camping with a large group, maybe that gallon container isn’t a bad move.
Cold brew is best stored cold. Keep it in a cooler or insulated bottle with ice packs until you’re ready to drink it.
Cold brew is versatile
Cold brew can be your drip coffee replacement if you dilute the concentrate to a 1:1 ratio with hot water. If you’re in the mood for something more latte-like, dilute with milk to the same ratio.
You could also mix cold brew concentrate with tonic water for a refreshing afternoon pick-me-up, spike it with your favorite spirit for a campfire cocktail, or experiment with a coffee-based mocktail to save yourself the headache before tomorrow’s hike. Combine it with fresh citrus (like lemon or grapefruit juice), a little simple syrup and a few dashes of bitters for an easy way to turn your morning coffee into a trailside happy hour.
Cold brew is ready fast (once it’s made)
Rather than fussing with the hot water kettle and your coffee-to-water ratio while you’re still waking up, you can spend precious tentside morning time making breakfast burritos or soaking up that vista.
With less brewing gear to pack, there’s also less to clean up afterward. No grounds or filters to pack out, and you don’t have to rinse your coffee-brewing equipment after each use.
Cold brew is great for groups
If you’ve ever been the designated coffee person on a group camping trip, you know how long mornings can take. Playing backcountry barista can be fun, but by the time you’ve brewed coffee for the last person, everyone else has already finished breakfast.
Instead, make your cold brew concentrate at home and stash it in your cooler. Then everyone can have coffee in just a few minutes before the morning mist has even lifted.
Note: Exercise bear safety when preparing any food or beverages at camp, and be sure to store your (highly aromatic) coffee in a secure place away from your tents to avoid attracting wildlife.
How to Make Cold Brew for Camping
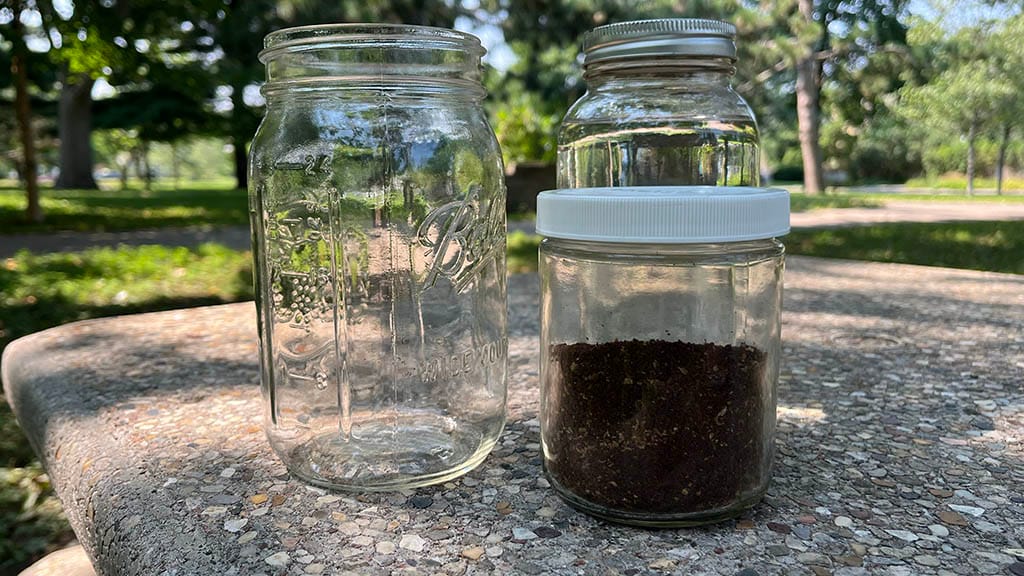
What you need
- Time. It typically takes between 12 and 24 hours to brew cold brew on your countertop, though it’s a mostly set-it-and-forget-it deal.
- Cool or room temperature water. Tap or filtered (not distilled) water is good. Well water isn’t recommended.
- Coarse-ground coffee. Whatever you enjoy on a daily basis will make a fine cold brew. Grind it somewhere between a French press and percolator grind size.
- A steeping vessel. A dedicated cold brew brewer like a Toddy works of course, but so does a French press or a jar with a tight-fitting lid.
Don’t get too caught up in getting the “right” equipment. Cold brew is forgiving because it relies on a long, slow extraction instead of precise temperature, timing or pouring techniques. Slight alterations or deviation in your grind size, steep time or bean selection will not greatly affect the final result.
Cold Brew Recipe
For making concentrate, I personally use a 1:4 or 1:5 coffee-to-water ratio. So, for every 100 grams of water, you’d use 25 grams (1:4) or 20 grams (1:5) of grounds.
Don’t be afraid to try other ratios, though: Cold-brew connoisseurs recommend everything from 1:4 to 1:8 ratio depending on how much they want to dilute it, so experiment to find your favorite flavor.
For example, here are some ratio options if you were brewing 32 ounces of cold brew concentrate.
| Ratio (most to least concentrated) | Coffee (g) | Water (g / oz) |
|---|---|---|
| 1 : 4 | 224 g | 896 g / 32 oz |
| 1 : 5 | 179 g | 896 g / 32 oz |
| 1 : 6 | 149 g | 896 g / 32 oz |
| 1 : 7 | 128 g | 896 g / 32 oz |
| 1 : 8 | 112 g | 896 g / 32 oz |
Submerge the coarse-ground coffee in room temperature water in your brewer or jar and cover. Let it sit on the counter for 12 to 24 hours and work its magic. (While you’ll often see recommendations as short as 8 hours, I’ve consistently gotten better results letting a concentrate steep for at least 12 hours.)
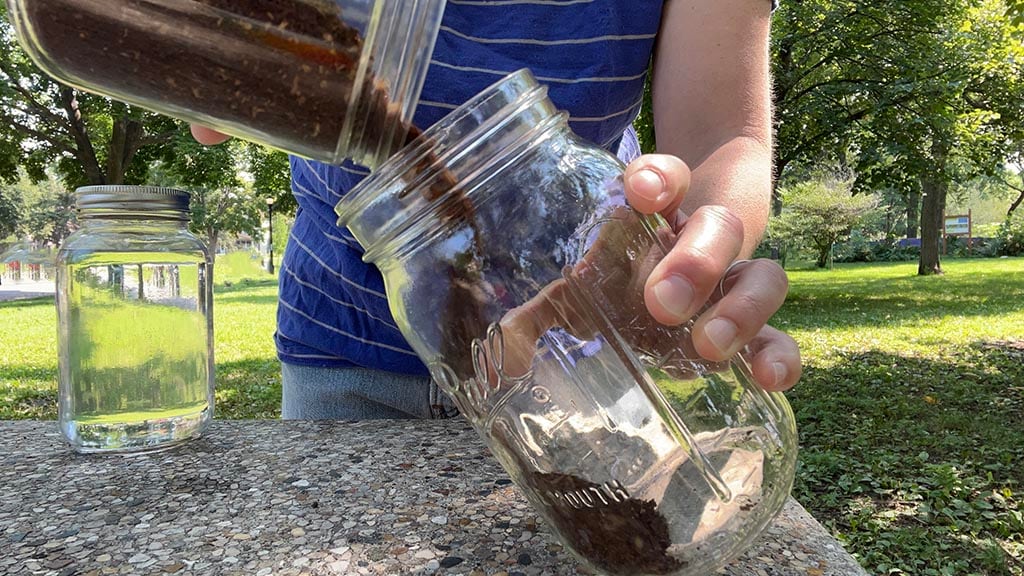
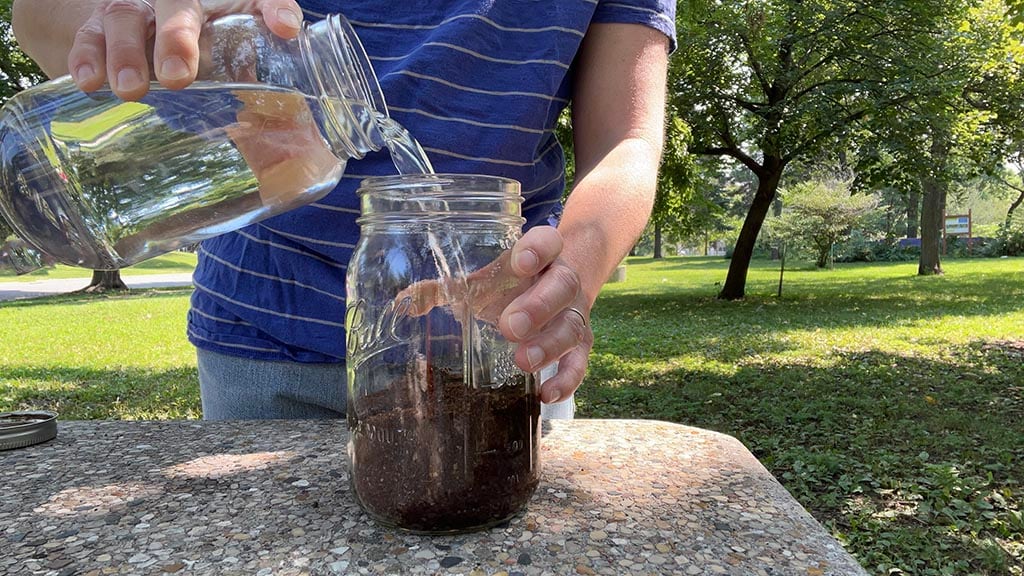
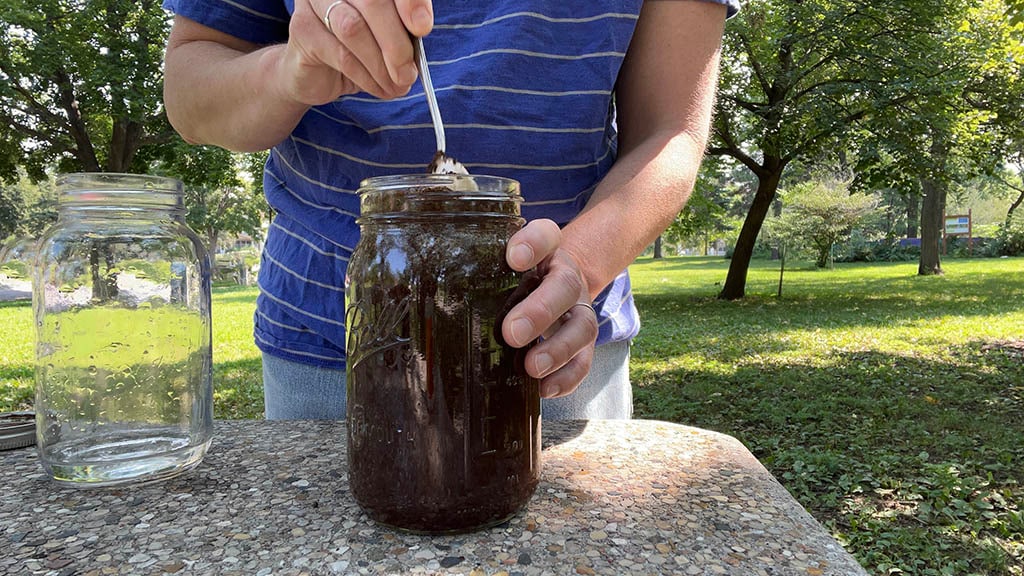
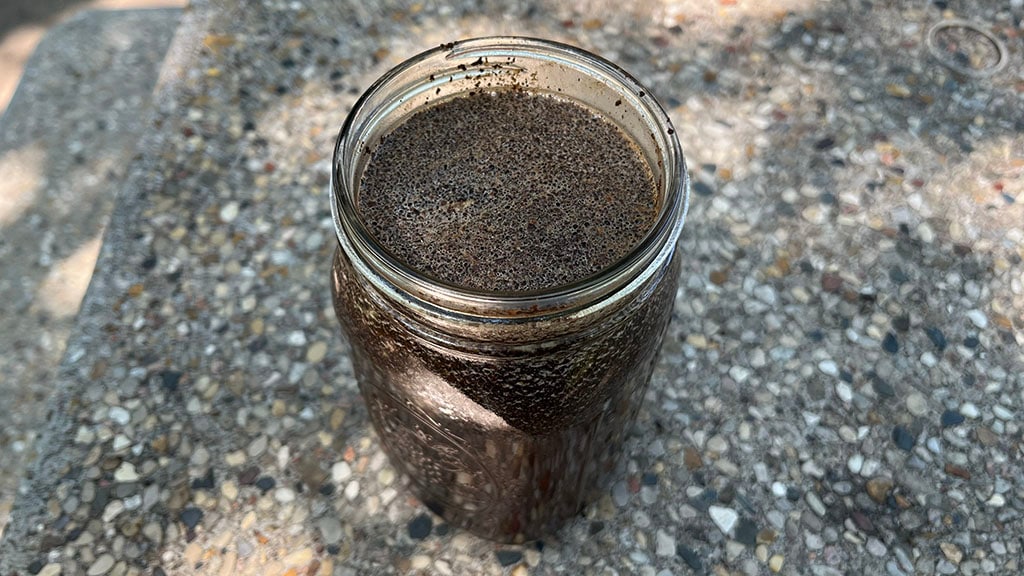
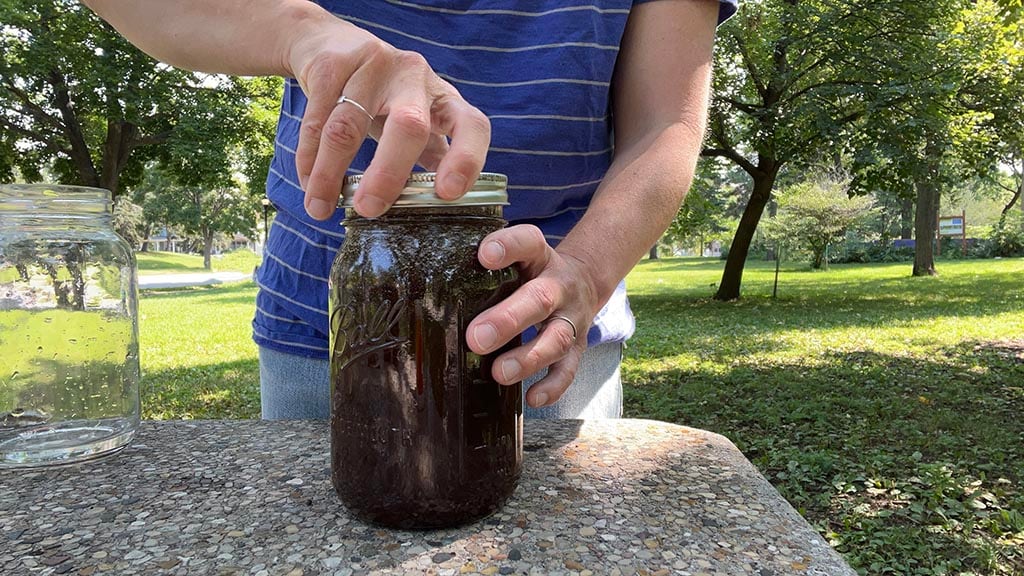
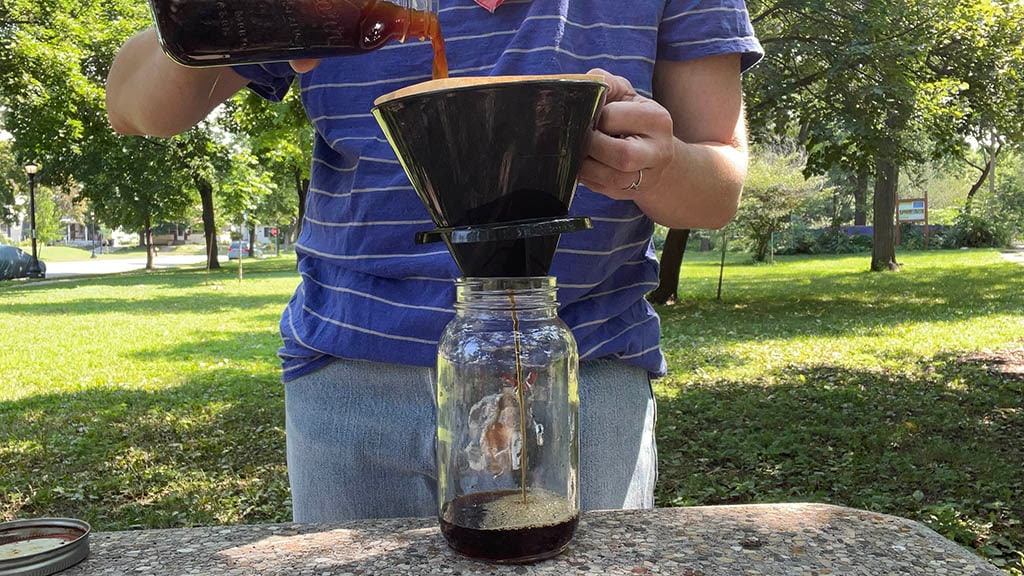
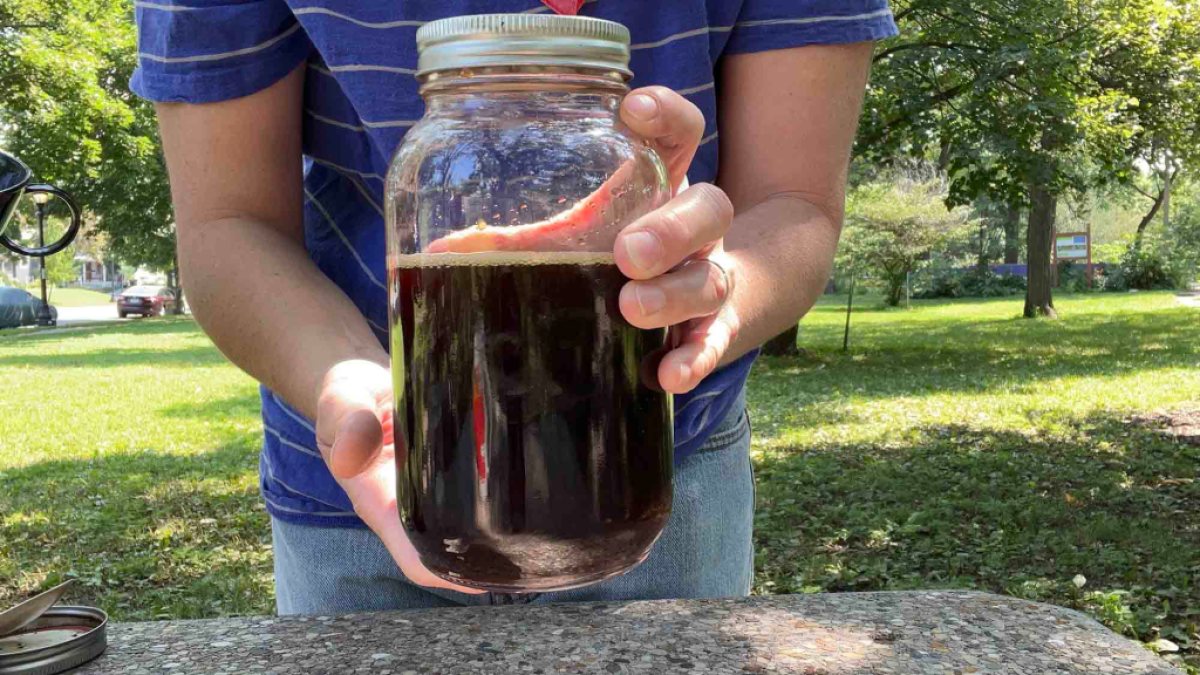
After steeping, simply strain and drain the cold brew through a paper coffee filter or fine-mesh sieve into your storage container, dispose of your grounds, and head to camp.
Optional Camp Cold Brew Gear
If experimenting with coffee gear at the campsite is part of the appeal, there are several specialty cold brew makers designed to speed up the brewing process and make cold coffee easier to prepare outdoors.
OXO Outdoor Rapid Brewer
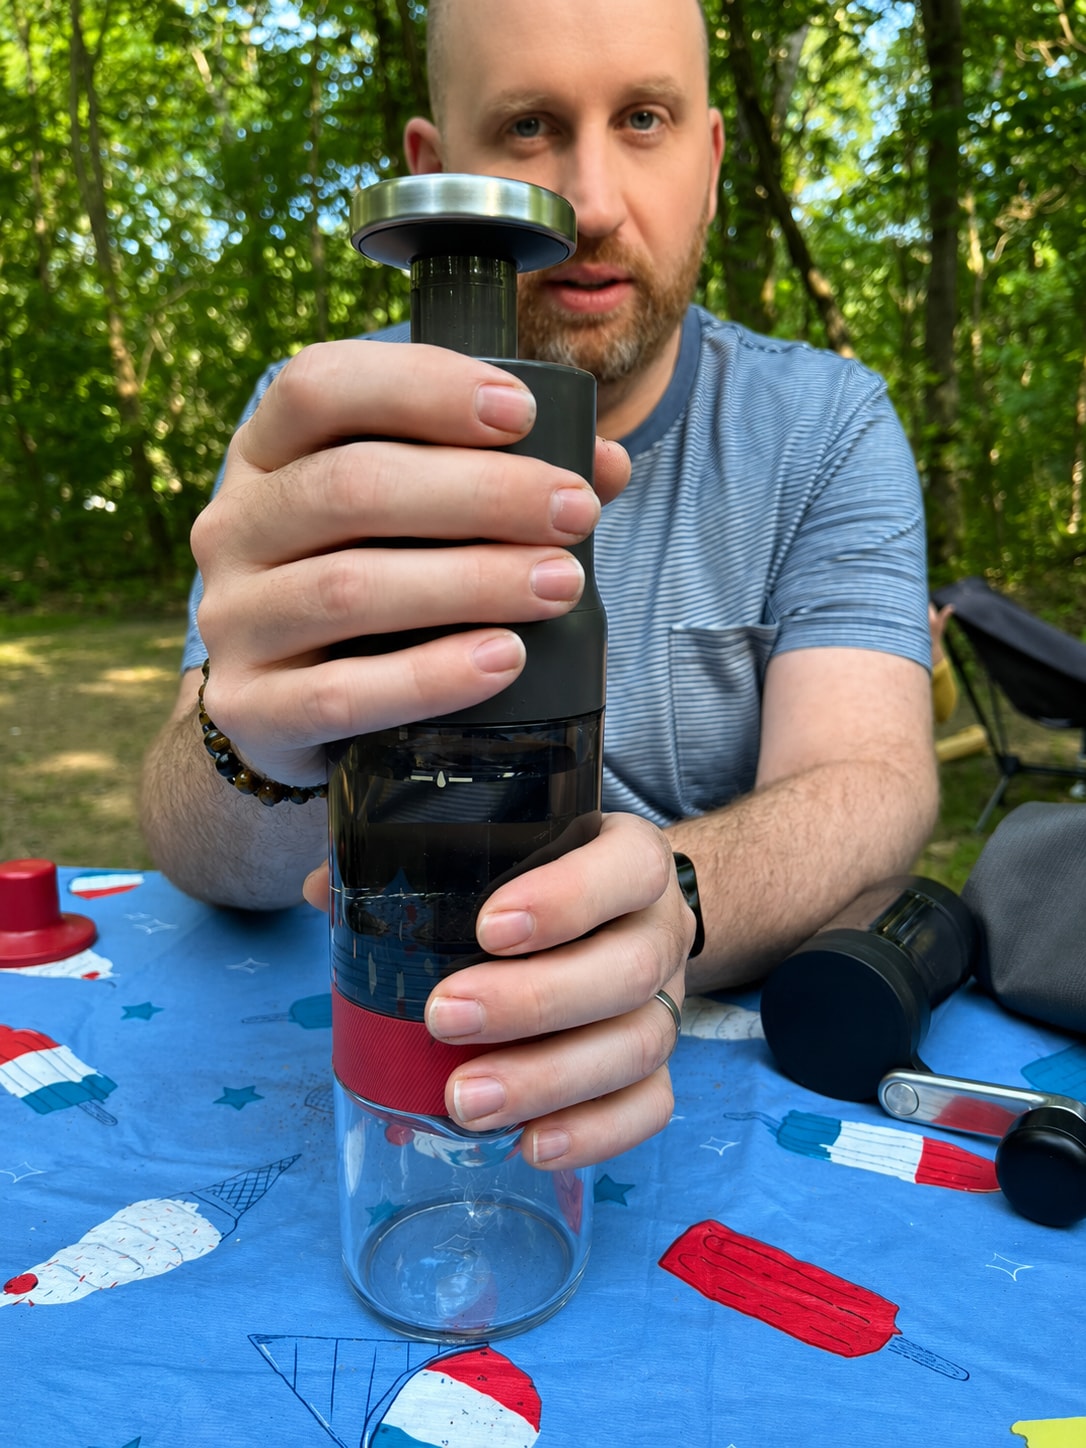
If time isn’t on your side, we love the compact, flexible Outdoor Rapid Brewer from OXO. About the size of a thermos, its hand-pumped vacuum chamber and built-in stainless-steel filter brew 4 to 5 ounces of concentrated cold brew in around five minutes (or concentrated hot coffee in about two minutes).
Purists (including my husband, modeling the OXO brewer above) may say this isn’t technically a cold brew brewer because it doesn’t rely on a long steeping period, but it made delicious coffee fast and it was easy to clean.
Toddy Go Brewer
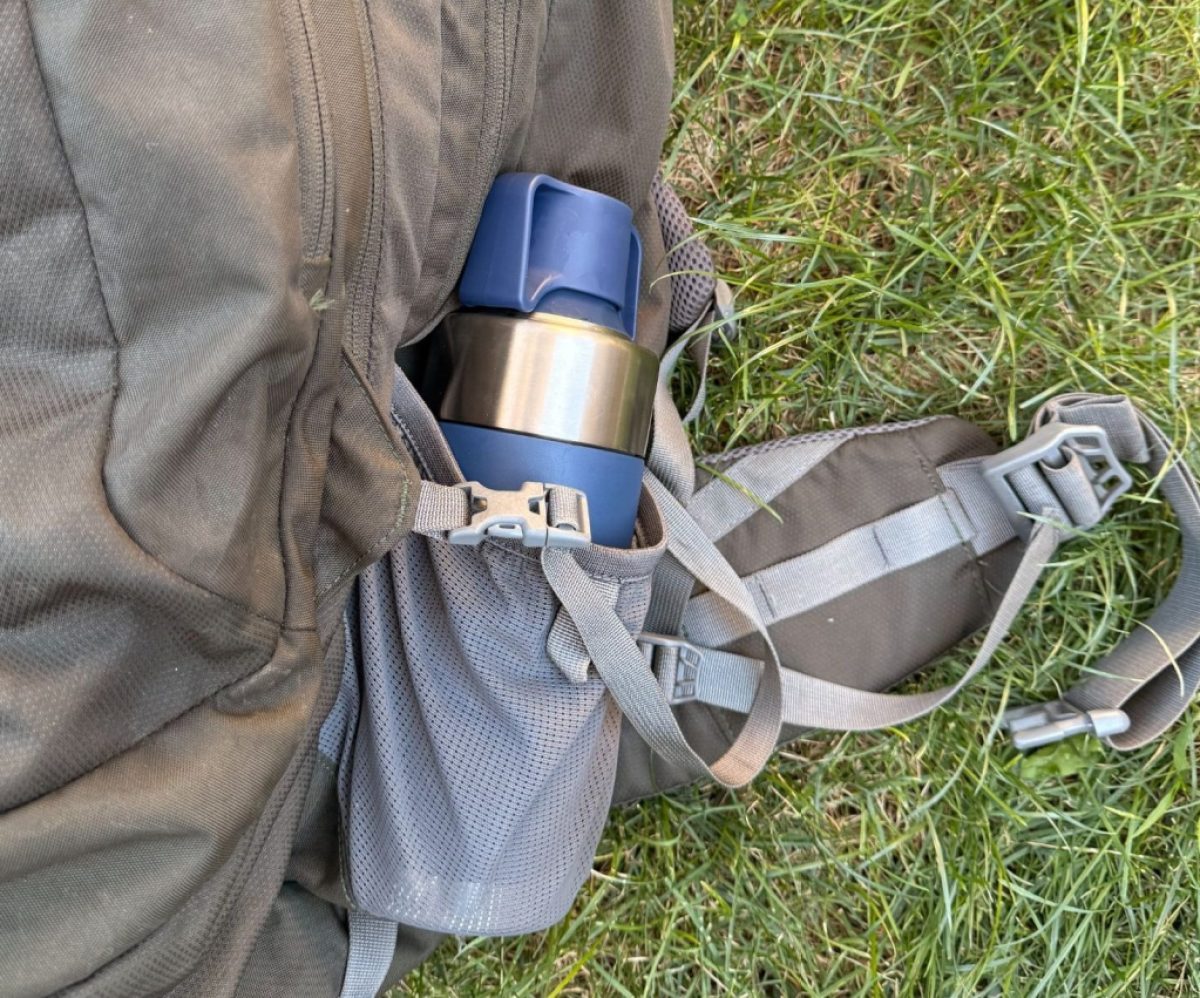
Since the 1960s, Toddy has been the most recognizable brand in cold-brew coffee making. The brand’s Go Brewer takes a very different approach to outdoor cold brew than the OXO Outdoor Rapid Brewer, using traditional cold-brew immersion rather than pressure—which means it needs that hours-long brew time. (It also brews considerably more: 25 to 30 ounces.) The resulting coffee is fuller-bodied like traditional cold brew.
While the tradeoff is planning ahead, it’s not much extra work if you’re already prepping meals and packing coolers.
Jar or Thermos and Filter or Bandana
Of course, you don’t need any specialized gear at all to make cold brew at the campsite. Just combine your coffee and water in a sealable jar or thermos at around dinnertime, seal it tight and let it steep overnight. The next morning, pour the coffee through a clean bandana, cheesecloth or paper filter into a second container. Ta-da!
It requires more planning than bringing concentrate from home, but it’s an inexpensive way to enjoy cold brew in the woods without buying anything extra.
French press
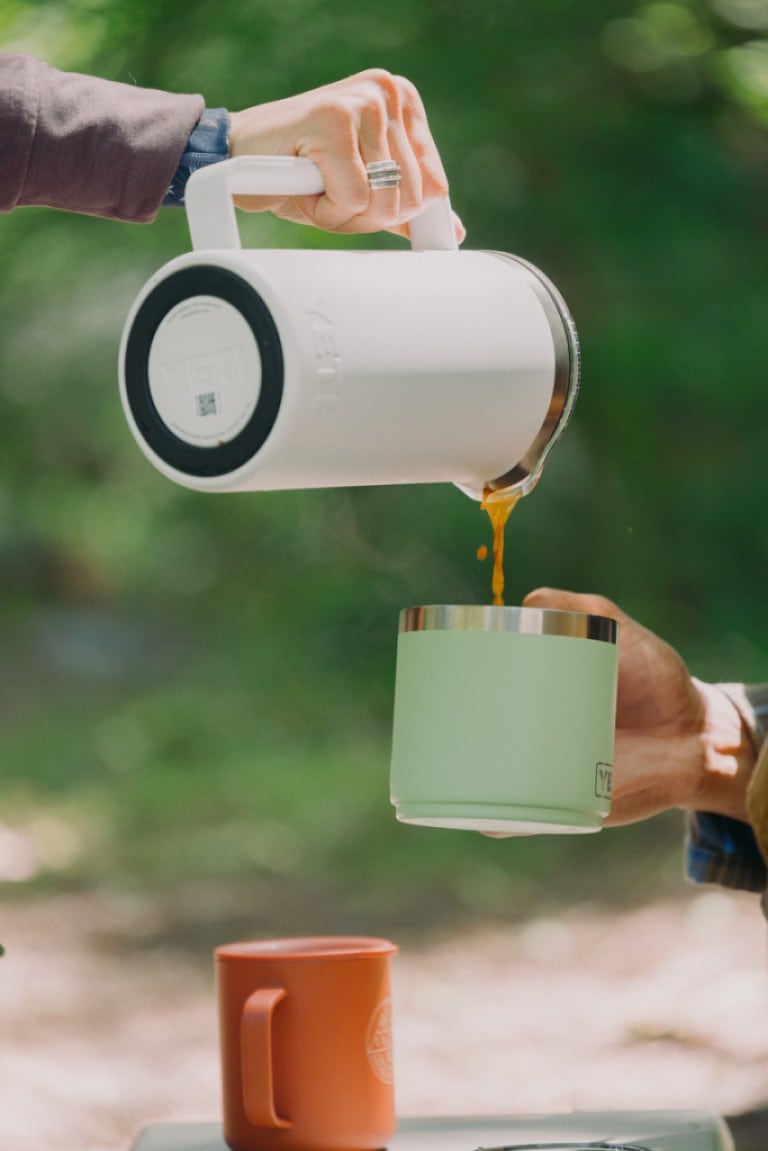
You can also use a press pot to make cold brew: Simply mix coffee and water in the carafe, place the lid on top and depress the plunger just far enough down to submerge the grounds in the water. After steeping 12 to 24 hours, press the plunger all the way down to hold back the grounds and pour the finished cold brew into another vessel for storage and serving.
Consider cold brew for your next adventure
Cold brew may not be as exciting as making coffee from scratch outdoors, but I’m exceedingly convinced it might be the easiest. And after using several specialty camping coffee brewers, I keep coming back to the same conclusion: If your goal is simply good coffee at camp, then a leak-proof container, some coarsely ground beans and a little patience will get you pretty far.
What’s your favorite way to have coffee at camp? Tell us in the comments.