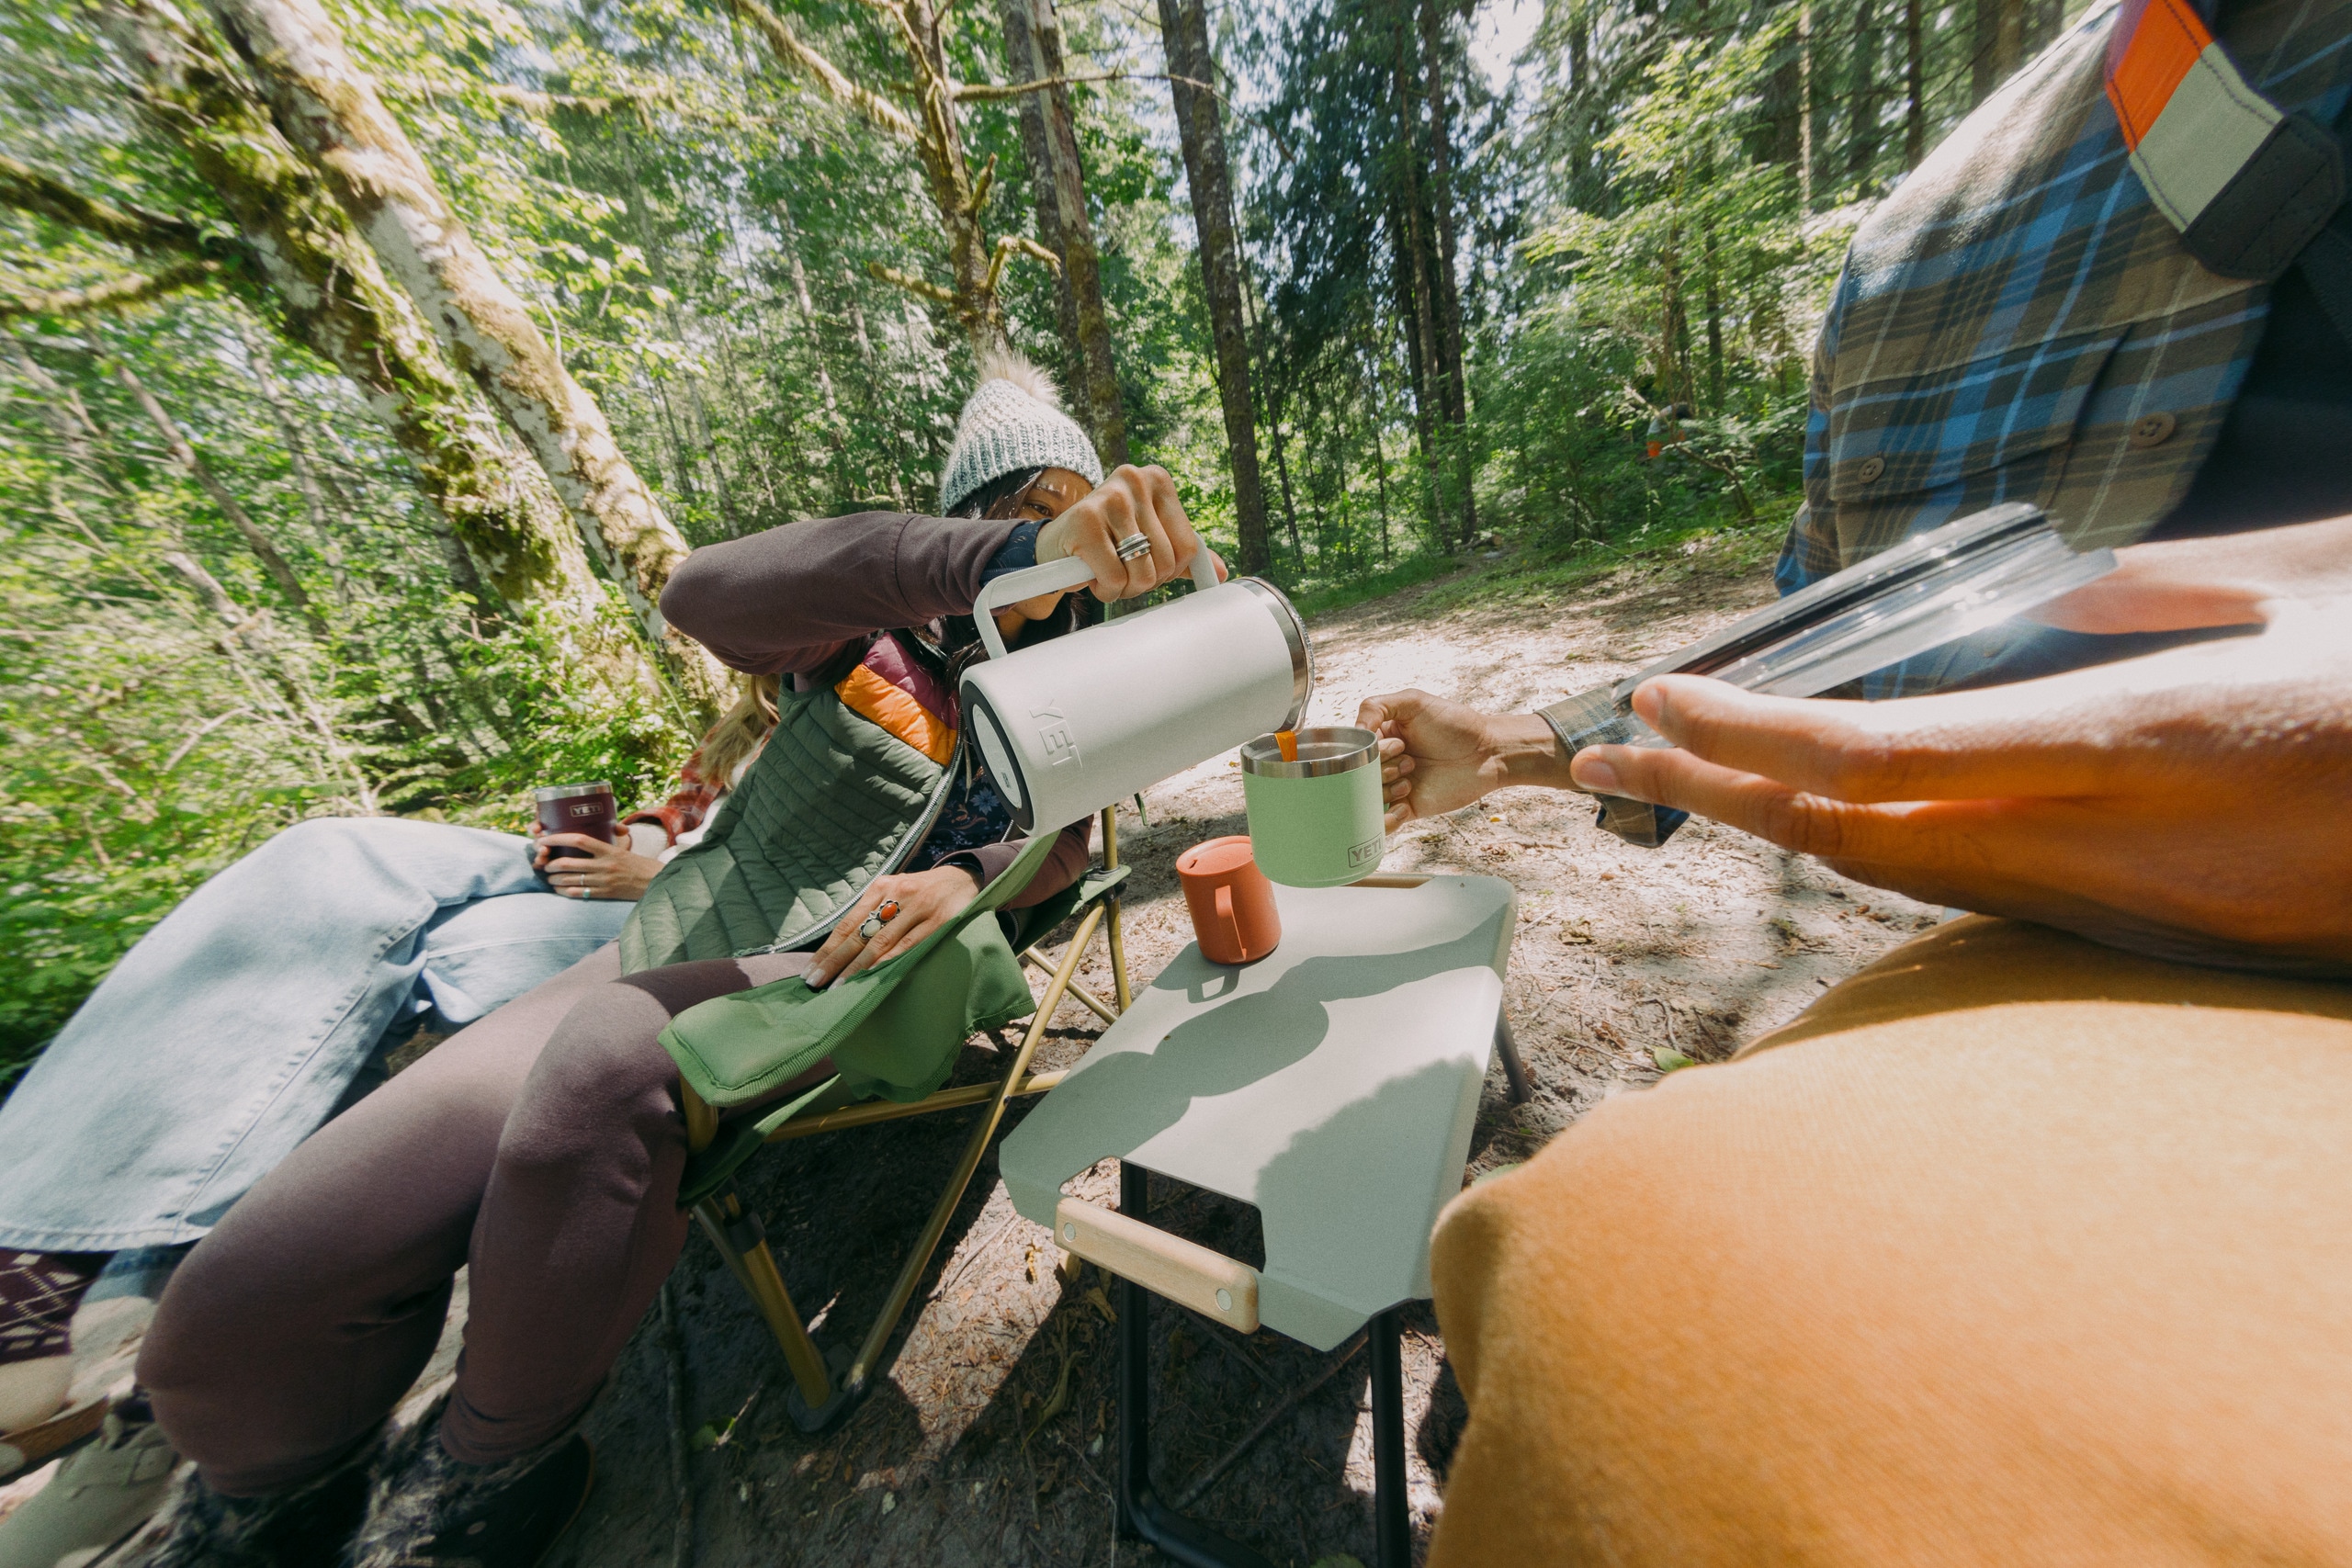
A hot, delicious coffee on a chilly morning at camp is one of life’s greatest pleasures. Making it happen, however, can feel as daunting as setting up a tent in the pitch dark after hiking off-course for hours.
The secret to making great coffee at camp is knowing how to make great coffee, period. Here, we’ll explain the coffee brewing process before breaking down the three most important variables of brewing coffee: recipe, grind size and water. We’ll also share brewing instructions for using the most common types of camp coffee makers.
Once you understand the fundamentals of brewing, you’ll be ready to take this joe on the road: Learn which camp coffee maker is best for you with our Best Camp Coffee Makers: Tested gear guide.
Jump Ahead
- The coffee brewing process
- Coffee-to-water ratio
- Grind size
- Water temperature and quality
- Filters
- Camp coffee cheat sheet
- Brewing instructions for camp coffee makers
- Leave No Trace
The Coffee Brewing Process
Even though coffee only has two ingredients—coffee beans and water—combining them can be quite complex. Before we go into the various elements that you can control in order to make the best possible cup, it’s helpful to understand the two primary principles that will dictate your coffee’s overall flavor and quality: strength and extraction.
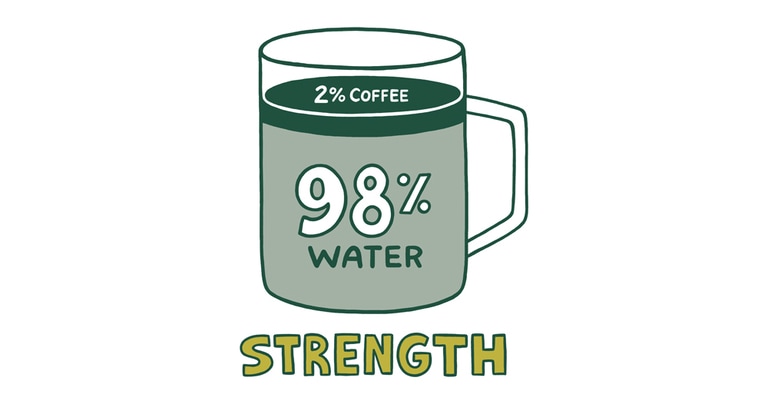
Strength is how concentrated or diluted your finished coffee drink is. It’s also the more-familiar term, as it’s how many people describe how they prefer their coffee brewed. ("I like my coffee strong," for example, or "My office’s coffee is too weak.") Coffee is such a potent flavor that you need very little of it in the finished drink: In fact, most brewed coffee is more than 98% water. That intensity is why it’s important to dial in your coffee strength: Even small miscalculations can make a big impact on quality.
Strength is also very subjective: The most important thing is that it tastes right to you.
Strength | Flavor |
|---|---|
Too strong | Smoky or burnt, pungent |
Just right | Balanced, smooth, sweet |
Too weak | Drying, papery, watery, lacking |
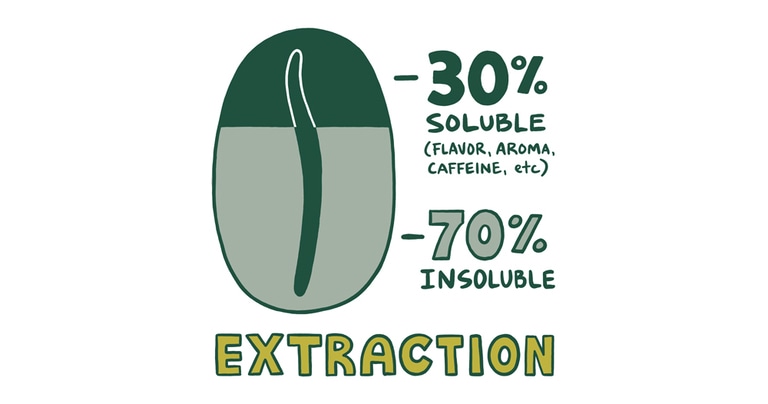
Extraction is the process of dissolving those soluble compounds from the coffee bean, so they can end up in your mug. About 30% of what makes up a coffee bean can dissolve in water—including flavor and aroma compounds as well as caffeine and organic acids but not all those things taste good. If you were measuring extraction scientifically (as coffee professionals sometimes do), you’d be aiming to extract 18% to 22%.
For our purposes, however, we’ll go by how the coffee tastes to us: A properly extracted brew will have a balanced sweetness that isn’t drowned out by bitterness or sourness.
Extraction | Flavor |
|---|---|
Over-extracted | Bitter, long and lingering aftertaste |
Properly extracted | Sweet, pleasant mouthfeel and aftertaste |
Under-extracted | Sour, aftertaste vanishes quickly but leaves a drying sensation |
The relationship between strength and extraction looks like this.
Under-extracted + Weak Sour, dry mouth, short aftertaste, papery or watery | Over-extracted + Weak Bitter, long and lingering aftertaste, papery or watery | |
Proper extraction + Strength Sweetness, balanced, moderate and pleasant aftertaste | ||
Under-extracted + Strong Sour, dry mouth, short aftertaste, smoky or burnt, pungent | Over-extracted + Strong Bitter, long and lingering aftertaste, overwhelming, burnt, pungent |
Coffee Brewing Variables
There are three primary things that you can control and change to improve your coffee’s quality: your coffee recipe, the grind size and your water.
Recipe or Brew Ratio
It seems obvious, but to both extract the right flavors and get the right coffee concentration, you’ll need a balanced coffee-to-water ratio.
- If you have too much water and not enough coffee, the water will extract more of those undesirable tastes and compounds that we don’t want in our cup. At the same time, the finished product will be weak, because there isn’t enough of the good-tasting coffee flavor in the recipe. You will have a bitter-tasting cup that is somewhat bland or watery.
- If you have too much coffee and not enough water, the water won’t be able to dissolve all the good and balanced flavors from each bean, but it will dissolve enough soluble material to make the finished product very strong. You will end up with a sour-tasting cup that is very pungent.
According to the global nonprofit trade association the Specialty Coffee Association (SCA), the ideal brewed coffee ratio is 1 part coffee per 16 parts water, adjusted to your taste. For example:
Coffee | Water |
|---|---|
10 g coffee | 160 g water* |
20 g coffee | 320 g water |
30 g coffee | 480 g water |
*28 g water = 1 fl. oz.
While many coffee makers come with a scoop for measuring coffee beans, it’s not always the most accurate way to determine your ratio, because not all beans are the same size and shape: You may find that one heaping scoop or tablespoon yields 5 grams, while the next yields 10 grams.
That said, sometimes a scoop or spoon is the tool you have, and we don’t need to make perfect the enemy of the good: A measurement rule of thumb is 2 level tablespoons of whole bean coffee for every 6 ounces of water, adjusted to your taste.
Tips: Using a scale to weigh your coffee and water is the most consistent way to get the right ratio, but you probably don’t want to bring a scale to camp. Instead, weigh out your coffee beans or grounds the night before your trip and portion each batch into small reusable containers like jars or sealable bags.
Use a Nalgene or other clear water bottle that has ounce measurements on the side as a measuring cup to keep your water consistent with your ratio.
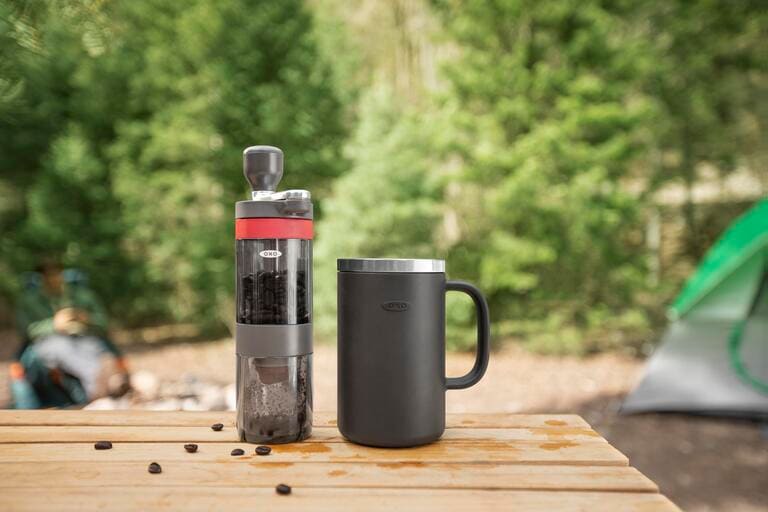
Grind Size
How coarse or fine your coffee is ground will also affect its extraction rate and strength. Coarser coffee grounds require a longer brew time to properly extract, since it takes the water longer to soak through each larger particle and absorb flavor. Finer coffee grounds extract more quickly because more of the coffee’s surface area is exposed to the water.
For some methods—like pour-over and espresso—grind size also affects how fast the water passes through the coffee. Water runs more quickly through coarse grounds and more slowly through fine grounds, like it would flow quicker through gravel than sand. See the Camp Coffee Cheat Sheet at the end of this guide for information about grind size and ideal brew time for different coffee makers.
For an even, accurate extraction, aim for consistent grind size, just like how you’d want all your vegetables to be cut to the same size if you were roasting them: If you had a mix, the bigger pieces would take longer to cook and caramelize, while the smaller ones might burn. Using a burr grinder is the best way to achieve an even grind profile, because you can control how fine or coarse the grind is by adjusting the burrs closer or farther apart. Blade grinders are not ideal: They chop and pulverize the coffee repeatedly, resulting in an uneven grind profile that generally contains powdery, crushed coffee “fines” that get very sludgy when you’re brewing.
Grinding fresh gives you better flavor and more control over grind size. Handheld burr grinders are slim and easy to pack, but they do add weight and bulk to your kit. Grinding in advance might sacrifice a little coffee freshness but can help slash ounces. If you don’t have a burr grinder at home, buy coffee from a local coffee shop or specialty market and have them grind it for you—just remember to tell them what kind of brewer you’re using.
Tip: Dial in your brew at home before heading out to camp, especially if your outdoor coffee maker is different than your everyday brewer. Experiment by brewing a few batches with different grind settings to see which you prefer. You may need to make more batches to fully dial in, so be sure to keep track of the grind size you used for each one.
Create a table like this to take notes:
Coffee Batch 1 | Grind Size: ________ | Brew Time: MM:SS | Flavor: ________ |
Coffee Batch 2 | Grind Size: ________ | Brew Time: MM:SS | Flavor: ________ |
Coffee Batch 3 | Grind Size: ________ | Brew Time: MM:SS | Flavor: ________ |
Water
Since coffee is more than 98% water, it’s important to pay attention to that ingredient as well.
Using clean spring or filtered water is key to achieving the best flavor. If the water has any odor or taste, your finished coffee likely will too. The ideal water will have a balance of minerals like calcium, potassium and sodium; distilled water doesn’t, and will result in an over-extracted, bitter cup. (Related reading: How to Choose a Water Filter or Purifier)
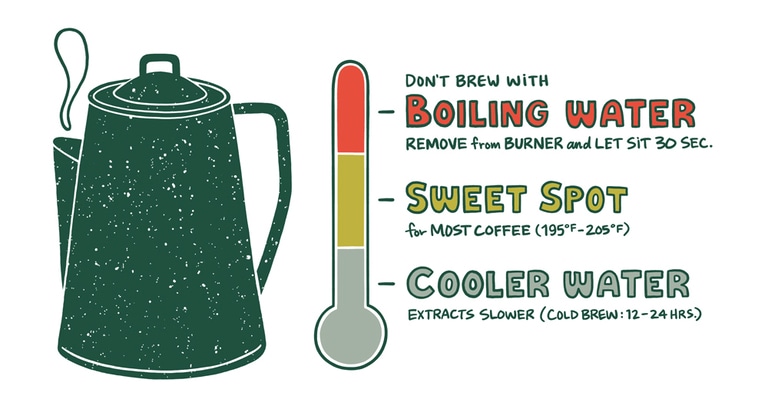
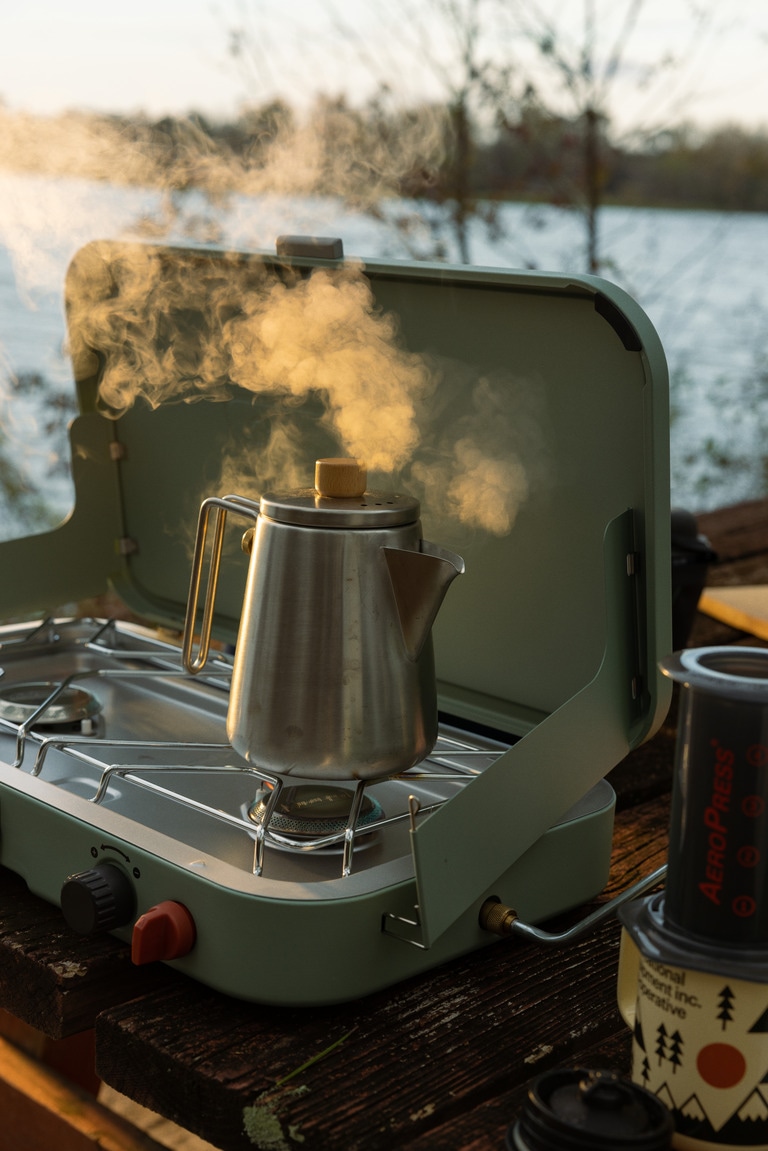
Water temperature plays an important role in making great coffee and is often overlooked.
Hotter water will extract coffee flavor faster, and cooler water will extract flavor slower, because higher temperatures cause water molecules to be more active—think of bubbling, boiling water versus still frozen water. Faster-moving molecules will make more contact with coffee grounds in the brewer or filter, allowing them to dissolve more quickly. Slower-moving molecules will need a longer time to dissolve the same amount—that’s why cold brew typically needs to steep for more than 12 hours to become flavorful.
Using water that is too cold will result in a sour-tasting, under-extracted cup, while using water that is too hot will result in a bitter, over-extracted cup. The ideal brew temperature is 205°F at the start of brewing, and the water temperature shouldn’t dip below 195°F during the process.
Of course, this is difficult to control at camp, where you’re unlikely to have a thermometer. You can bring your water to a boil and then remove it from the heat source for approximately 30 seconds. This should allow it to cool to about 205°F. Don’t make perfect the enemy of the good here. While it’s always great to hit the ideal brewing temperature, conditions don’t always allow it. Erring on the side of hotter is typically better: Just don’t brew coffee with boiling water.
Tip: Because water boils at a lower temperature at higher elevation, you might find it harder to make great coffee on a summit attempt. Instead, you can prepare a cold brew concentrate before your trek, then dilute it with hot water for a warm drink.
Filters
Many types of coffee makers require a filter to keep the coffee grounds out of your finished cup. In a French press, the filter is built in as part of the plunger, but for other brewers, the filter is separate. Often, filters are disposable, made of paper or similar papery material, like bamboo. Don’t forget to pack these if your brewer needs them and be prepared to pack them out along with your grounds at the end of your trip.
A reusable metal or cloth filter can reduce the amount you need to pack, though you will need enough water to clean it, and cloth filters can take a long time to dry.
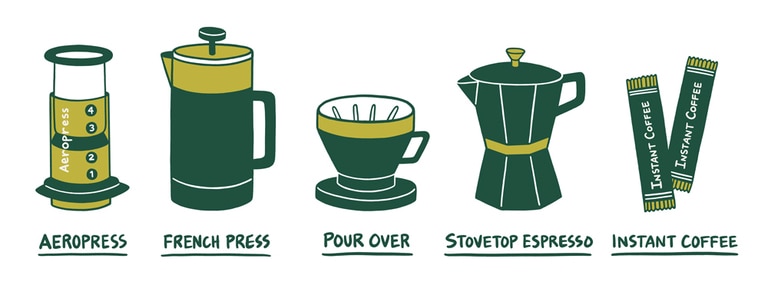
Camp Coffee Cheat Sheet
Coffee Brewer | Coffee to Water Ratio | Grind Size | Total Brew Time |
|---|---|---|---|
Cold brew concentrate | 1 : 8 | Coarse | 12–24 hours |
Stovetop percolator | 1 : 16 | Medium-coarse | 10–12 minutes |
French press | 1 : 16 | Coarse | 4–5 minutes |
Pour-over | 1 : 16 | Medium | 3–5 minutes |
AeroPress | 1 : 8 | Fine | 2–3 minutes |
Stovetop espresso maker | 1 : 2 | Fine | 1 minute* |
*Note: Stovetop espresso brew time does not count how long it takes to heat the water. The whole process is generally closer to 4 minutes if you start with slightly pre-warmed water.
Coffee Brewing Instructions
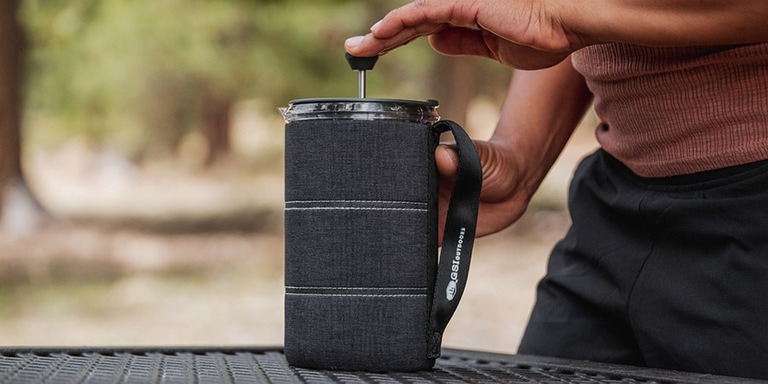
French press
Best for: Car camping, groups
- Place all of your coarse-ground coffee into the bottom of your press pot and gently shake the brewer until the grounds are level.
- Pour in hot water, being careful to saturate all of the coffee grounds. If needed, you may stir the grounds once gently to make sure they’re all saturated.
- Rest the lid on the brewer and depress the plunger just until it rests under the water level: This makes sure all your coffee is submerged for the brew.
- After 4 to 5 minutes, gently press the plunger to the bottom of the brewer. If you feel resistance from the plunger, don’t force it: Simply back the plunger up a little and then continue to press. (This is generally caused by too fine a grind.)
- Serve and enjoy.
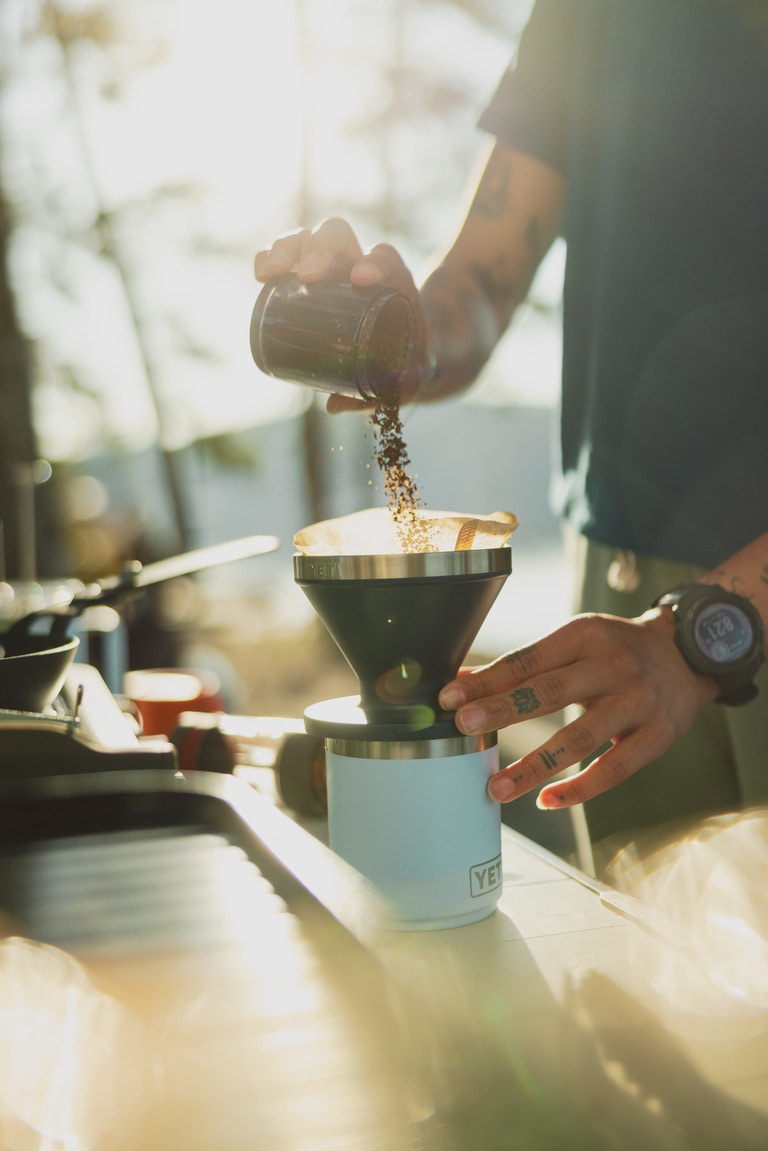
Pour-over
Best for: Solo or two-person camping
- Position your pour-over brewer cone or filter on top of a mug, carafe or other serving vessel.
- Place your paper, cloth or metal filter into the pour-over device, then add your medium-ground coffee. Gently shake the brewer until the grounds are level.
- Bloom the coffee: Pour just enough hot water to completely saturate the grounds, then pause your brew. You may notice the coffee bubbling and “burping” as it releases CO2 gas. This will allow the rest of the brewing water to dissolve coffee flavor more effectively.
- Slowly and evenly add the rest of your brewing water to the grounds, trying not to stir them up too much by pouring fast or too much water at once. You may need to pour in a few small batches.
- Allow the liquid to drain completely from the filter before removing it: It will generally take between 3 and 5 minutes.
- Stir the finished drink to make sure the flavor is evenly dispersed, then serve and enjoy.
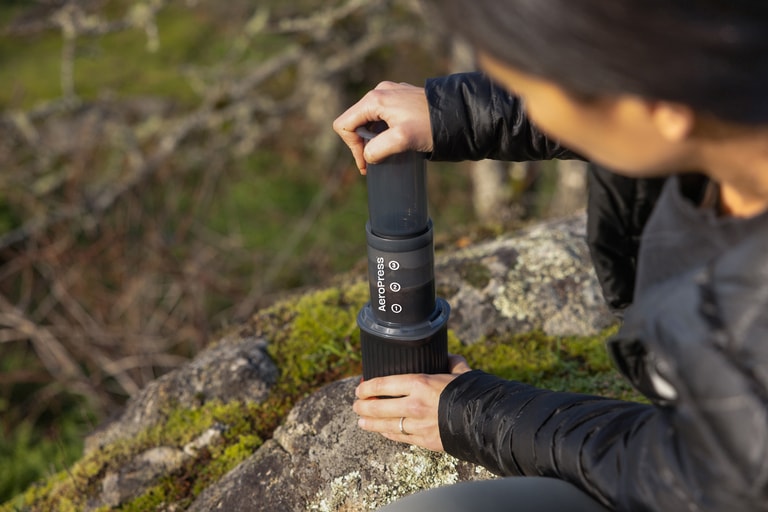
AeroPress
Best for: Solo camping, quicker brew times
AeroPress is a compact device that allows you to make a small amount of coffee relatively quickly using the force of pressure to extract. Some people like to use the AeroPress to make a higher concentration of coffee, akin to espresso, while others use it to make something resembling a smaller serving of filter coffee. Experiment and find what you prefer. There are many ways to use an AeroPress, and some coffee lovers swear by alternate brewing methods. Here, we describe the standard way to use an AeroPress.
- Disassemble the brewing chamber and plunger piece of the AeroPress, and remove the filter cap.
- Place a paper filter in the filter cap and attach it to the brewing chamber.
- Add your fine-ground coffee to the brewing chamber and gently shake the brewer until the grounds are level.
- Place the brewing chamber filter-side down over a carafe or mug.
- Add the desired amount of hot water, being careful to saturate all the grounds.
- Stir the coffee and water for 5 seconds.
- Gently insert the plunger about ½ an inch to stop any drips from seeping through the filter at this stage, and to retain heat.
- After 2 minutes, press down on the plunger until you hear a hissing sound, which means you’ve pushed out all the brewed coffee.
- Let the last few drops fall from the AeroPress, then stir the finished drink to make sure the flavor is evenly dispersed.
- Serve and enjoy.
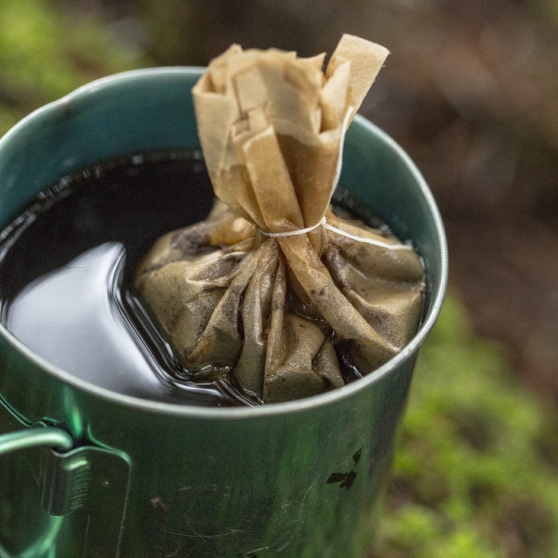
Cold brew
Great for: Prepping ahead of time, backpacking, camping
Cold brewing is an exceptionally easy way to make coffee with very little equipment. Many recipes produce a concentrate that needs to be diluted before drinking, and can be diluted with hot or cold water, milk or nondairy milk. You can easily make cold brew before leaving on a trip, or you can make it at camp in a sealable, airtight canning jar. Keep it cool in a cooler if you’re camping, or consume it within 36 hours if you’re carrying it unchilled, we describe the process using only a jar and a strainer, sieve or cheesecloth, but the same principles apply if you use a dedicated cold brew maker. You can also secure your grounds in a paper filter and steep them like a tea, after which you would just remove and discard/pack out the filter and spent grounds.
- Add your coarse-ground coffee to the bottom of a clean canning jar.
- Add the desired amount of cool to room temperature water.
- Stir the coffee and water for 5 seconds.
- Seal the jar and leave coffee undisturbed for 12 to 24 hours to steep.
- At the end of the steep time, you’ll need to separate the liquid and the coffee grounds. You can do this a few ways.
- If your jar has a lid that separates into a ring and a plate, remove the plate piece. Stretch a piece of cheesecloth or other fine mesh cloth over the jar, and hold it in place by tightening the lid’s ring around the cloth. Then pour the liquid out into a clean vessel. Remove and properly dispose of the grounds.
- If you have a fine mesh strainer or sieve, place it on top of a clean vessel and gently pour the cold brew liquid through it, catching it into the vessel below. The slower and gentler you pour, the fewer grounds you’ll displace.
- Place a drip-coffee filter in the basket of an automatic drip brew machine or a pour-over cone, then it over a clean vessel or carafe. Slowly pour the cold brew into the filter, letting it drain completely. This can take a long time, as the paper filter will catch more sediment and become somewhat muddy, but it’s worth it.
- Dilute the cold brew concentrate to your liking with hot or cold water, milk or nondairy milk.
- Serve and enjoy.
Leave No Trace
No matter what method you choose to make coffee at camp, remember to always follow the principles of Leave No Trace.
- Store coffee securely. Coffee beans, grounds and even instant coffee packages can attract wildlife, so be sure to keep yours in a bear canister, locker or other secure location as per your campsite's recommendations.
- Pack out used filters and coffee grounds. Despite being great organic material for your home compost, coffee grounds have no place being scattered or buried in the wilderness. They are foreign to (and therefore can cause damage to) the local ecosystem. They can also not only attract wildlife, but potentially cause illness if ingested.
- Dispose of wasted coffee properly. Left some brewed coffee in the pot or in your mug? We know it’s unlikely, but in case you brewed more than you can drink, you’ll want to handle the excess the same way you handle other contaminated liquid. If your campsite has a waste-water drain, use it for brewed coffee. Dilute it considerably and dispose of it at least 100 feet away from campsites and shelters, and 200 feet from any water source. When in doubt, pour it into a sealable receptacle and get rid of it when you get home.