Expert Advice from NatGeo contributor Andy Mann on how to nail your next shot. Even with an iPhone.
The blinds were shut, the lights were off, and the room was lit by storm clouds. They glowed from the Adobe Lightroom interface filling a 27-inch computer screen in the corner. A photographer leaned over the image, smoothing lines, adjusting color. Elsewhere in the room, other photographers sat, hunched in concentration, lit by mountain sunsets, warm sandstone, and the reflections of grit-faced climbers. Welcome to the office of 3 Strings Productions.
Across the hall, 3 Strings co-founder Andy Mann shook my hand from a kayak-yellow armchair. When he’s not working for the buzzing, Colorado-based media house he co-founded with Keith Ladzinski, Andy teaches photography workshops for National Geographic and Rock and Ice. He’s also a former senior contributor to both Urban Climber and Climbing Magazine, and he’s shot everything from deep sea expeditions to remote first ascents in the French Polynesian jungle.
I’d come to Andy on a pilgrimage of sorts, seeking instruction from a master. I have a talent. This I know. Even friends and partners have taken notice of my singular ability to make the most beautiful rock and strongest, most stunning climbers look dull and unattractive. If anyone could provide guidance, it was Andy. Here’s what I learned:
Arrive With a Vision
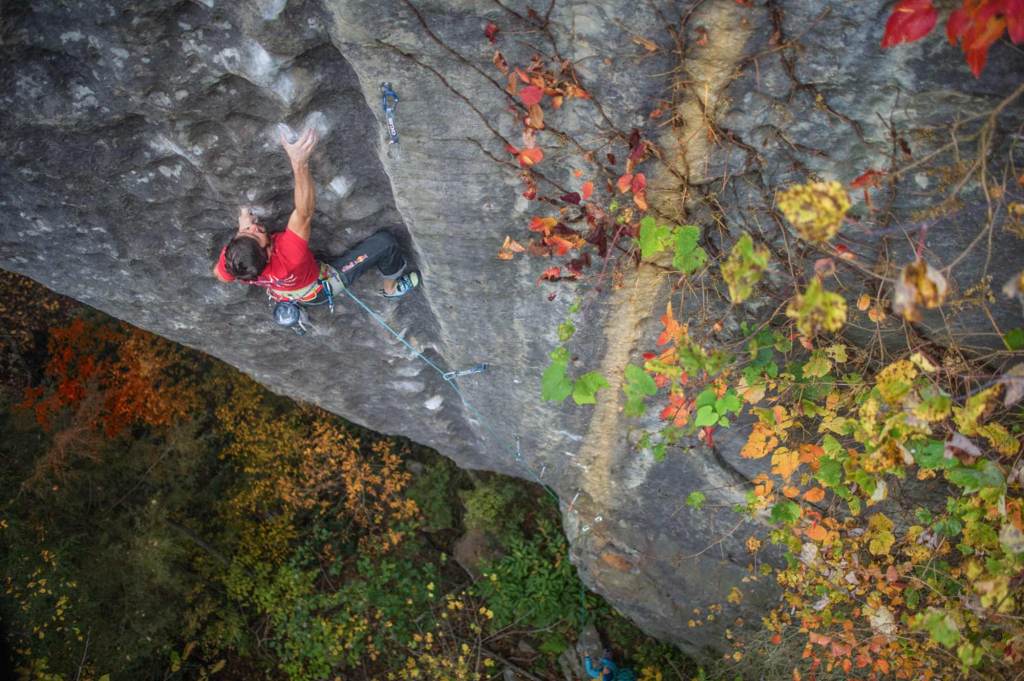
Killian Fischuber pinches his way up “The Tube,” a 5.14b Red River Gorge classic. Here, the lines of the climb, the yellow foliage, and the climber divide the frame into thirds, which are more visually appealing than perfectly centered subjects. | Photo courtesy of Andy Mann
Do your research. Look for other photos of the climb you want to shoot, and use them to figure out what styles and angles work.
As in climbing, it’s important to have a mentor to show you the ropes. Unlike a climbing mentor, however, you don’t ever have to meet your photography spirit guide. Andy urges beginners to find a photographer whose work they admire and emulate it.
“Don’t rip off their style for the exact same climb they shot, but recognize their techniques and see how many you can use,” Andy said.
Maximize your time at the crag by coming prepared with a checklist of shots you want to leave with and an idea of the most efficient order in which to nab them. It helps to be familiar with a route so you know where the coolest body positions are going to be.
Think About the Big Picture
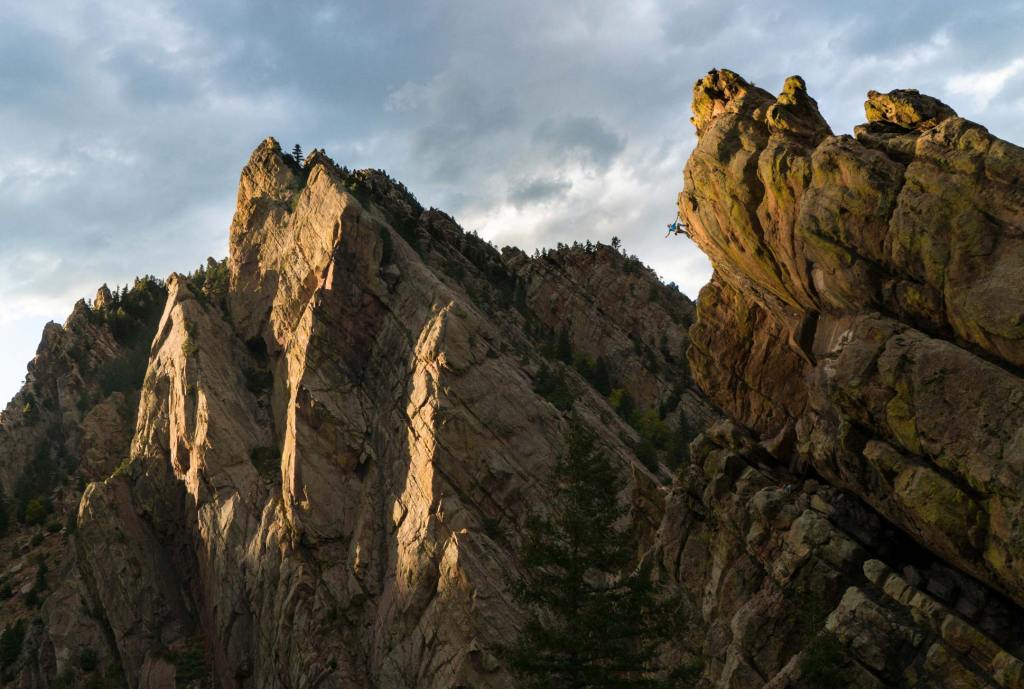
Andy Mann catches Matty Hong hanging around “Your Mother,” (5.12d) in Eldorado Canyon from a trail on the opposite side. Letting a powerful landscape swallow a climber is one way to make a powerful image that places climbing within the greater context of the mountains. Some sweet late afternoon light doesn’t hurt. | Photo courtesy of Andy Mann
“Climbing is so much about the landscape. That’s why we’re out there,” Andy said. “People don’t give enough credit to how small the subject could be and how powerful an image that is.” The first thing Andy considers when putting together his vision for a shot is how to best capture the landscape surrounding a climb. This includes being mindful of the time of day. Mornings and evenings typically produce the most striking photos.
Put Down the GoPro
Some photographers will film a climb so they can pull stills later. Others will clamp a GoPro to the chains while a belayer snaps photos remotely from an app. Others still, acting almost heroically against the certain odds of earning an entire community’s hatred, will bring a drone to the crag. These are neat tricks, but these aren’t tricks of the trade.
“There have been very few good climbing photos taken with a GoPro, but there have been plenty of really amazing shots taken with an iPhone from the ground,” he said. All it takes is a little compositional forethought.
Find the Negative Space
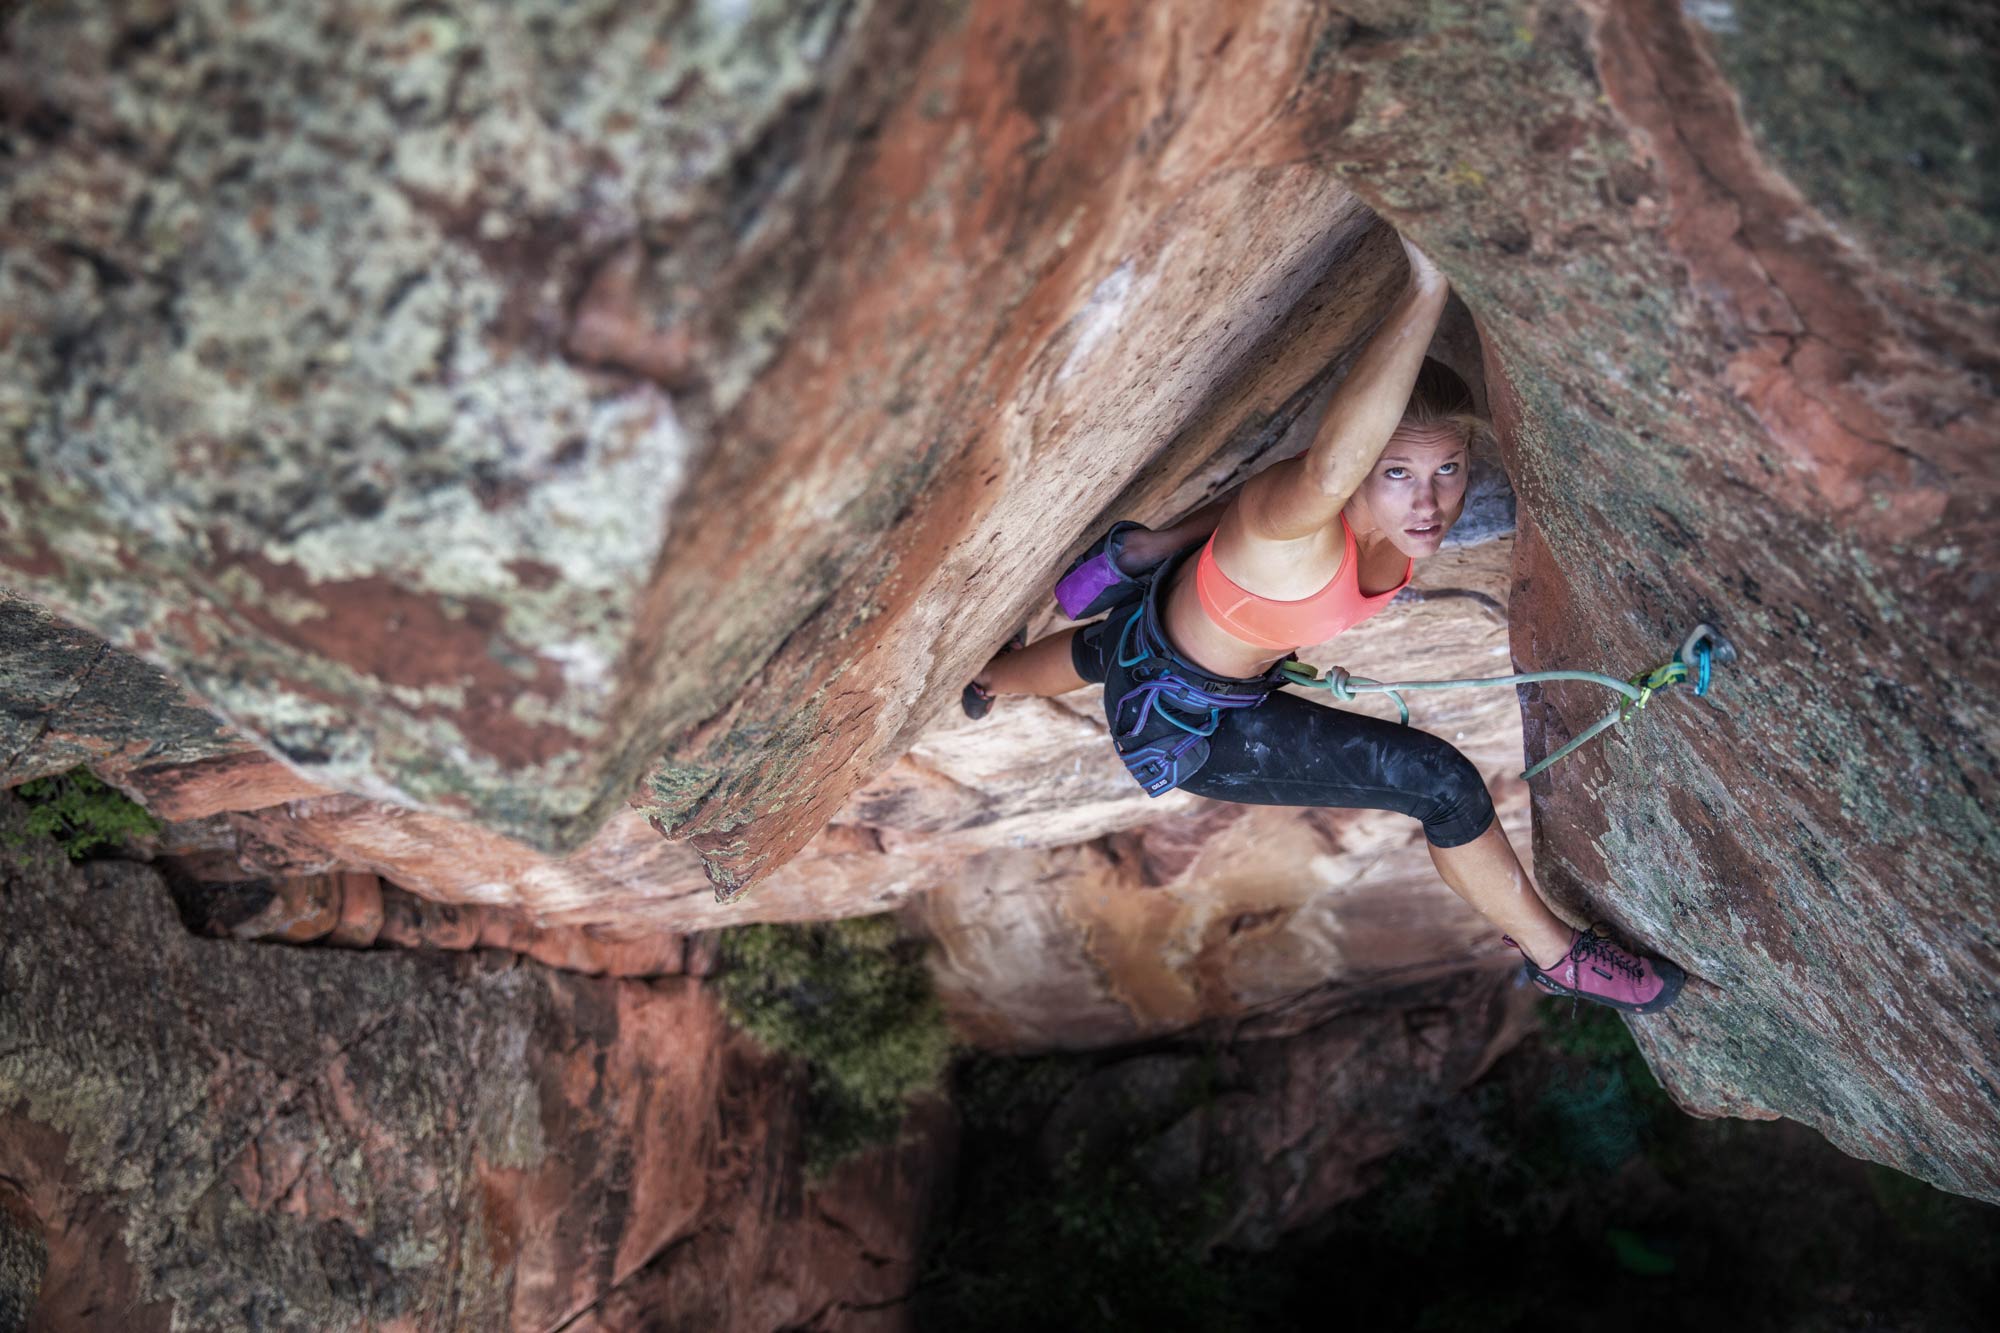
Move off to the side to frame the climb and find striking features, like the steepness of Abby Smith’s V11, “Breathless.” | Photo courtesy of Andy Mann
“The number one rule to get an exceptional image from the ground is to find the negative space,” said Andy. Get off to the side and shoot a profile to show the steepness of the climb and look for sky—or bits of dark background if the subject is in the light—showing though each of the climber’s limbs. Use negative space to balance a photo, to keep the image from becoming cluttered, and to add or detract from the visual weight from the climber. Play around with different compositions and subject-to-background ratios to figure out what works.
Climbing Photography is Portrait Photography
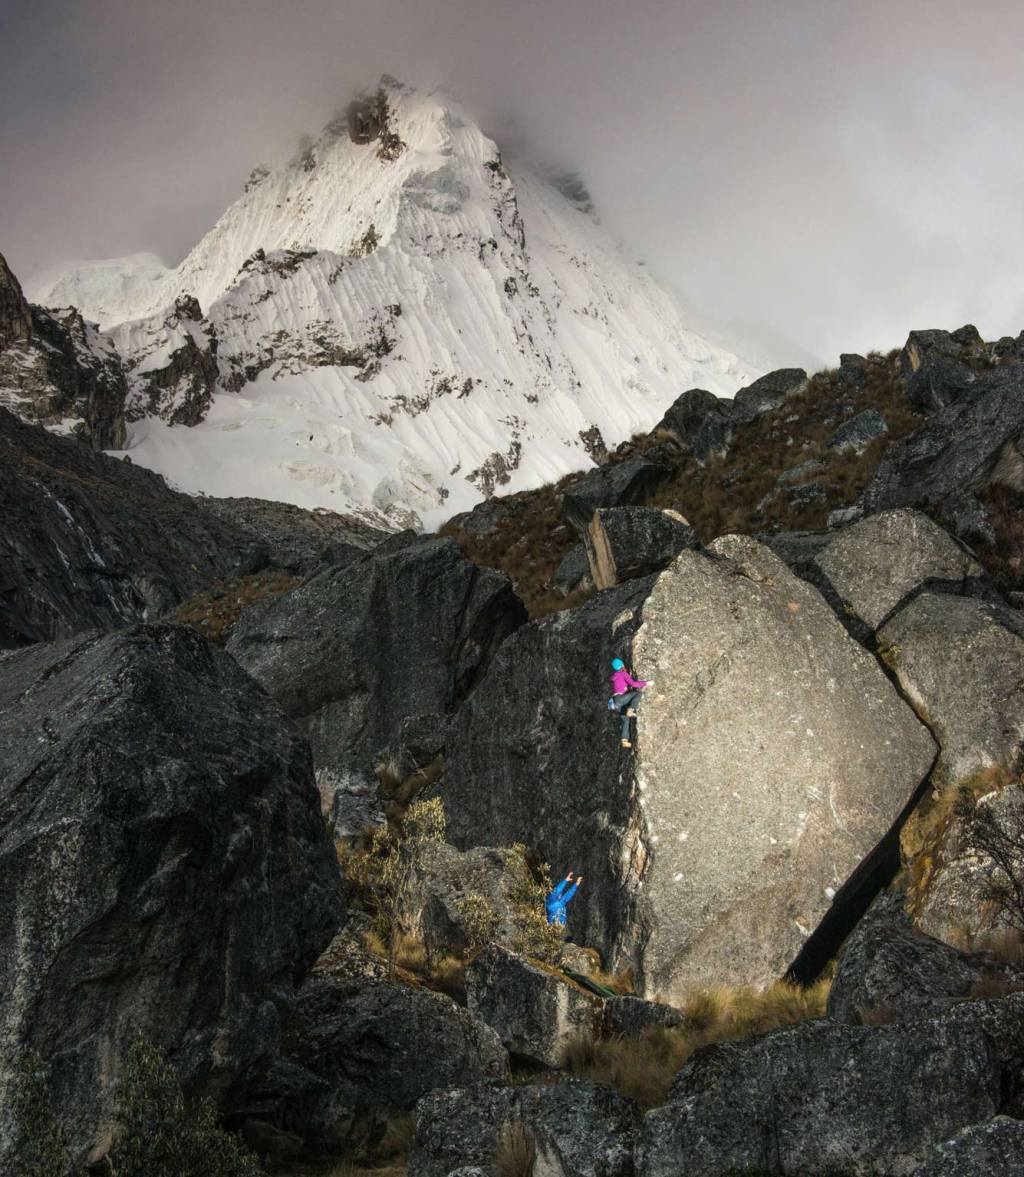
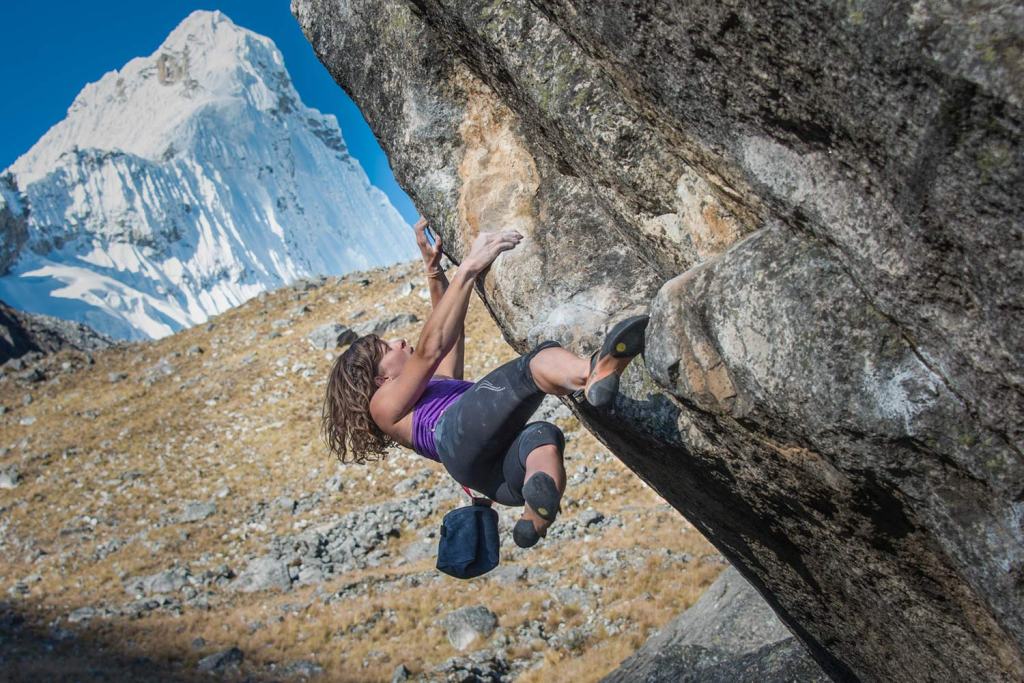
Remember to take a step back. Otherwise you might miss all the beauty surrounding Paige Claassen and this unnamed arete she tackled during a trip to Peru. | Photo courtesy of Andy Mann
And not necessarily of the climber. After figuring out the best landscape angle, Andy starts figuring out how to capture the route. “What are the sexiest parts of the climb? Think about it like you would think about shooting a portrait. What are the characteristics that make it unique?” he prompts. If it’s overhanging, try a silhouette, a wide shot, or another angle that captures the steepness. Figure out how to make the climb look its most beautiful. After that, you can start worrying about the climber.
No Butt Shots
As it turns out, a butt, however artfully composed, is about the worst you can do. It doesn’t do the route or climber justice, and, if you’re belaying, using that brake hand to fiddle with a camera or phone isn’t the safest move. “If it’s just you and your buddy going out to climb, you should be focused either on belaying or climbing,” said Andy. If you want a good photo, bring a third. Whoever’s on photo duty should start by backing up.
“If you’re shooting from the ground, the tendency is to get in close to the action, but the farther back you are, the better,” Andy said. He recommends hiking up somewhere to get at least level with the climber, if not hopping on a rope.
Amputations Are Rude
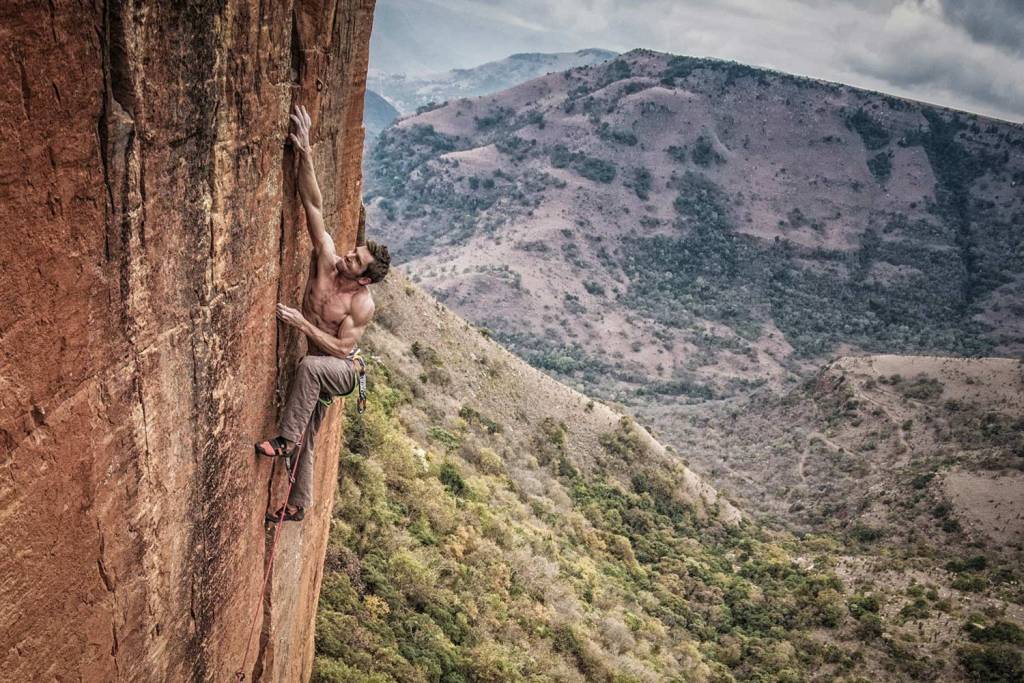
As a rule, shots should include both hands, both feet, and a face. Andy Mann captures Arjan DeKock’s good side while he plans his next move on “Rolihlahla” (5.13d) in Waterfall Boven, South Africa. | Photo courtesy of Andy Mann
The biggest mistake Andy sees from beginners? “Probably cutting off limbs,” he said. New photographers want to move in close, shooting toes on an edge or fingers latching onto a crimp. “This is okay to do if you’re doing it with intent,” Andy said, but a lot of beginners zoom in without having the focus adjusted for a particular move, and the result is just a climber with bits and pieces chopped off. You’ll want your subject in the upper right or left third of the photo. As a rule, include both hands, both feet, and a face in every shot.
Shoot the Shake-out
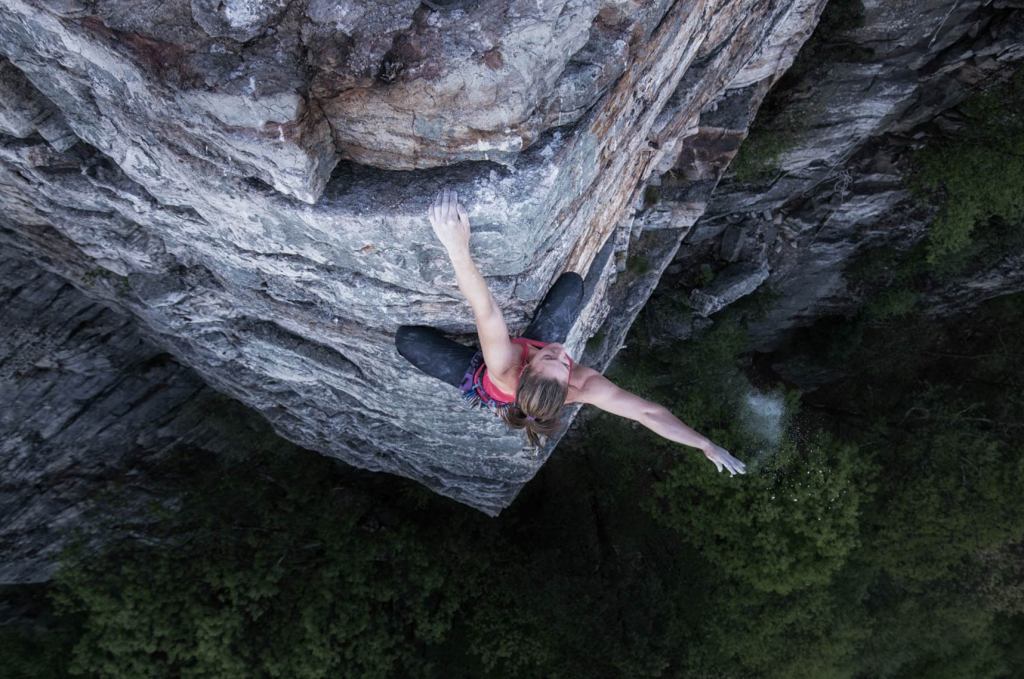
The dark forest backdrop frames Vikki Weldon’s shake-out. (Unknown 5.10, the Gunks). | Photo courtesy of Andy Mann
Catching your buddy’s try-hard face on camera can be priceless, but don’t fixate on the crux.
“A lot of people don’t shoot the chalking up and the resting,” Andy said. “But those can be some of the coolest shots. Somehow you get this quietness and confidence in the climber then because they’re slowing things down.” Rest holds also let the climber hang back from the wall, opening up the shot with negative space.
Go Bouldering
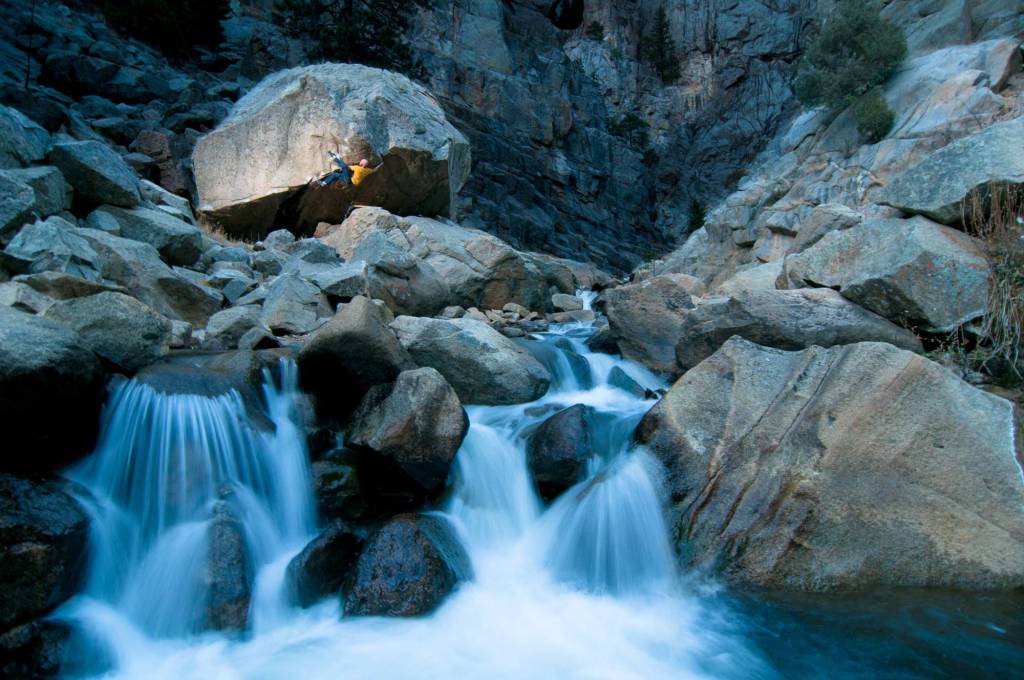
Nathan Weldon demonstrates on Virgin No More (5.13a) in Penitente Canyon.
If you like the feel of a camera in your hands, there are a lot of reasons to go bouldering, even if you’ve spent more days on a portaledge than a crash pad.
“You have so much control over the landscape and your angles,” Andy said. “And you can still use all of the same techniques that apply to a rope but wasting way less time and energy.” It’s also a convenient way to practice if you’re working as a party of two.
Shoot As Many Photos As Possible
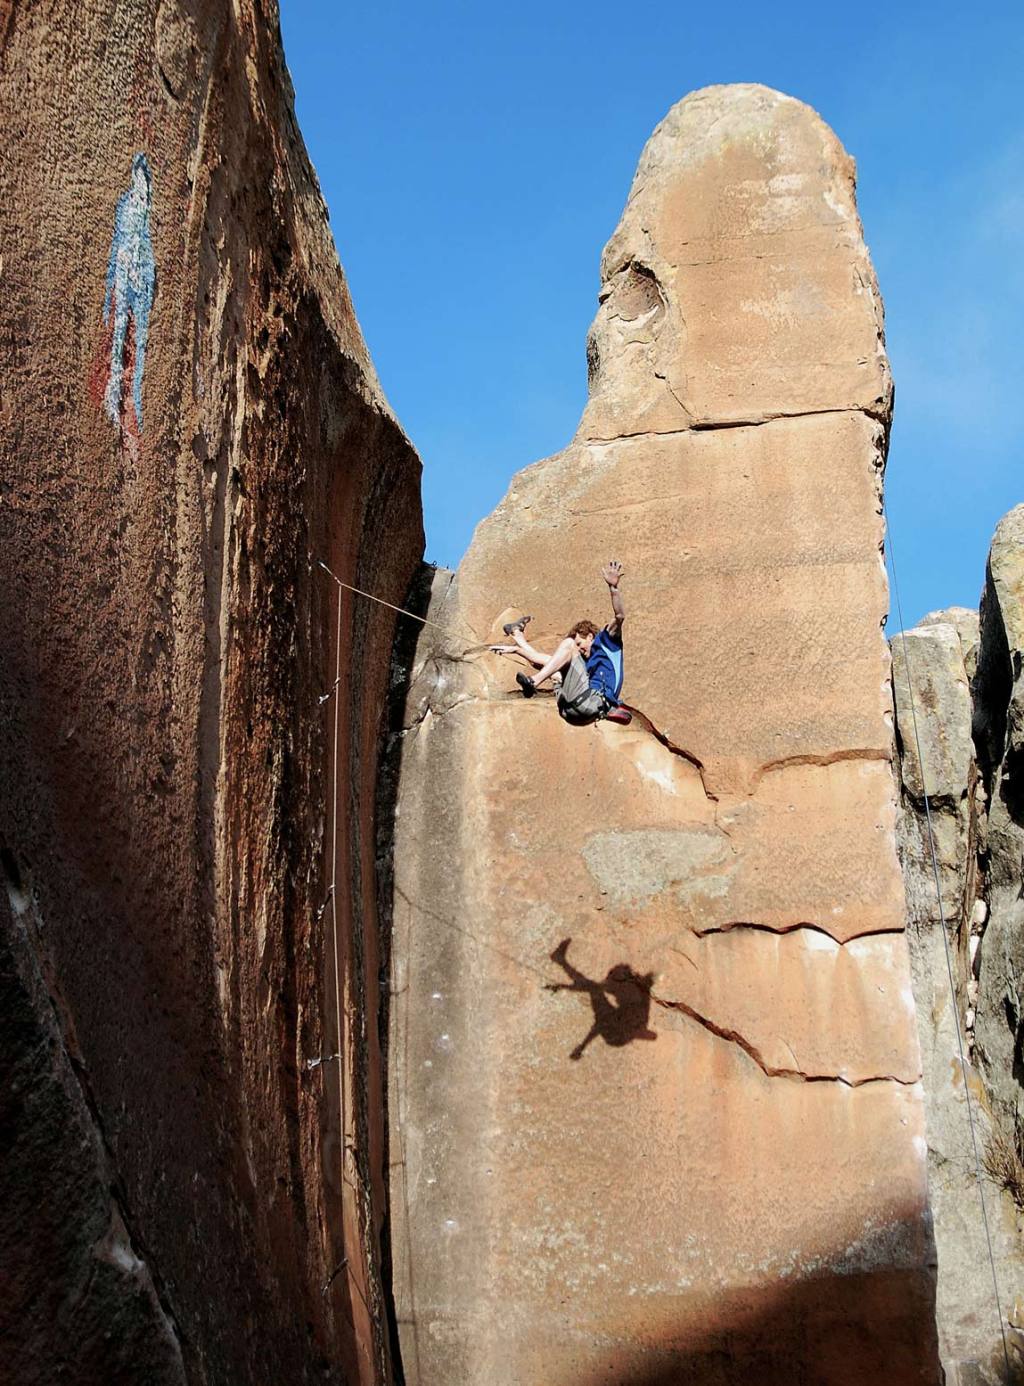
The more shots you take, the more likely you are to capture a whipper like Nathan Weldon’s, proving he’s “A Virgin No More” (5.13a) in Penitente Canyon. | Photo courtesy of Andy Mann
In climbing photography, body position is everything, and waiting for the exact moment of that crux throw is a good way to miss it. Instead of missing one photo, take 20,000. Especially when starting out. “Fill a memory card every day if you can,” Andy said. Experimenting with everything you can think of is the best way to start figuring out what works and what doesn’t.