
Gear Aid Seam Grip Seam Sealer
Winner of the prestigious Backpacker Magazine's Editors' Choice Gold Award, the urethane-based Gear Aid Seam Grip Seam Sealer helps waterproof your gear for outdoor fun in wet weather.
- Use this handy seam sealer on tents, backpacks, mittens, gaiters, foul-weather gear and more, or to repair small rips and holes
- Flexible, waterproof formula is washable and unaffected by extreme cold or heat
- Easy to use—simply squeeze lightly and draw tube across the seam; seal seams from the inside whenever possible
- 8-to-12 hr. cure time (takes only 2 hrs. when used with Cotol-240 cure accelerator, not included)
- Before use, clean surfaces with isopropyl alcohol; Seam Grip cures by reacting with the humidity in the air
- This 1 oz. tube is generally enough to seal all the main floor and rainfly seams on a typical 2-person backpacking tent (using a 1/4 in. wide bead)
- Safe for use on natural and synthetic fabrics; excellent adhesion and abrasion resistance
- All seams must be completely sealed in order for an item to be totally waterproof
Made in USA.
View all Gear Aid Adhesives| Best Use | Supply & Repair |
|---|
Review this Product
Adding a review will require a valid email for verification
Most Helpful Favorable Review
Most Helpful Critical Review
Customer Images

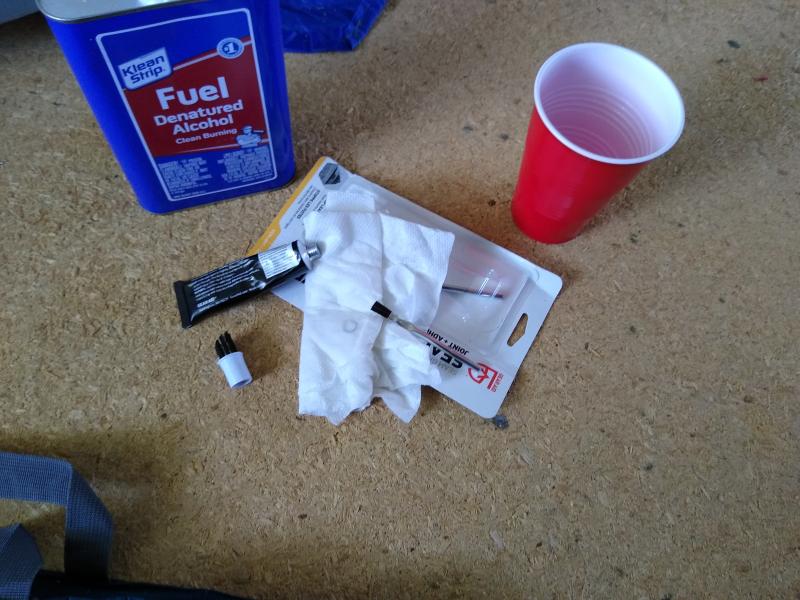
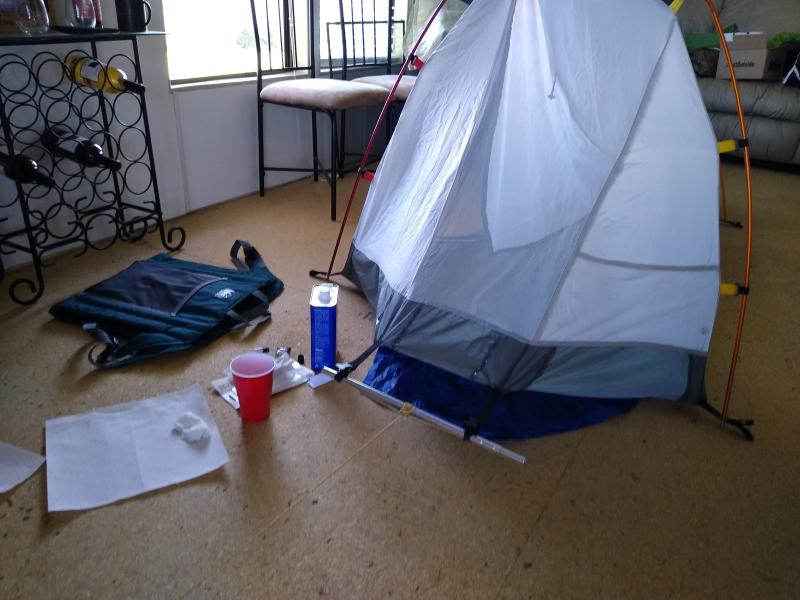
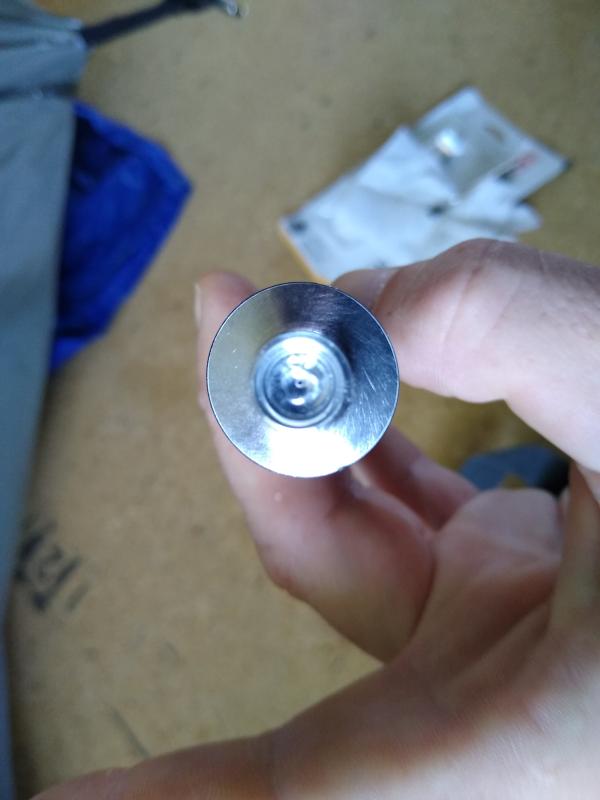
Go slow
Doing it now. Take your time, put a tiny little pin hole in sealer tube. clean no detergent let dry. pitch in controlled well ventilated place, put small amount denatured alcohol in cup, dip clean paper towel in alcohol rub all around stitching, ruff up wet area with provided round brush, apply small amount/ a drop side glob on the silver brush, thoroughly brush the stitching, even light strokes until it's tacky and the brush begins to lightly stick, repeat. Go slow clean your brush and tube often. Second coat even lighter.
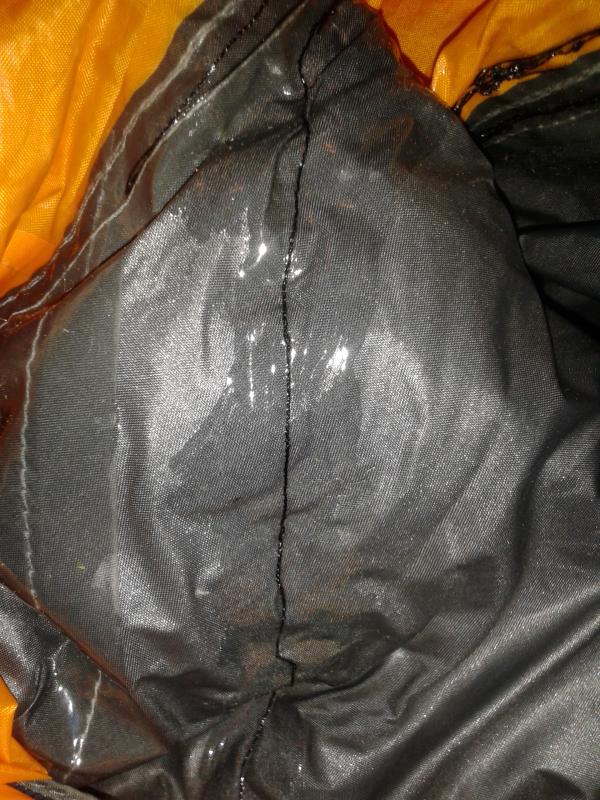
The description and spec are right on
I only used this to seal the seams of an older REI half dome tent I have. Like the description indicated, it really was just enough to seal the bottom seam around my tent and the seams of the rain fly. I was impressed with how it dried to a rubbery and pliable finish. One tip I have is be sure to use the hand brush that comes with it and not the screw on brush head. It takes a bit of time to squeeze the sealant onto the brush and brush it on a section at a time, but it is worth it for the results. The only negative is that it is messy and difficult to clean up the residue that gets on your fingers - I had to use paint thinner.
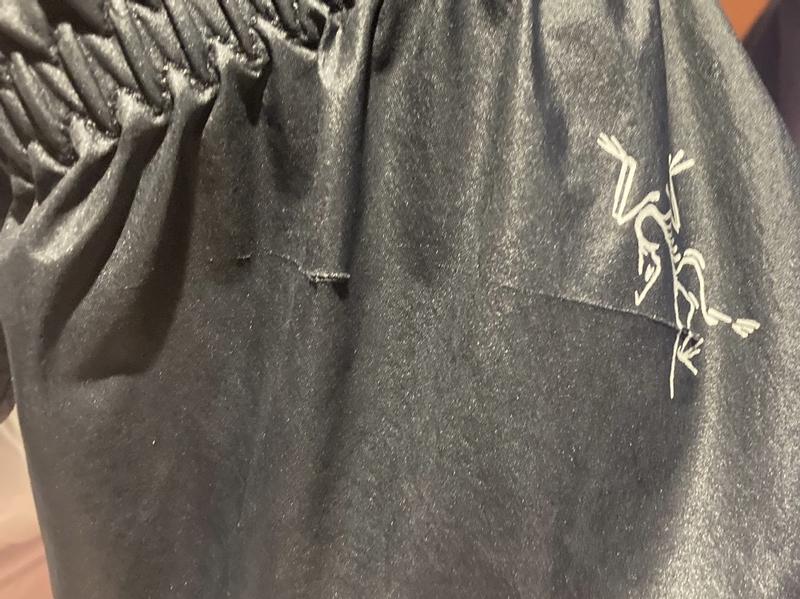
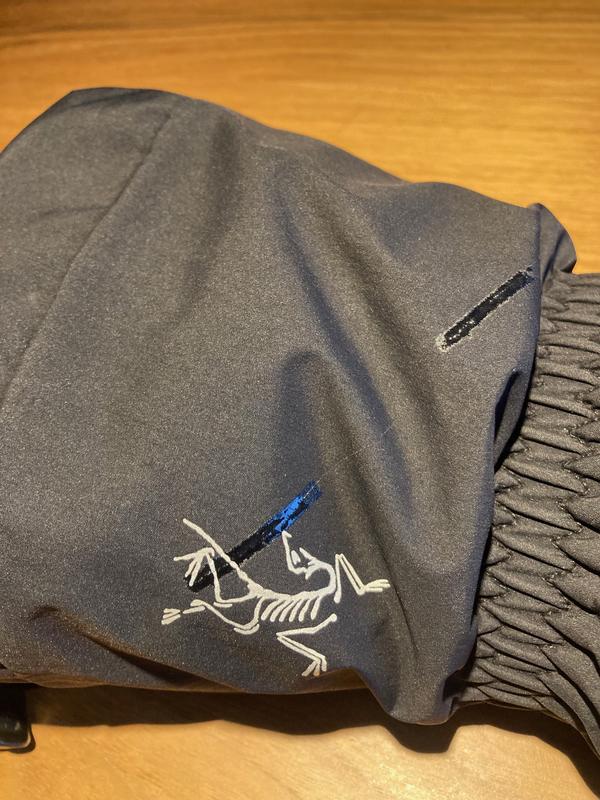
Superb!
No ugly patch, just a clear layer that retains the original pattern. Saved my expensive Alpha SV!
Definitely sticky enough
This stuff is basically super strong, super sticky rubber cement that leaves a permanent bond and a layer of flexible urethane. Worked to repair some seam tape that was coming unglued from a Gore Tex rain jacket. Also seems to be working (no pun intended) to repair some crumbling seam tape on the fly of a value-priced tent. I wouldn't recommend it for field repairs as the manufacturers recommend storing it in the freezer after opening, but it's great for repairs at home. Just be careful with it as it sticks permanently to everything. (Soaking it in strong rubbing alcohol will dissolve it in a pinch--be sure to soak the brushes after use if you ever want to use them again.)
Strong Rain-fly Adhesive & Sealant
I have a 10 year old Half Dome 2.0 that unfortunately was stored in a hot shed during a move. The rain-fly adhesive was overheated and all of the rain-fly secure cords started to pull off the fly. I called REI and they recommended this product to reattach the cords. Following the instructions, I removed all the old, flaking adhesive with isopropyl alcohol and applied the Seam Grip to the problem areas. The application was straight forward, I found the product to be easy to work wit. I applied it both to the rain-fly and the fabric that anchor the cords. One of my concerns was the strength of the Seam Grip and other reviews of lasting tachy-ness. I gave 24hrs for the Seam Grip to set after application and the glue was not tachy and the adhesive is VERY strong. It states on the product it is designed for appx 12 feet of use, this is probably a good estimate. One tube will not seal your entire rain-fly if that is your goal. I would personally use tent seam sealant for the rest of the seams and use Seam Grip for either rips/tears/reattaching cords etc.
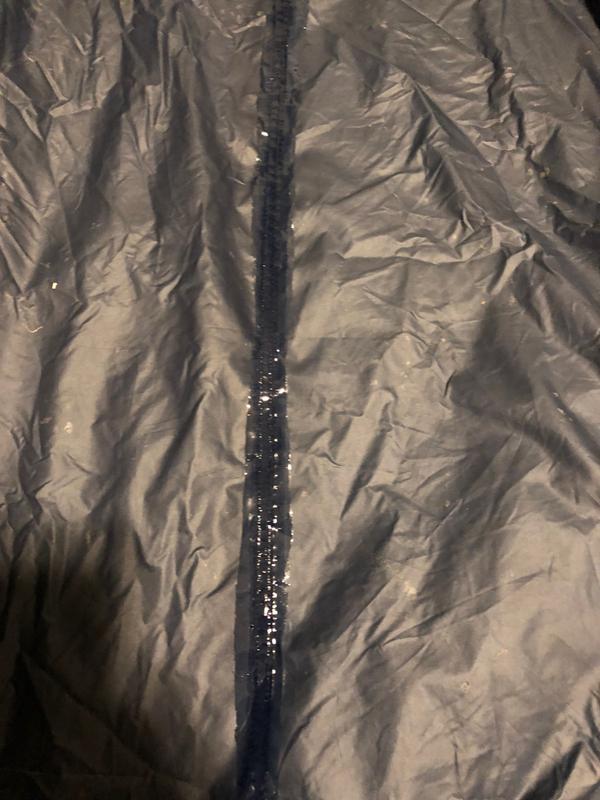
Messy? Yes. Good stuff? Definitely.
This sealer works and wears well. I've used different sealers over the past 25 years and they're all messy. Just do it...or get wet. Having to re-seal the seams is a necessary evil of using your gear for a long time. As noted by others, it WILL stick to itself. The longer it can cure, the better. I re-seal in the fall and let the gear sit in my garage attic over the winter unpacked. If you must pack your gear before it's fully cured and are worried about it sticking to itself, go with the tried and true method that was handed down to me through Scouting. Let it cure as long as you can, then lightly dust the new sealer with talcum powder. Yes, the seams will stand out as white lines, but they won't stick. The white will fade as the talcum wears off anyway.
I want more!!!
Got this to reinforce the seams in my lightweight canopy as it was pulling in an area and developing a hole in the non-seamed area. This was my first time working with this product so I followed the directions: cleaned area with alcohol and went to it. I did this with the canopy open so I didn't end up gluing things that shouldn't be glued. I used the screw on applicator because I wasn't trying to be super neat about it and I was covering a lot of space. I'd say I got at least 14 linear feet of seam covered extremely well (prob overboard) and I repaired the little hole. Let it dry for about 20 hrs and then I further followed the directions. I put a little baby powder on the seams and the tack ones went away with no problem and didn't leave white seams either. This stuff is awesome. I can think of a dozen other uses for it and wish I had a giant caulk tube full of it. I'll definitely have to get another tube for my backpacking tent too!
Failing Boot Soles Completed the Trip!
I've carried a gear repair kit for hundreds of miles of hiking. The kit doesn't weigh much but before each trip I'd look at the kit, with the Seam Seal and question the weight. Half way into a recent Desolation trip, miles from a road on our third night out, we reached camp and on checking my boots, I noticed the soles coming loose! Not now! I'm miles from help! I didn't panic but I did pull out the Seam Seal. Following instructions I glued each boot sole and clamped them with rocks. Crossing my fingers I waited. The next day, viola! Boot soles are intact. Causiously I proceeded on the trip, checking the boots. The soles held to the end and I no longer question the added weight of this item. I now don't leave home without it.
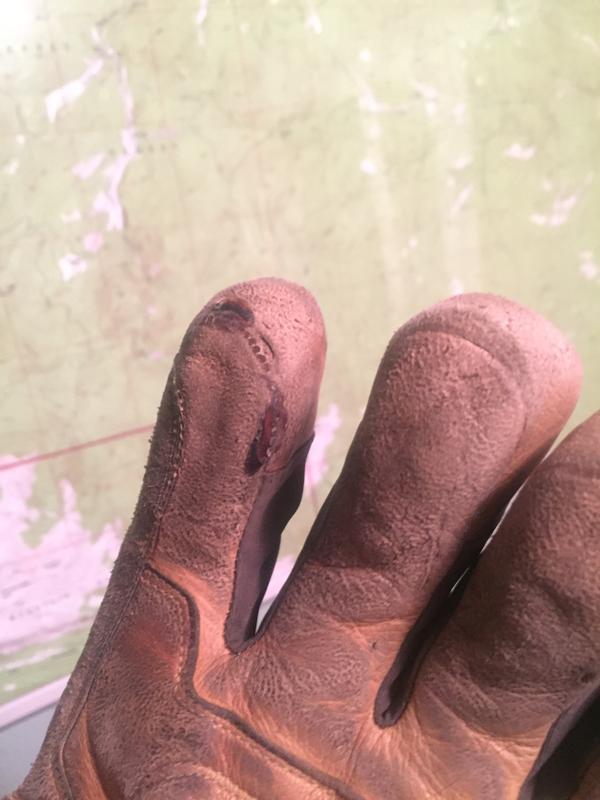
The fix it goo
I’ve used this seam grip for seam sealing, boot repair to patching up my ski gloves. This stuff is great for repair work. It’s tough and lasts forever. Have to repair your ski gear? Get this seam grip!
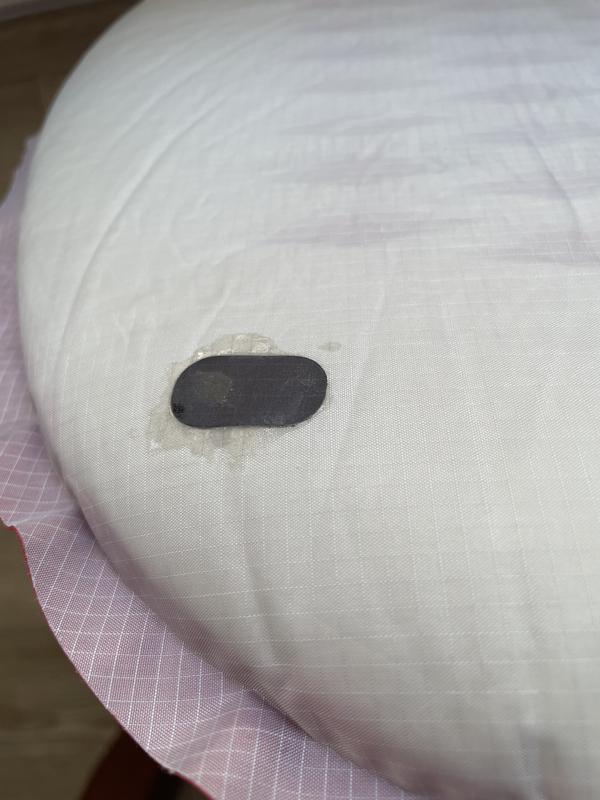
Sturdy way to fix a tent window
Used to re-glue a clear plastic window back onto the rain fly of my 10+ year old Marmot tent. The nice thing about this glue is that it takes time to set, so you can use tape to help hold in in position as you add glue around the edges, and have time to adjust if you mess up. Leave any tape in place while it dries - the tape will pull away later. Press it all down flat with a disposable piece of cardboard above and below the glued seams, or something else more slippery would be even better, then hold it down with a heavy book for 8-12 hours. Some glue will stick to the cardboard backing, but it will come away and you can peel any stuck bits off. It feels like a very durable fix, time will tell.