It's early winter. You're arcing perfect turns down the ski slope when you hear a loud scraping sound underfoot. Don't panic; repairing a rock gouge in your ski or snowboard base is relatively easy for a do-it-yourselfer. Here's a step-by-step look at what to do.
Video: Ski and Snowboard Base Repair
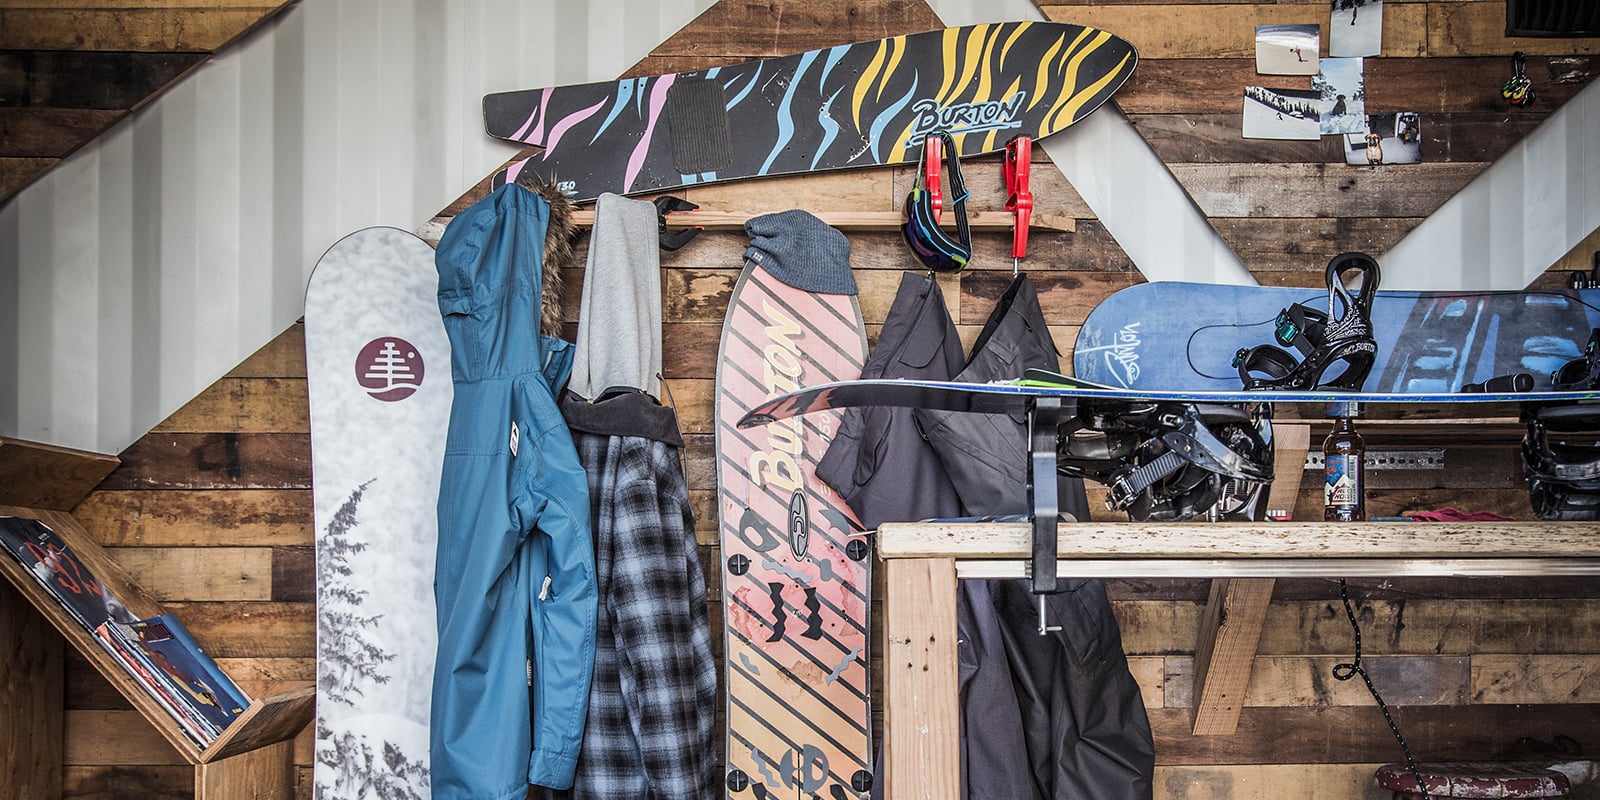
Base Repair: Assessing the Damage
How do you know what's doable at home versus what you should take to the shop?
- If the gouge is shallow or mid-depth and does not touch the edge, you'll likely be able to repair it yourself.
- If the gouge is cavernous and touches the core or the edge, bring your skis or snowboard to a ski shop to be repaired.
- For a shallow scratch (less than 0.5mm deep), it's usually OK (and definitely easiest) to ignore it.
- If your bases have been scratched and repaired many times, bring your skis or snowboard to a shop for a stone grinding. A grind will flatten and smooth your bases and put in a structure or pattern for more speed.
If you decide the repair is within your reach, read on for next steps.
Base Repair: Tools and Supplies
Before you start your base repair project, make sure you have the following:
- Ski or snowboard vise
- Clean towels
- Base cleaner
- Rubbing alcohol
- Metal scraper (substitutes like a putty knife may work, but a sharp and durable scraper is best)
- Polyethylene (P-Tex) repair candle (typically available in black and clear)
- Propane torch, butane lighter or household candle
- Wire brush
- Razor blade
Base Repair: Prepare the Base
- Turn the ski or snowboard base-up and secure it in the vise to hold it in place. If you don't have a vise, you can use a couple stacks of books to support your ski or board.
- If you're working on skis, be sure to lock the brakes up and out of the way. To do this, retract the ski brake by depressing the pedal. The brake arms will pop up, parallel with the ski. Hook a large, strong rubber band on one arm, take it over the top of the heelpiece and hook it to the other arm.
- Check out the damage. If there are loose strands of base material around the hole, use your metal scraper to remove any extra base material around the gouge. Stubborn spots may require a razor blade.
- Brush off any dirt or debris (brush from tip to tail).
- Clean the wound with a base cleaner to get rid of dirt and wax. Let the base cleaner dry completely.
- Use rubbing alcohol and a clean towel to remove residual base cleaner.
Fill in the Gouge
- Using your propane torch or butane lighter, fire up one tip of the P-Tex candle.
- Wait until it's flaming (this may take a couple of minutes). Black carbon flakes will appear in the burning tip. Don't let them get into your bases because they will cause the P-Tex to bond poorly. To get them out of the way, let the candle drip onto the metal scraper and roll the tip around until it's clear and carbon-free. Keeping the flame low and blue instead of big and yellow will keep carbon at bay.
- Move the molten P-Tex candle to the gouge. Hold it close to the surface and let it flow into the hole. Start at the far edge so it pools in the middle. The P-Tex will shrink as it cools, so overfill it.
- Do a second round if necessary then extinguish the flame.
- Let the P-Tex cool about 15 minutes.
- Take a sharpened metal scraper with a 90-degree edge and hold it at a 45-degree angle. Use short, overlapping strokes to remove all material that is sticking up above the base of the ski or snowboard. You can go in either direction, whatever works best.
- When the P-Tex is smooth and flush with the base, you're ready to wax and then go hit the mountain.