Packed efficiently, a backpack can swallow an amazing array of gear. But what goes where? There's no one right way to pack. Lay out all your gear at home and try out different loading routines until you've found what works best for you. Use a backpacking checklist to ensure you have everything and make notes on your list about what worked well (or poorly) after each trip.
This article offers packing tips and explains the proper way to hoist your pack when it's full. A well-loaded pack will feel balanced when resting on your hips and won't shift or sway as you hike with it.
Packing can be broken down into three zones, plus peripheral storage:
- Bottom zone: Good for bulky gear and items not needed until camp.
- Core zone: Good for your denser, heavier items.
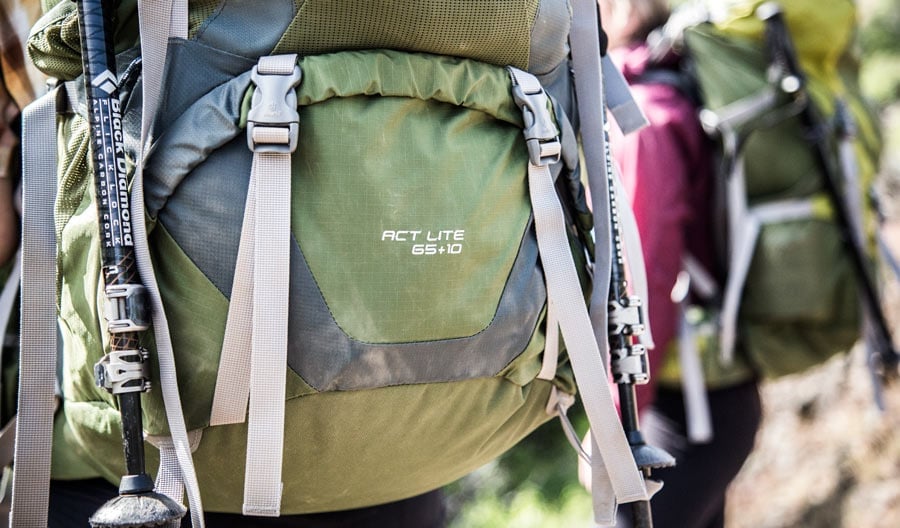
- Top zone: Good for bulkier essentials you might need on the trail.
- Accessory pockets: Good for essentials you'll need urgently or often.
- Tool loops and lash-on points: Good for oversized or overly long items.
Visualize stacking cordwood. You're laying down rows, not building columns: Fill nooks and crannies until you have a solid, stable load—and be sure weight is equally balanced on each side. Tighten compression straps to streamline your load and prevent it from shifting as you hike.
Video: How to Pack a Backpack
Bottom-of-Pack Items
Bulky items you won't need before making camp include:
- Sleeping bag (many packs have a bottom compartment sized for one)
- Sleeping pad (especially if it rolls into a tiny shape)
- Any layers, like long underwear, that you plan to sleep in
- Camp shoes or down booties
Packing this kind of soft, squishy gear at the bottom also creates a kind of internal shock-absorption system for your back and your pack.
Core-of-Pack Items
Heavy, dense gear you won't need to access during your hike includes:
- Food stash (entrees, not snacks)
- Cook kit
- Stove
- Water reservoir (unless you prefer bottles for hydration)
- Bear canister (containing food and all other scented items, plus whatever bulky items help fill it to the brim)
Packing heavy items here helps create a stable center of gravity and directs the load downward rather than backward. Placed too low, heavy gear causes a pack to sag; placed too high, it makes a pack feel tippy.
Carrying liquid fuel? Make sure your fuel-bottle cap is tight. Pack the bottle upright and place it below (separated from) your food in case of a spill.
Consider wrapping soft items around bulky gear to prevent shifting. Use these soft items to fill in gaps and create a buffer between bulky items and a water reservoir:
- Tent body
- Tent footprint
- Rainfly
- Extra clothing
Tip: Trying to slip a full reservoir into a full pack won't be easy. Even if it has a separate compartment, it's best to fill the reservoir and put it in your pack first.
Top-of-Pack Items
Bulky trail essentials work well here:
- Insulated jacket
- Fleece jacket and pants
- Rain jacket
- First-aid kit
- Water filter or purifier
- Toilet supplies (trowel, TP, used TP bag)
Some people also like to stash their tent at the top of the pack for fast access if stormy weather moves in before they've set up camp.
Accessory Pockets
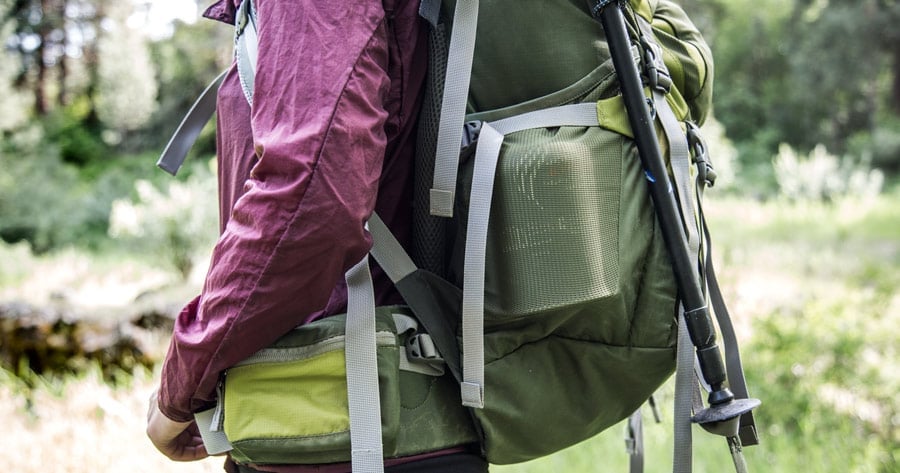
Packs differ in what they provide—lid pockets, front pockets, side pockets and hipbelt pockets. Some pockets even have a lot of smaller pockets inside. All of these options help you organize smaller essentials:
- Map
- Compass
- GPS
- Sunglasses
- Sunscreen
- Lip balm
- Headlamp
- Bug spray
- Snacks
- Water bottles
- Raincover
- Car keys (look for a clip inside one of the pockets)
- ID and cash stash
Tool Loops and Lash-On Points
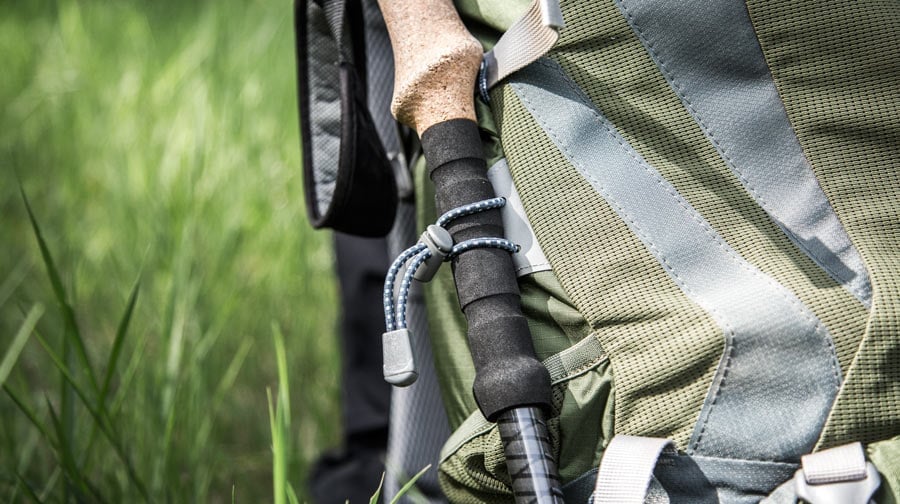
Some of the most common gear to strap on the outside of your pack includes:
- Trekking poles
- Tent poles
- Large sleeping pad
- Camp stool or chair
- Ice axe
- Crampons
- Climbing rope
Many packs have special tool loops, fasteners or other storage solutions for some of this gear. Daisy chains, lash patches and compression straps can also be used to wrangle gear that simply can't be carried in any other place.
However, because this gear can snag on branches or scrape against rocks, you should minimize how many items you carry on the outside of your pack.
How to Hoist Your Loaded Pack
A common mistake made by beginners is to lift a pack by a shoulder strap. Not only can this damage and prematurely wear out your shoulder harness, it also makes it difficult to control your pack as you try to wrestle it onto your back.
Instead, follow these steps and you'll be able to smoothly hoist even a heavily loaded pack from the ground to your back:
- Loosen all of your straps slightly to make the pack easier to slip on.
- Tilt your pack to an upright position on the ground.
- Stand next to the back panel; have your legs well apart and knees bent.
- Grab the haul loop (the webbing loop at the top of the back panel on your pack).
- Lift and slide the pack up to your thigh and let it rest; keep your hand on the haul loop for control.
- Slip your other arm and shoulder through one shoulder strap until your shoulder is cradled by the padding.
- Lean forward and swing the pack onto your back. Now slip the hand that was holding the haul loop through the other shoulder strap.
- Buckle up and make your usual fit adjustments.
Video: How to Hoist a Backpack
Practice the art of hoisting a backpack at home. If you can easily remove (and rehoist) your pack at every rest stop, you can stretch out fatigued muscles and finish your hike with more energy at the end of the day.
If you any questions about how to pack—or about how some of your pack's features work, talk to a backpacking expert at REI.