Once revolutionary, GPS technology is in everything from drones to dog collars now. Nonetheless, a handheld GPS receiver remains a valuable outdoor tool for hikers and other backcountry explorers. A GPS can give you vital information about where you are, where you've been and where you want to go.
This article discusses choosing and using handheld units for the outdoors. GPS units for vehicle navigation and fitness tracking are not covered here, nor are GPS-enabled satellite messengers that offer navigation features.
This article does not cover phone apps and maps. Innovation in phone technology is rapidly mimicking traditional GPS handhelds. A dedicated outdoor GPS unit, though, offers key advantages:
- Much more rugged and water resistant
- Field-replaceable batteries
- Superior satellite reception in remote places
- Robust features developed specifically for outdoor use
Don't buy a GPS receiver with the idea of ditching your map and compass. Finding your way out of the wilds isn't something you can trust solely to battery-operated electronics. To learn about those classic navigational essentials, read How to Use a Compass and How to Use a Topo Map.
GPS Buying Made Easy
If you find exhaustive lists of GPS specs and features to be a little daunting, you can simplify your decision by considering three key areas:
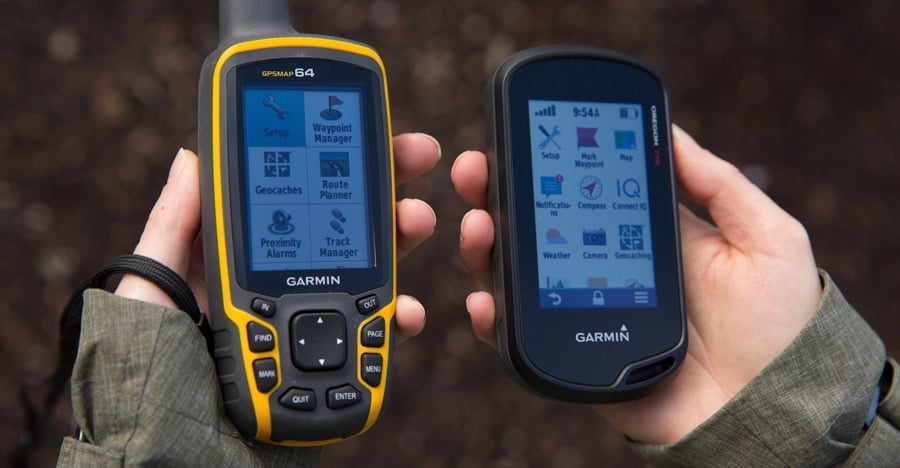
- Size of unit vs. size of screen. As screen size increases, so does the size and weight of a unit. Deciding where you are on the low-weight to large-screen spectrum is a good first step.
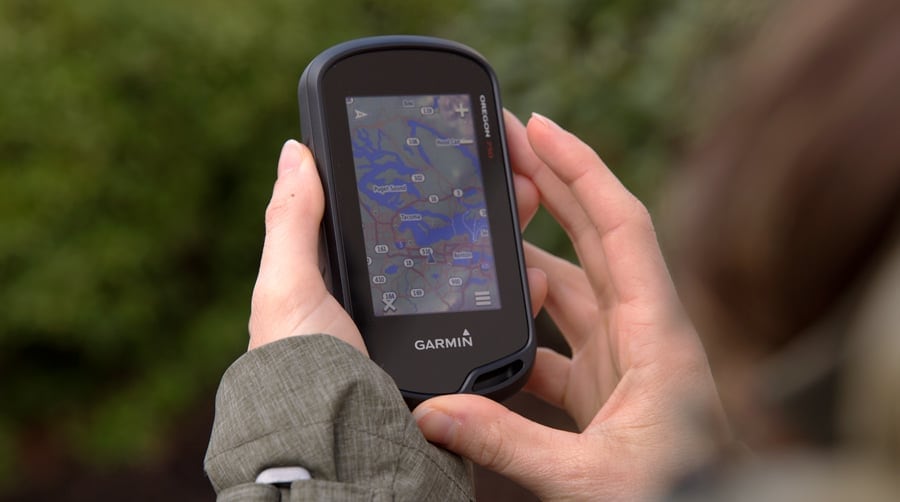
- Interface preference: If you can't imagine not having a touch screen, your choices narrow further. For winter activities consider a unit solely controlled by buttons because it's easier to use while wearing gloves.
- Advanced features: More expensive units offer features like a barometer, an electronic compass and wireless transmission. If these capabilities are important to you, that also narrows your final choices.
Advanced GPS Features
All handheld GPS models do basic navigation. What you pick—and pay—largely depends on which and how many of the following features a unit has:
Barometer/altimeter: While all GPS receivers can tell you altitude based on satellite data, a unit with the barometer/altimeter feature provides more accurate elevation readings by also considering barometric data. This feature also lets you gauge weather trends.
Electronic compass: All GPS receivers can tell you what direction you're going while you're moving. If you get a unit with an electronic compass, though, it will also tell you what direction you're facing while you're standing still. That's a big convenience as it lets you orient yourself and plan your route at any rest stop.
Wireless data transfer: This allows your GPS to communicate with compatible (same-brand) GPS units. It provides a quick and easy way to share data like tracks, waypoints and routes with others.
Preloaded maps: All GPS units come with a simple base map. Some units also include full-fledged topo maps. Most units also accept separately purchased topo maps that are downloaded or provided on a CD or a microSD card. You can manage all your maps and plan trips by connecting to your PC or Mac, then using the program that the maker of your GPS unit provides.
Third-party maps and software: Because maps from GPS makers can be pricey, you can search online and find an ever-changing array of sites that have inexpensive (or free) maps. If you aren't a tech wiz or prefer guaranteed products, then stick with maps and software from your GPS manufacturer. Shop REI's selection of mapping software.
Memory and waypoint totals: The more you have, the more map and navigation data you can store. In addition, most units also let you expand your memory, usually via a microSD card.
Unless you're doing a thru-hike, almost any unit you get will have enough internal memory (and waypoint capacity) to store detailed maps and key location data for a single trip. And it's easy to delete unneeded maps and waypoints as you go to free up memory for another trip or another section of a thru-hike.
Geocaching features: Many units have geocaching functions that allow for paperless geocaching and managing your found caches. To learn more about the activity, read Geocaching: How to Get Started.
(Note: You don't need to buy a GPS receiver to try geocaching; phone apps work fine for that. If you're already a geocacher and want a GPS unit for backcountry navigation, then geocaching features are handy to have.)
Digital camera: Offering comparable quality to a basic phone camera, it can also geotag photos so you can see where on the map you snapped each shot.
Satellite messenger capability: Allows you to trigger a call for help in an emergency. To learn more, read Satellite Messenger Basics.
Using Your GPS
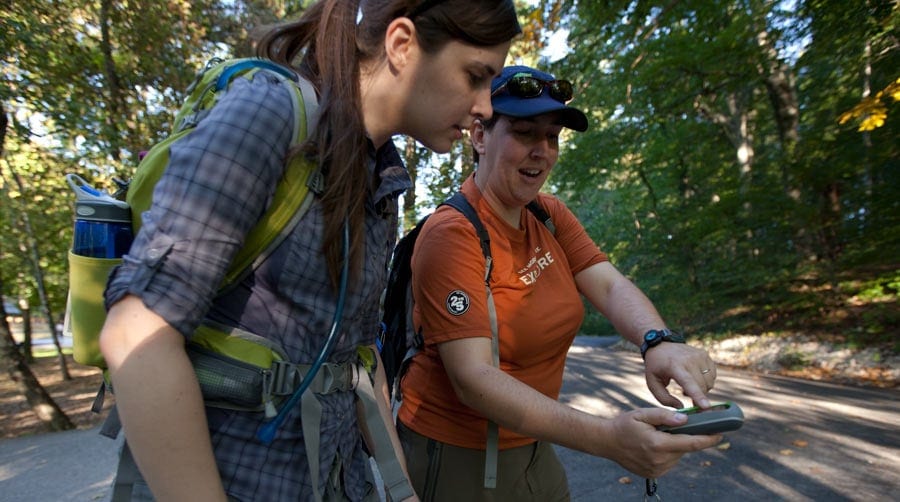
Even a simple GPS unit has a wide range of settings and features. Because every unit's operation varies, this article won't provide step-by-step details. Read the owner's manual to familiarize yourself with it. Then practice in the neighborhood or a park until you're comfortable with how everything works.
If you'd like additional help, you can also sign up for a GPS navigation class at an REI store.
Though steps vary, all GPS receivers do the following basic functions:
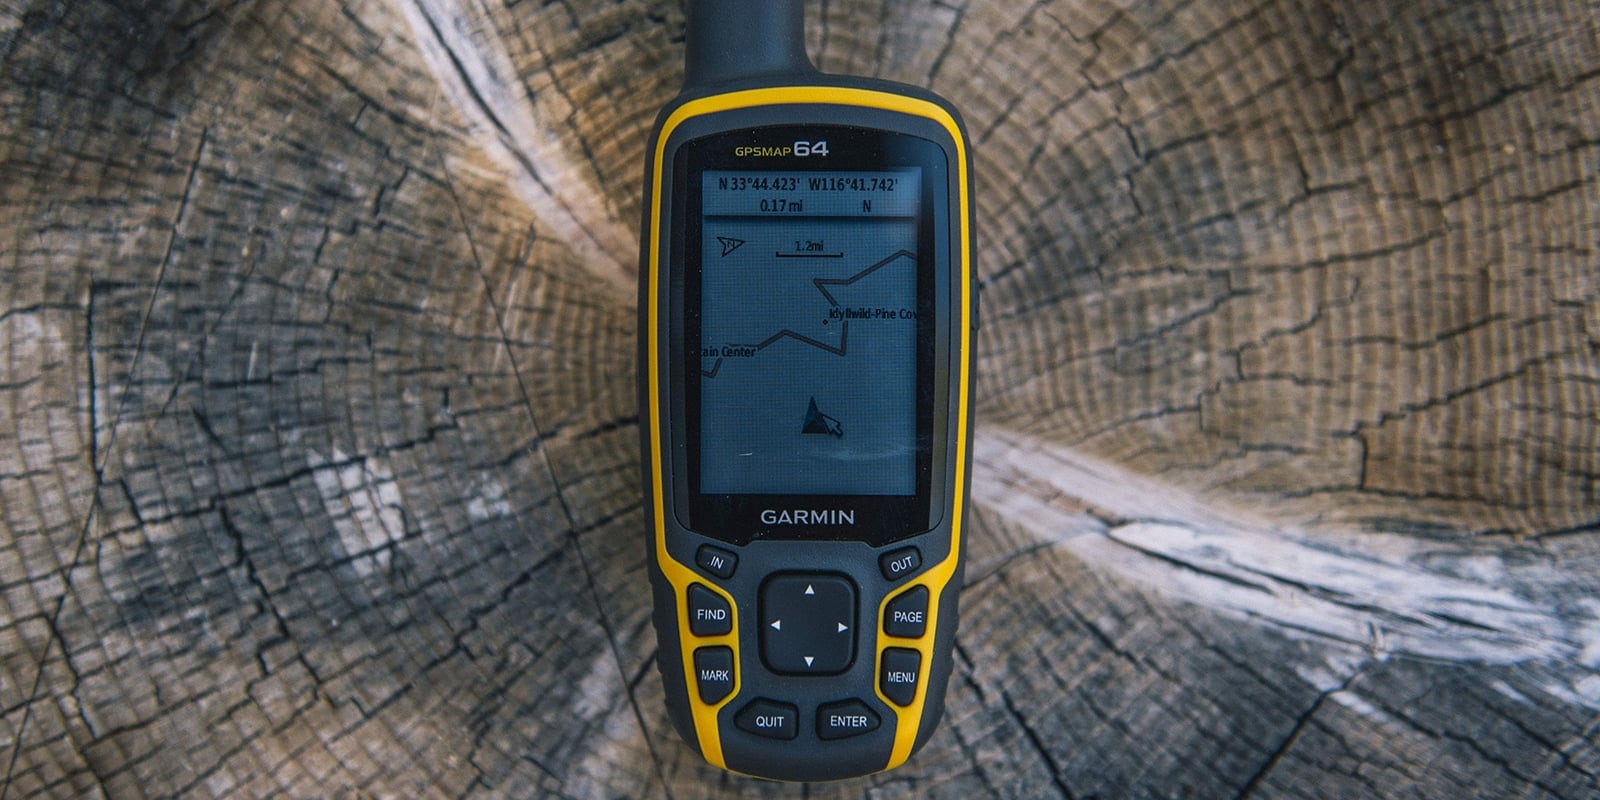
- Display position: A GPS tells you where you are by displaying your coordinates; it also shows your position on its base map or topo map.
- Record tracks: When tracking is turned on, a GPS automatically lays down digital bread crumbs, called "track points," at regular intervals. You use those later to retrace your steps or to evaluate the path you traveled.
- Navigate point-to-point: A GPS directs you by giving you the direction and distance to a location, or "waypoint." You can pre-mark waypoints by entering their coordinates at home. In the field you can have the unit mark a waypoint at a place you'd like to return to, such as the trailhead or your campsite. A GPS unit provides the bearing and distance "as the crow flies" to a waypoint. Because trails don't follow a straight line, the bearing changes as you hike. The distance to travel also changes (decreasing, unless you're heading the wrong direction) as you approach your goal.
- Display trip data: This odometer-like function tells you cumulative stats like how far you've come and how high you've climbed.
GPS and your computer: GPS units come with a powerful software program that lets you manage maps, plan routes, analyze trips and more. Invest the time to learn it and to practice using all of its capabilities.
Setting Up Your GPS
Before-Trip Settings
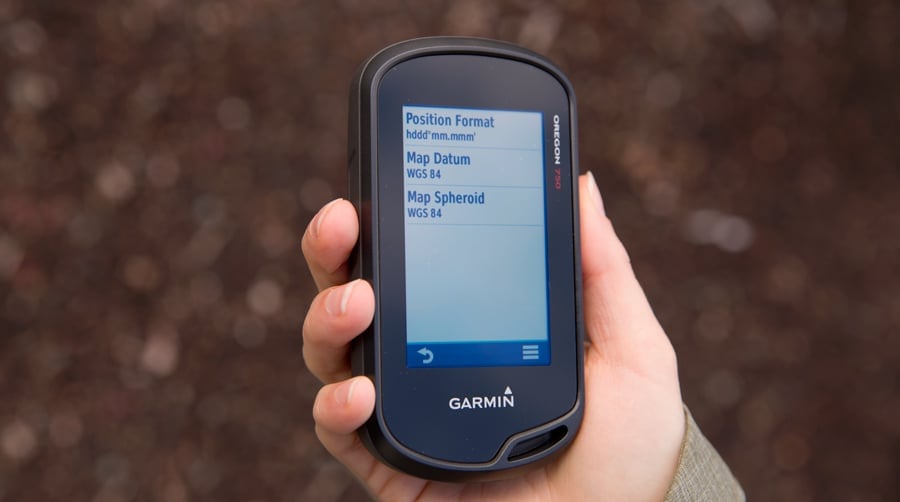
In order to let you customize your unit's functions, the setup menu offers what can be an overwhelming number of options. You can get started doing basic navigation without worrying about most of these. The position format menu, which includes both position format and map datum, is one you should set up:
Position format (coordinates): Your GPS can display coordinates in dozens of systems. You can change this setting to whichever system you are most comfortable with at any time. When marking waypoints, though, you should choose the same system as your book, map, or other source of location information. (Whenever you change this setting, the GPS will seamlessly convert your information to match the current setting.)
Map Datum: This is both obscure and important. The key idea is that the datum you set on your GPS must match your topographic map's datum (found in the legend), or the datum of any trail guide or other source of location information you are using. If it doesn't, then position coordinates in your GPS will place a point in the wrong location on your map. Datum has to do with geographic modeling of the Earth at the time a map was produced. Note that this will automatically fill in the same info for the related setting, "Map Spheroid," which is fine.
Locking onto Satellites
"GPS" stands for "Global Positioning System," a worldwide network of satellites that broadcasts the signals that a GPS unit receives. Because most of today's GPS receivers can get signals from more than one system of satellites, they function much more reliably than their predecessors, especially in situations like having a heavy tree canopy overhead.
To facilitate initial satellite calibration, simply go outside, turn your GPS on and let it begin searching. Acquiring satellites after startup takes a few minutes. After that, it readily locates satellites as you travel.
When you turn off the unit, satellites overhead continue to move. So your unit will always need a few minutes to reacquire satellites each time it's turned back on. If it's off for a long time or you travel a long distance before turning it on again, acquisition takes a few minutes longer.
If you're under a dense tree cover or in a slot canyon, signals get blocked. Once you reach a point where overhead sky isn't obstructed, it takes a few minutes to recalibrate with satellites. Note that GPS signals are not impaired by cloud cover, even though clouds block your view of the sun and moon.
When you're hiking, don't block satellite signals by stashing your GPS deep inside a big pocket or at the bottom of your pack. Carrying the unit in your hand or a strap pocket will work fine.
Note: GPS units can display signal strength (accuracy) in multiple ways, including a detailed satellite page, a series of bars or a feet of accuracy spec. If your GPS lets you customize fields on your compass, trip computer and map pages, you should add a signal strength field. Keeping an eye on that will help you decide how much to trust the GPS when precise navigation is needed.
Startup Routine
Develop steps to follow each time you're at a trailhead. The routine will vary with the features of your GPS unit, but it should include many of the following:
- Acquire satellites
- Reset trip data
- Clear track log
- Set a waypoint at the trailhead
- Calibrate compass
- Calibrate barometer/altimeter
Calibration instructions for the compass and barometer/altimeter can typically be found in the unit itself.
GPS Battery Tips
- Rechargeables are great for day hikes.
- For overnight trips, long-life lithium batteries are your best bet.
- Make sure batteries are fresh before you start.
- Always carry spares.
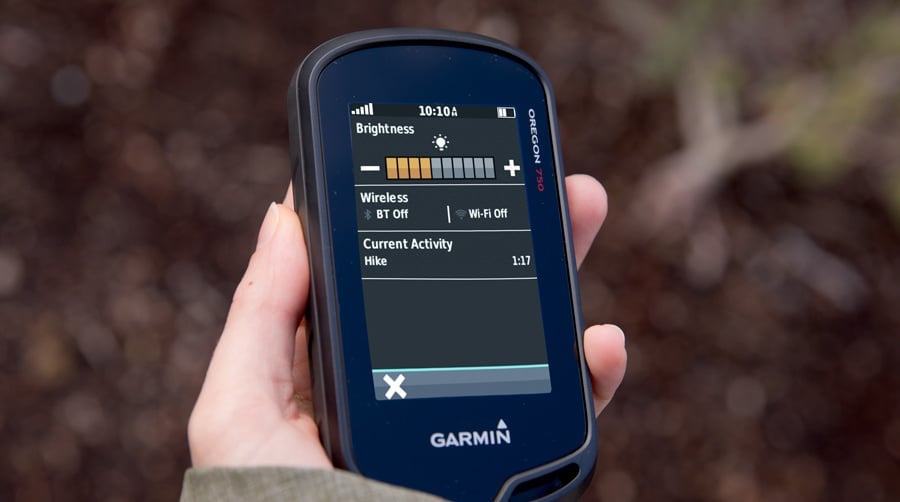
- Dimming your backlight extends battery life.
- Some units offer a battery-saving mode to preserve battery life.