Gear Guides
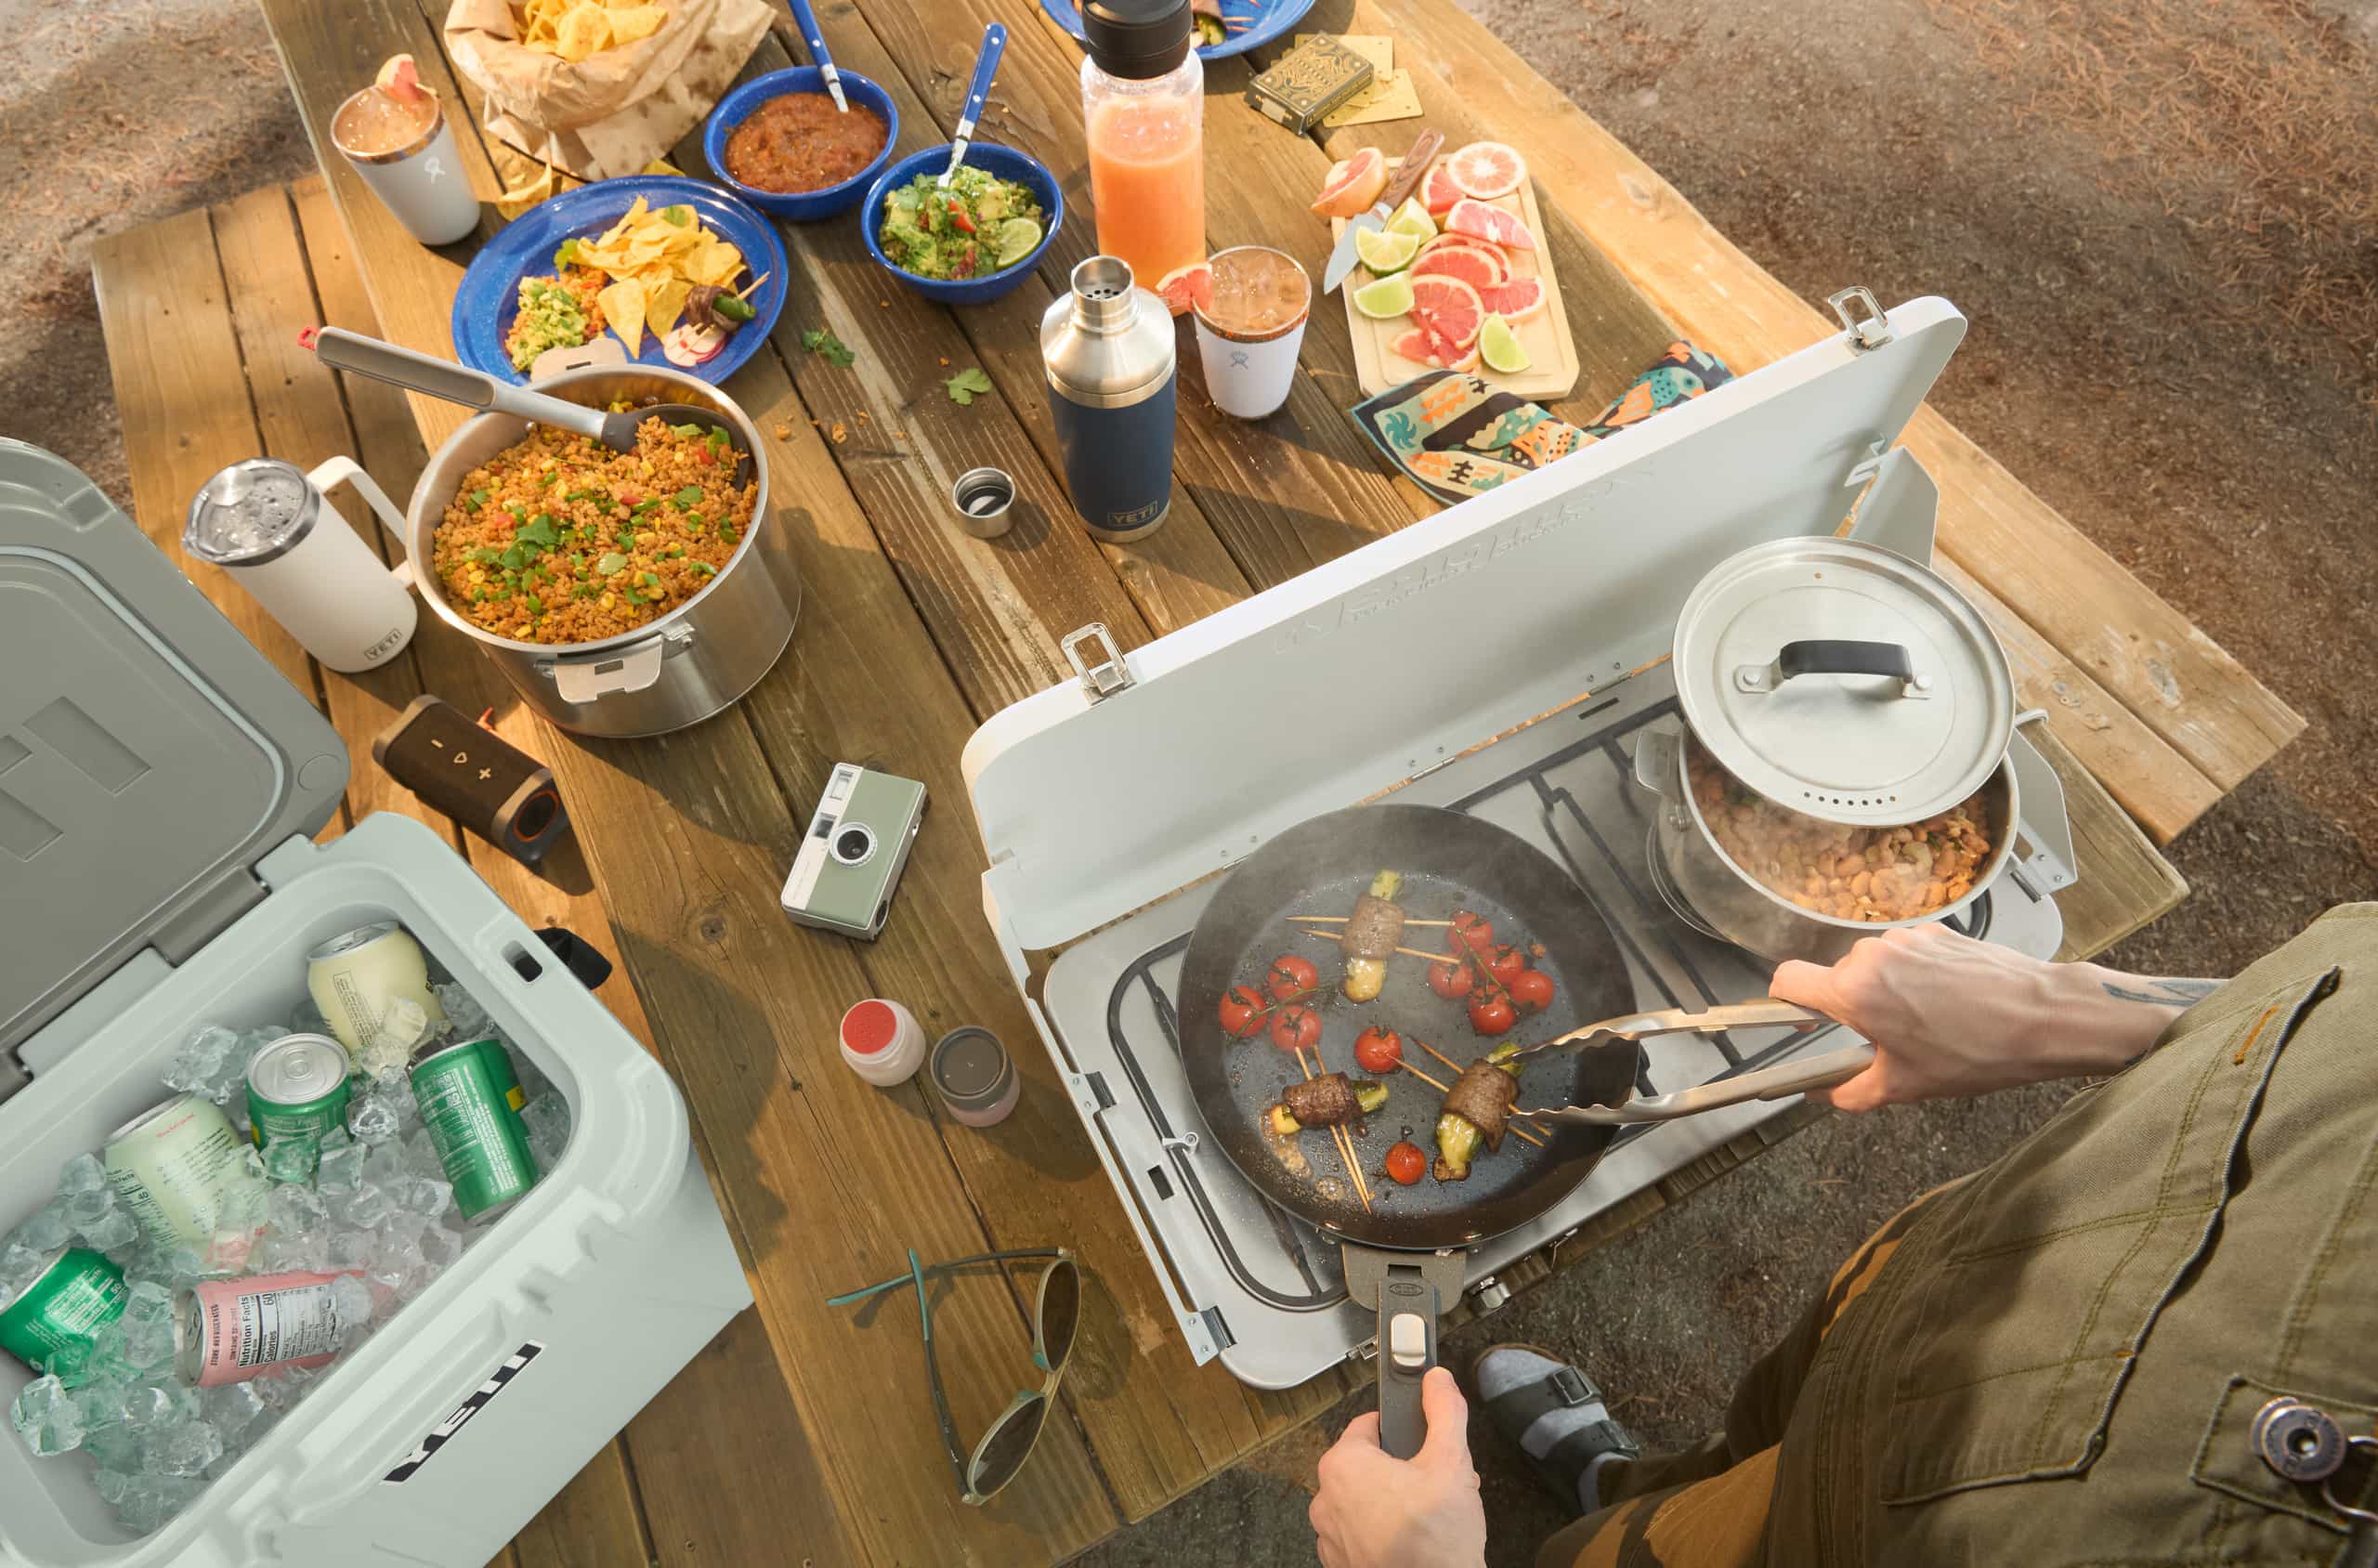
The Perfect Kit for Camp Cooking
Elevate your grub to gastronomy with our favorite camp kitchen products.
Gear Guides
Elevate your grub to gastronomy with our favorite camp kitchen products.
Gear Guides
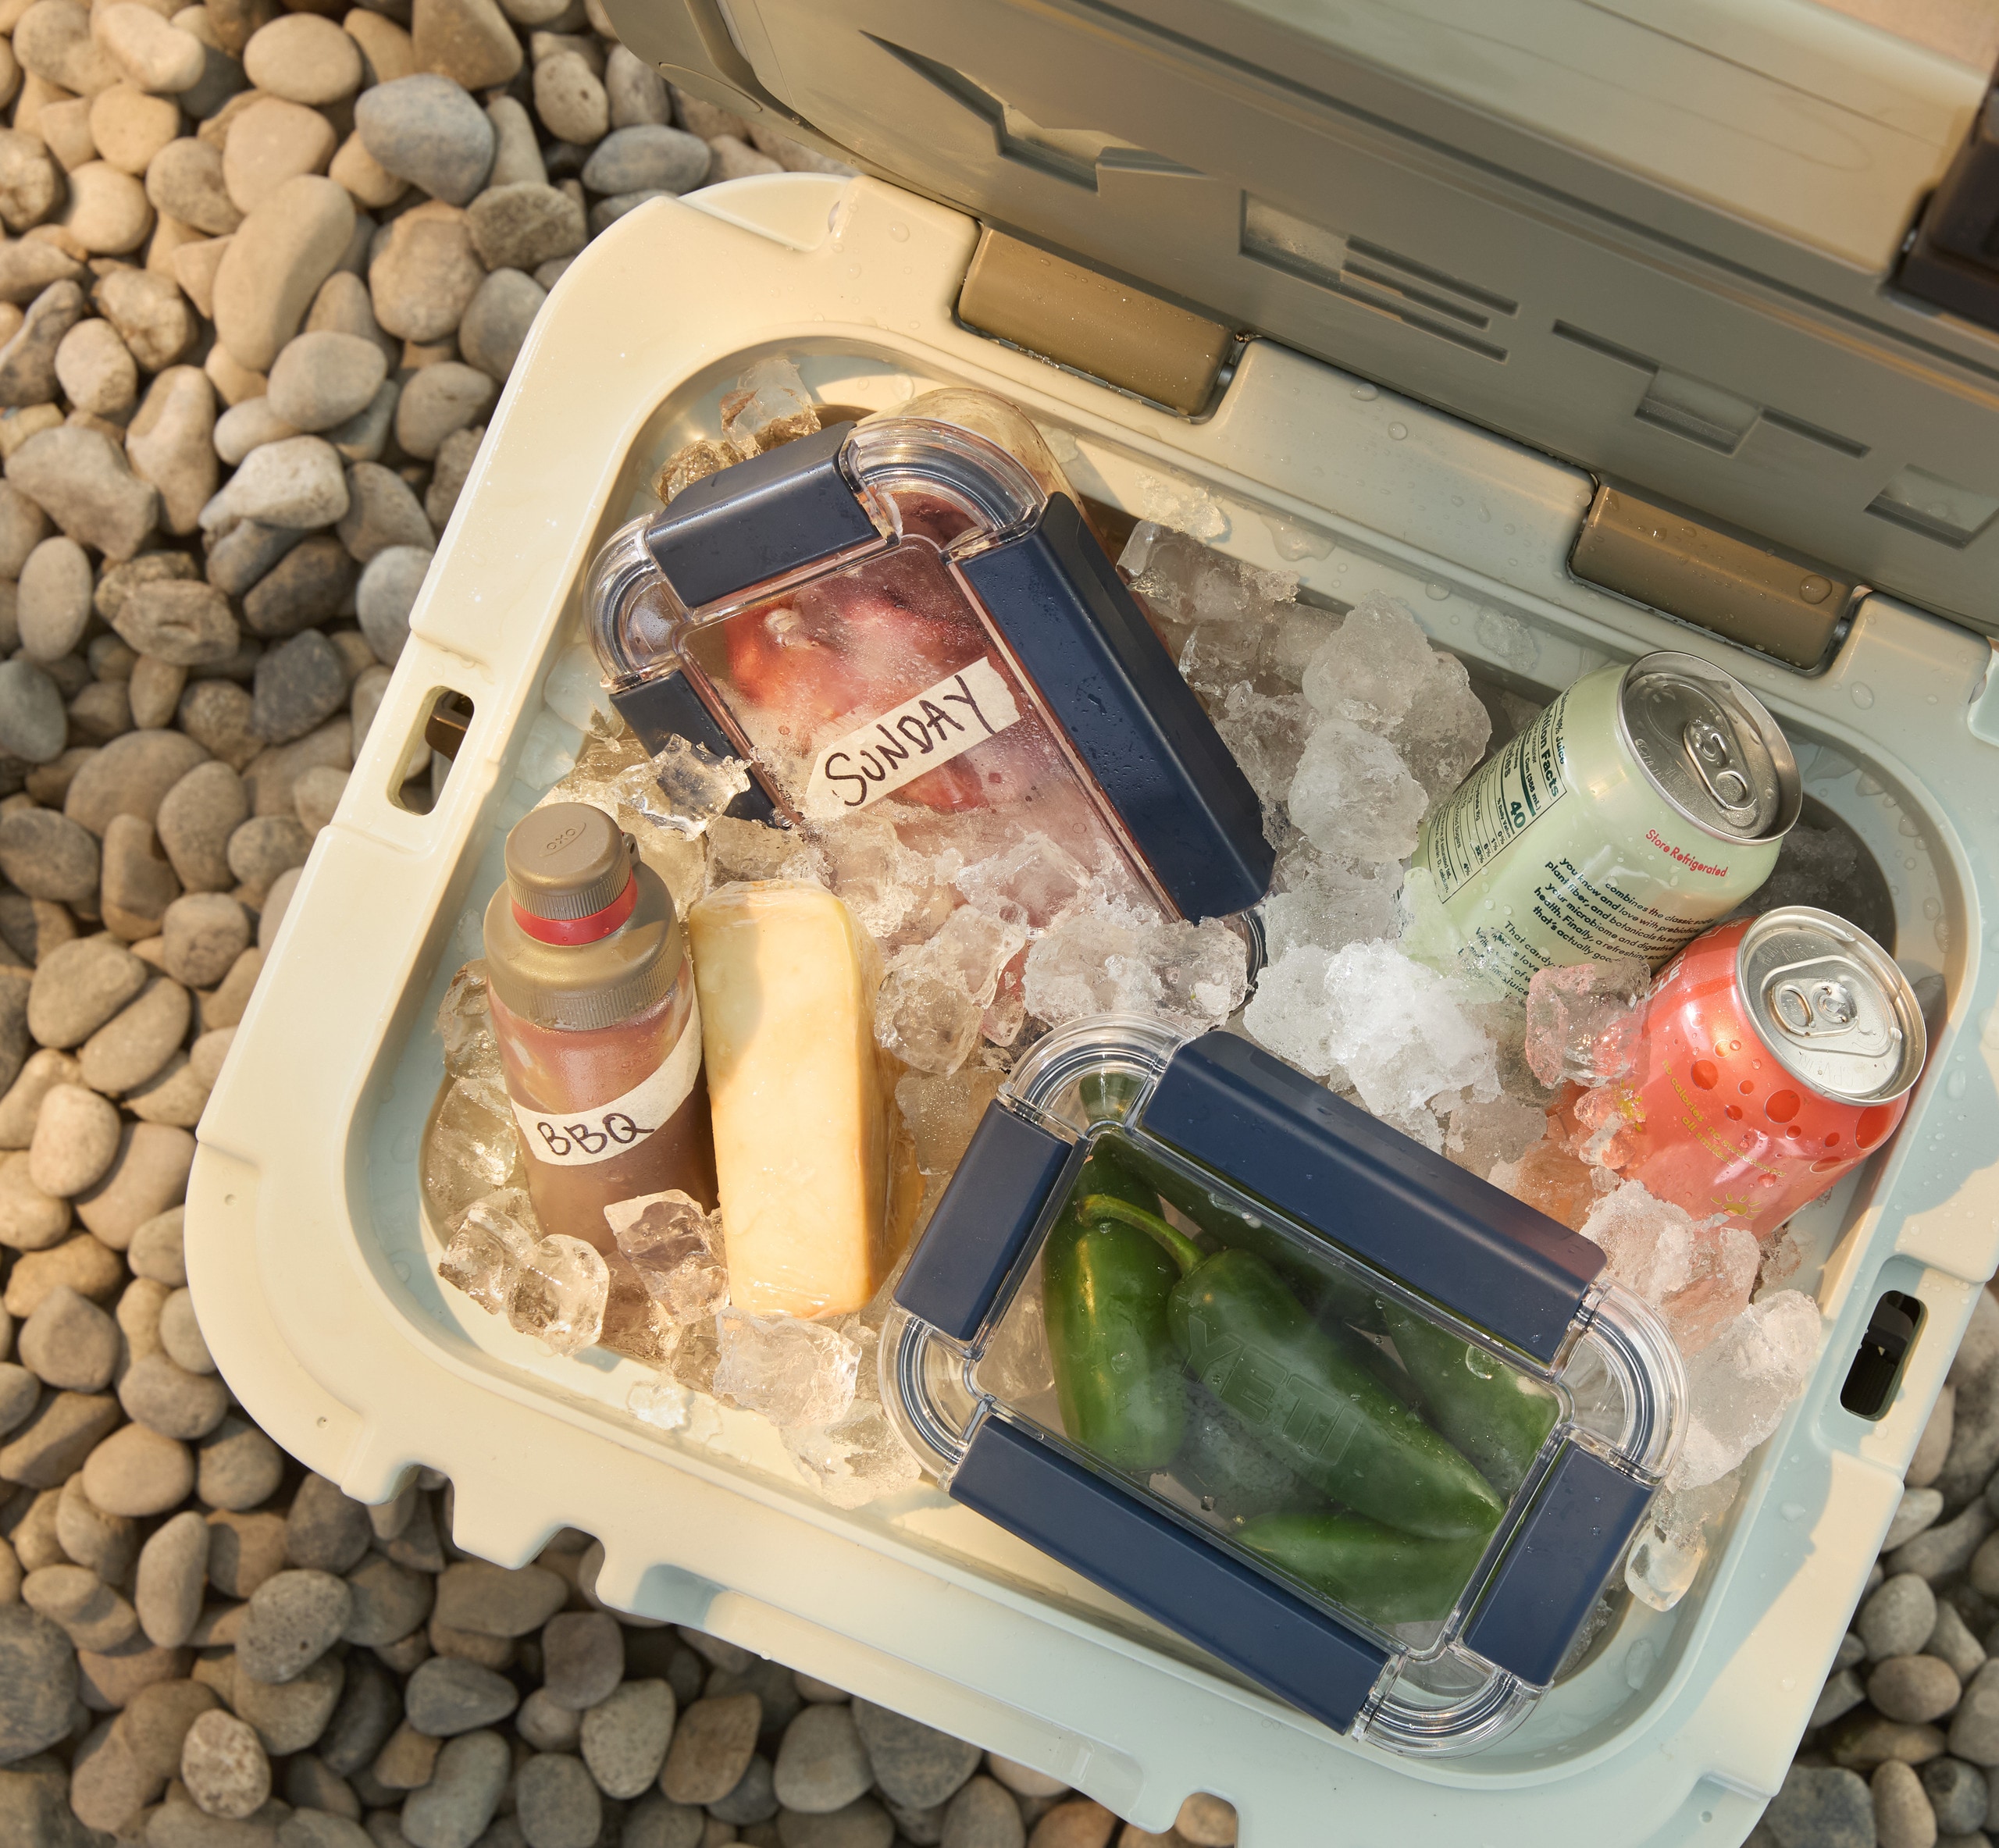
Looking for the perfect cooler for your next adventure? One of these may be just the thing.
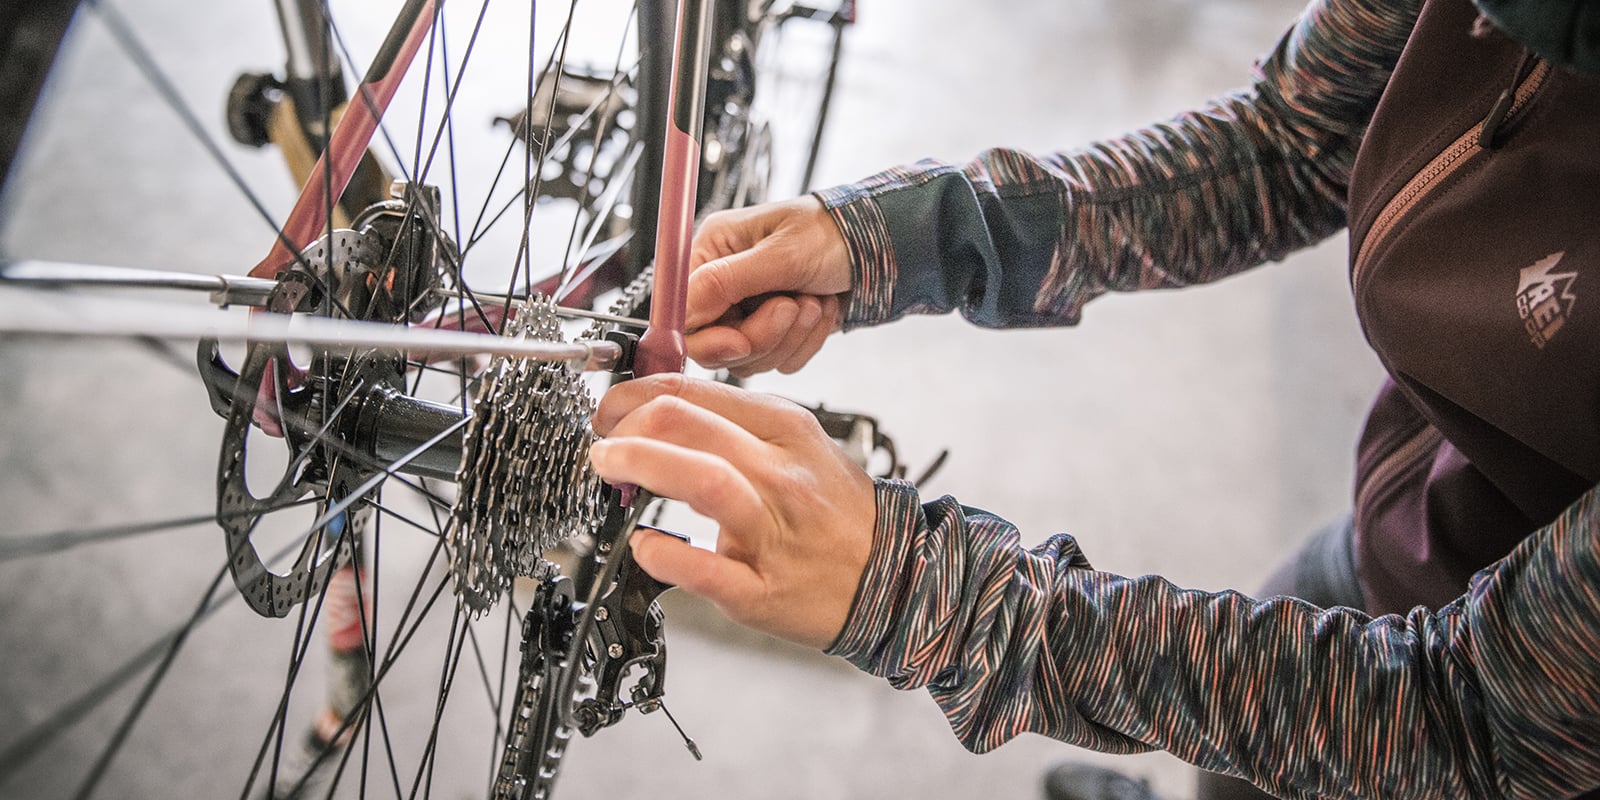
Care and Repair
Learn how to do a pre-ride inspection and learn the basics of bike maintenance, including how to clean and maintain your drivetrain.

Gear Guides
Whether hiking, biking or hanging out, protecting your eyes from sunlight is essential, even on cloudy days. Check out our staff and REI Co-op Members' 9 favorite sunglasses of 2025.
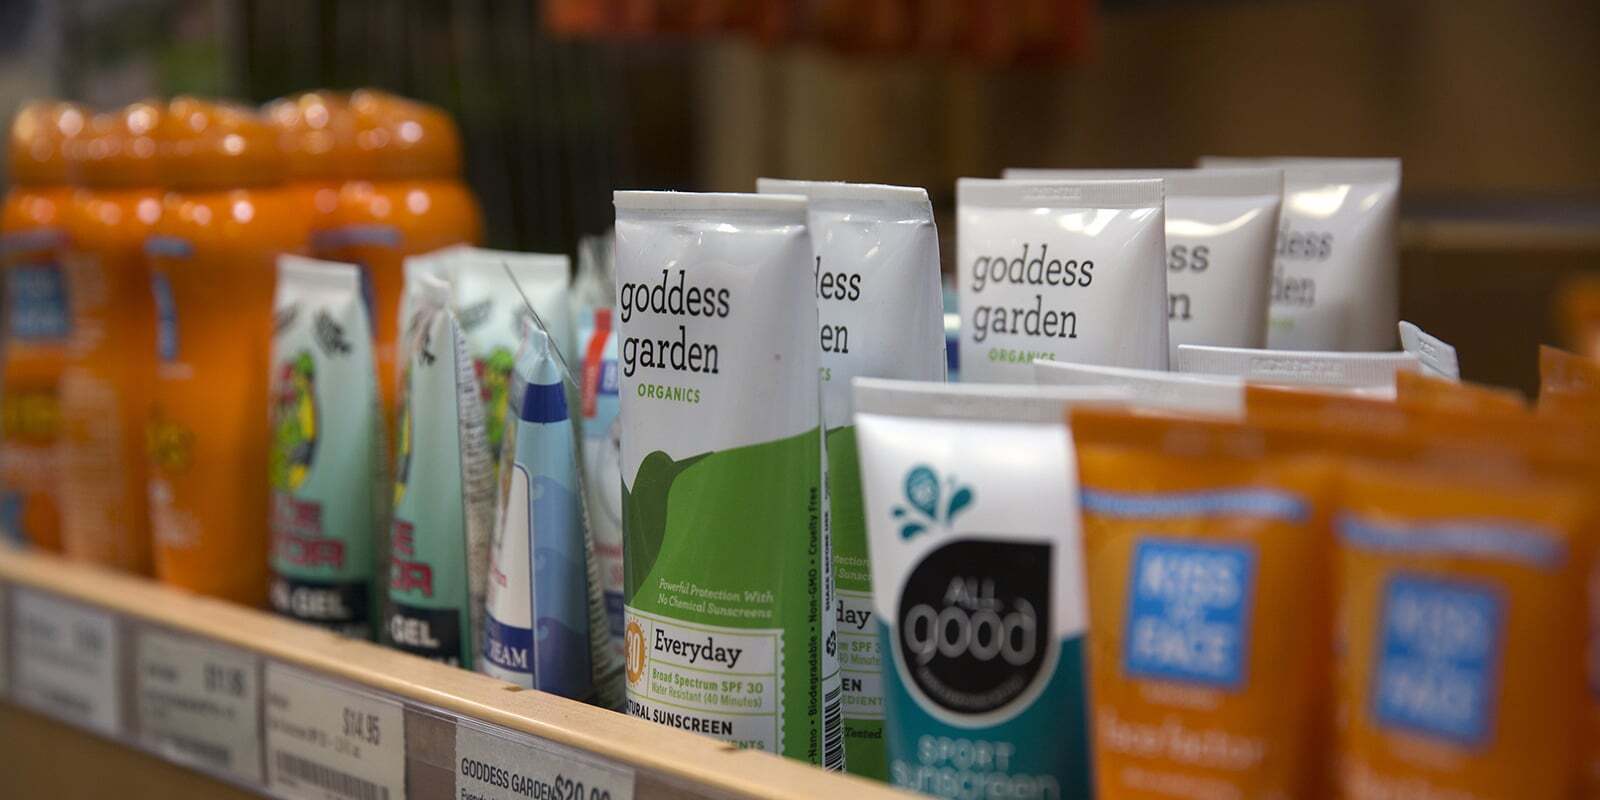
Buying Advice
Learn how to use sunscreen to guard against UV radiation. Topics include ingredients, SPF, UVB, UVA, broad spectrum and water resistance.
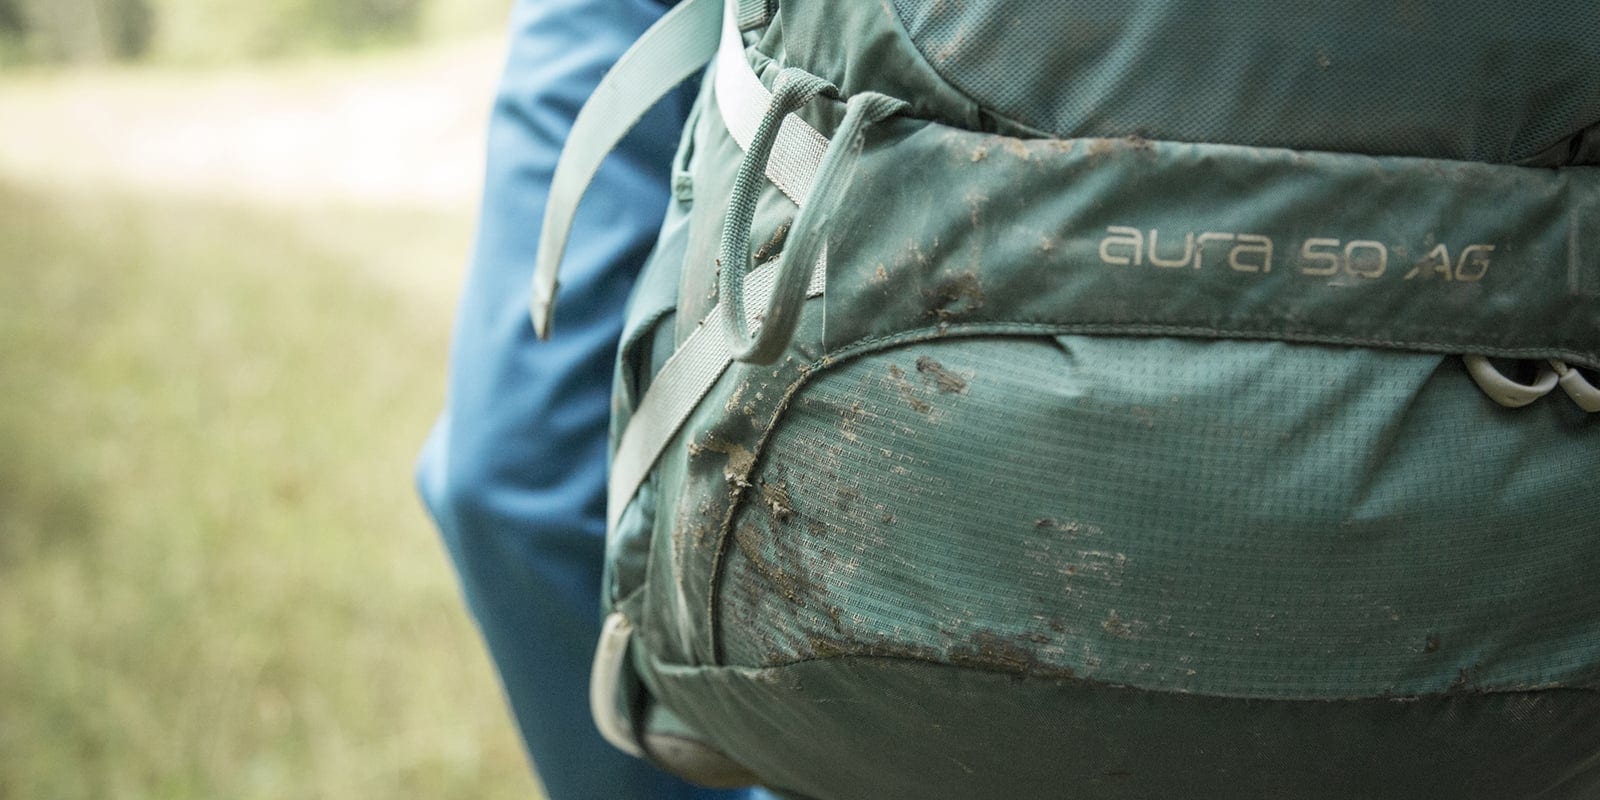
Care and Repair
Learn how to clean and care for your backpack so it performs better and lasts longer.